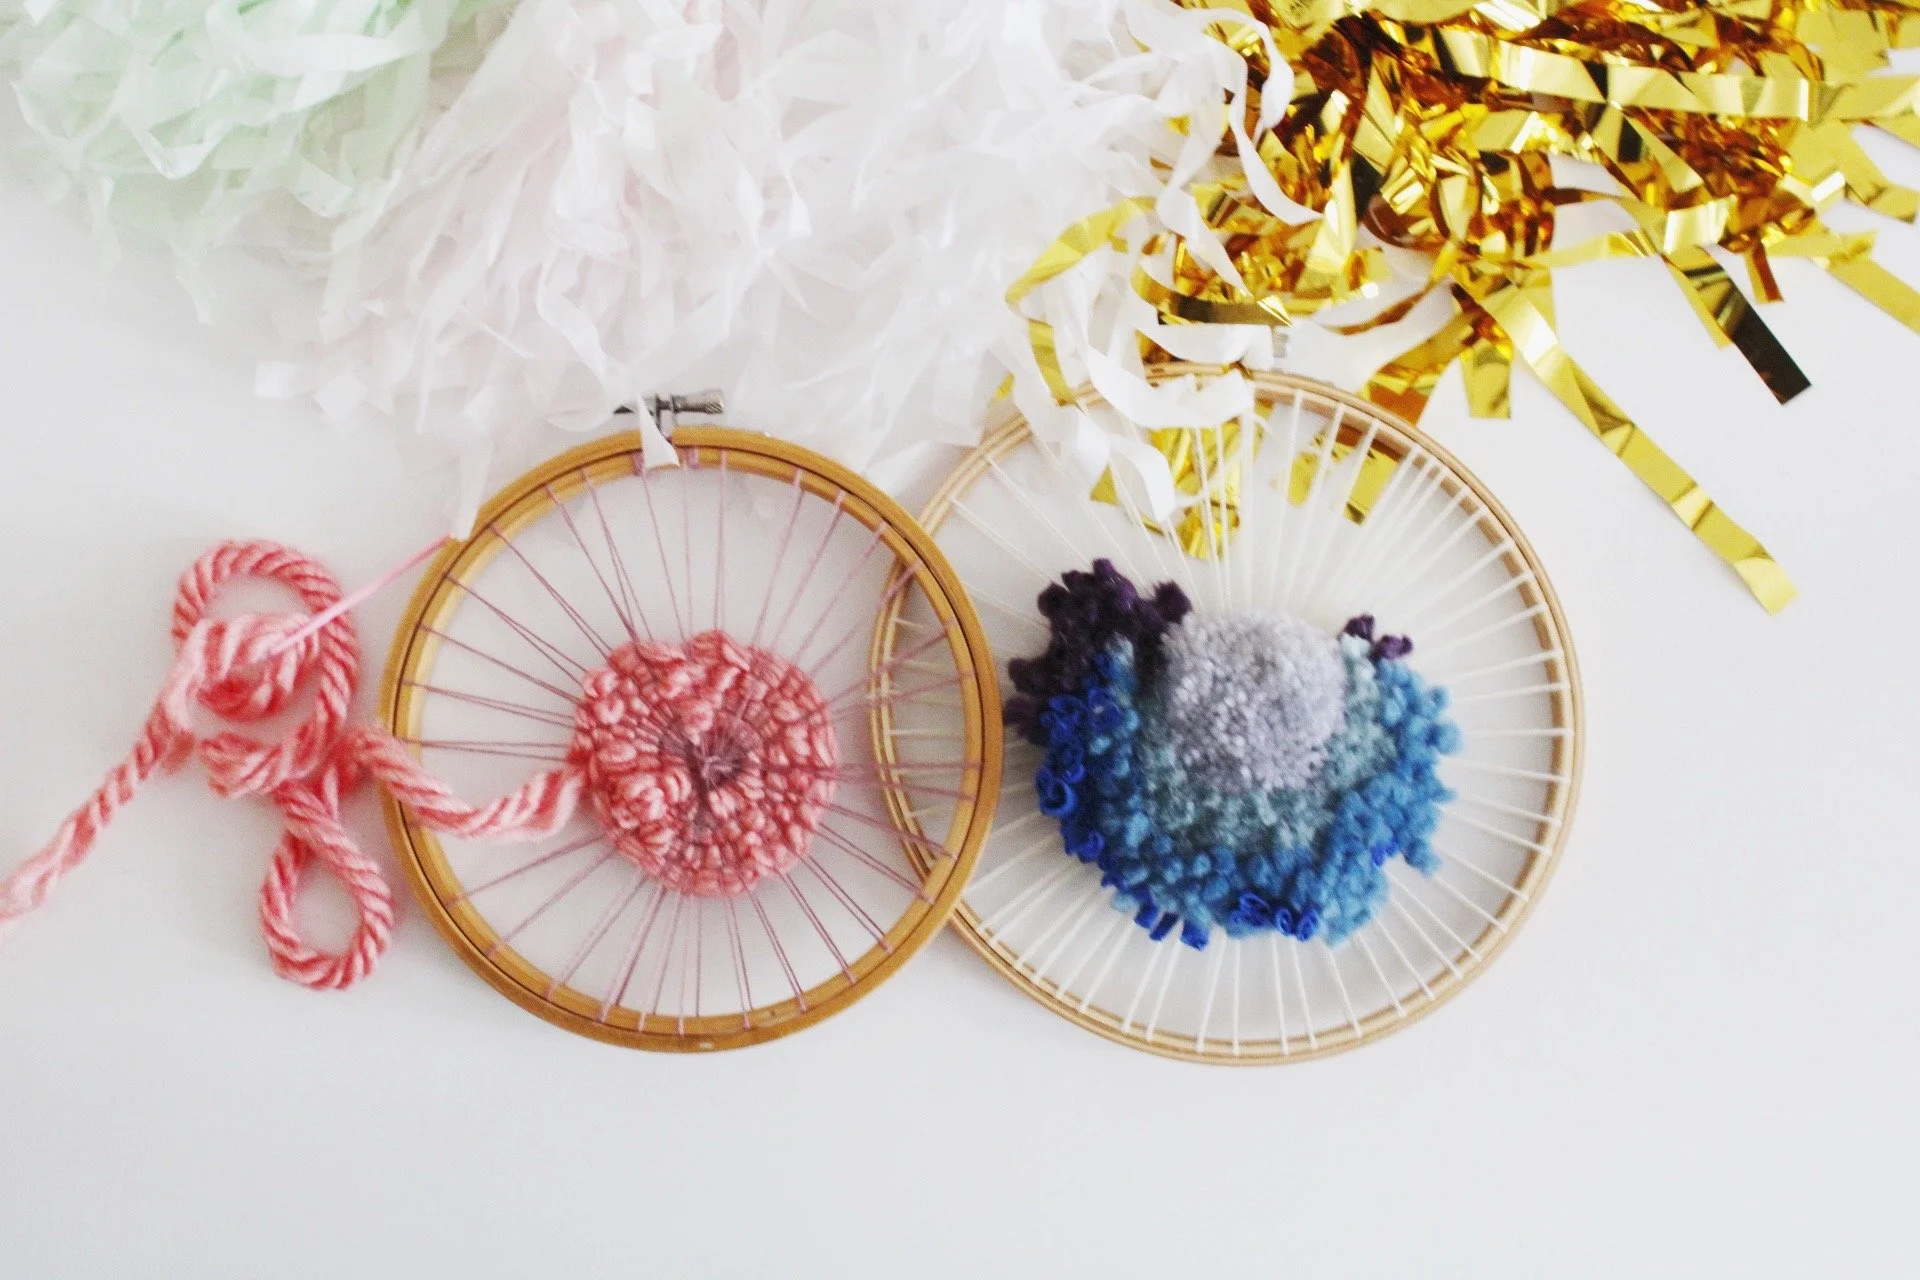
hello and welcome to your circle weaving kit, i am so happy you are here! get excited to learn how to use all the materials and make TONS of weavings. you will learn how to warp your loom, the tabby stitch, soumak stitch, rya knots, and twining.
+tabby stitch
always begin each weaving with a tabby stitch. it is the primary stitch for all weavings. the best way to remember it is by thinking “over, under” because this stitch is made by pulling your yarn over and under each warp thread, alternating with each row. this will be the most commonly used stitch in your mini weaving.
01. thread your tapestry needle with your first yarn color. leaving a 5” tail and working around the circle, bring the yarn under the warp string you start at and over the next warp tread, repeating across the warp threads. push down when you get all the way around.
02. as your finish each row of stitching, push the finished row down o the row rests on top of the previous row neatly with no gaps. inspect your stitches after you finish each row. if your stitches look too loose or too tight, this is your opportunity to adjust them before proceeding to the next row.
03. Continue to weave, until you want to change colors. I prefer to finish my the color i am using in the middle of a row and weave it behind, leaving the tail for later.
+soumak stitch
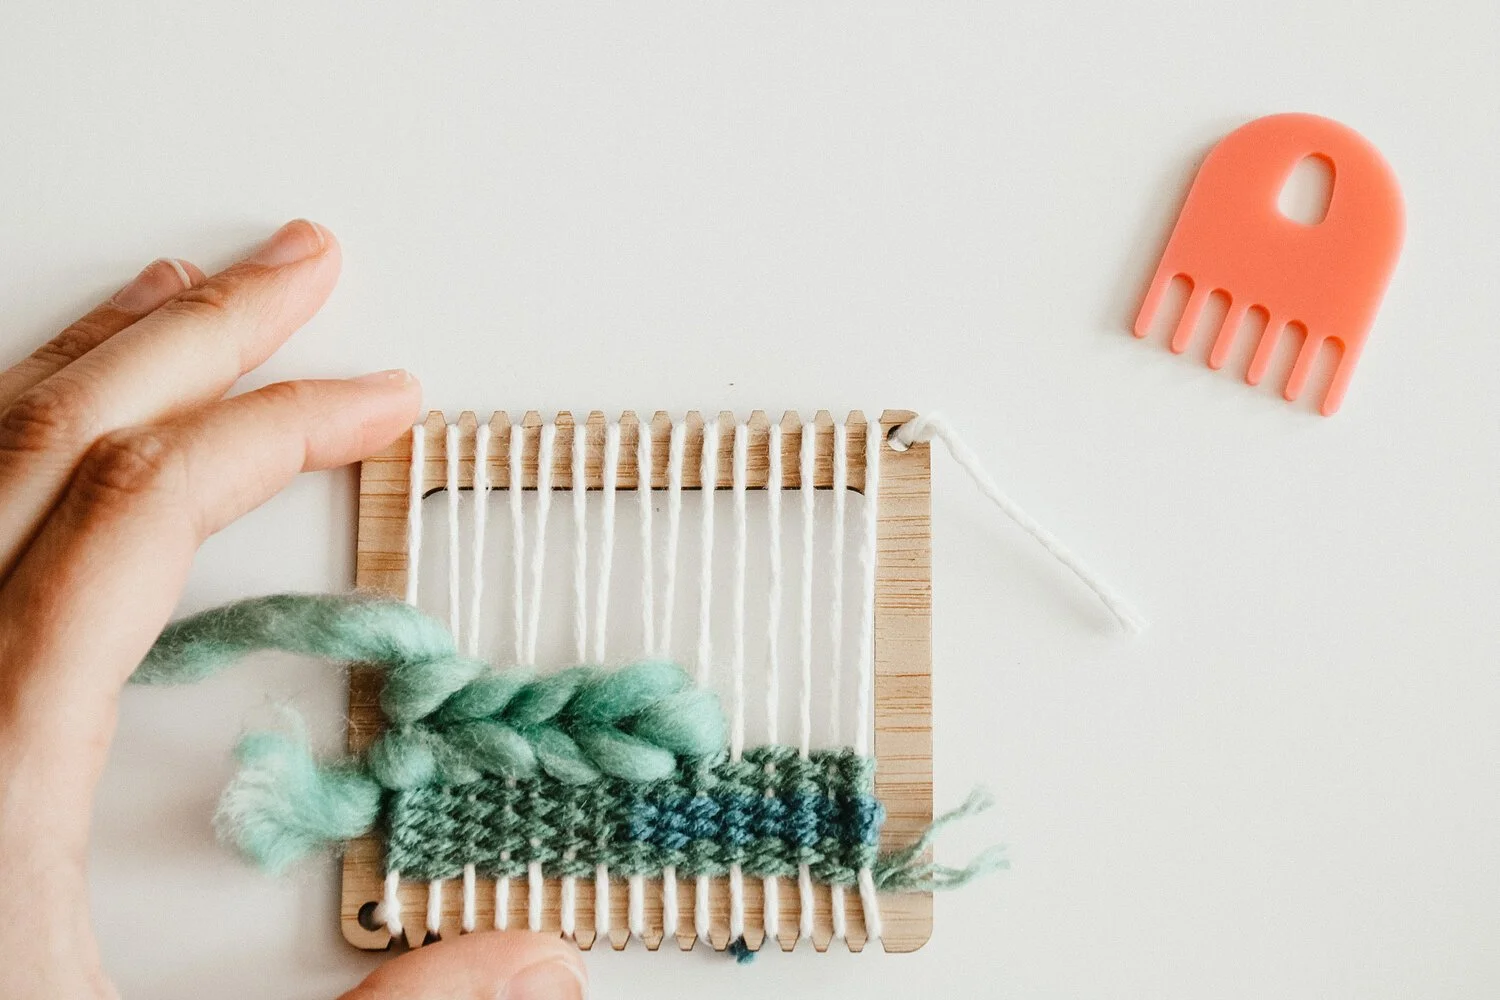
the soumak stitch is one of my favorite stitches. it looks like a braid and it is a really great way to bring texture to a small piece. plus it is a great way to use the roving that you get in your kit! I am going to show you how to do the soumak weave on a square loom.
01. start by threading your needle with roving and going under the outermost warp thread. pull through, leaving a 2 in tail.
03. lay your roving across the surface of your warp, in the direction you will be moving and count across two warp strings.
04. place your tapestry needle under the two warp threads and pull your roving back the way is came, underneath the warp.
05. lay your roving across the surface again.
06. count two more warp strings, place your tapestry needle under the two warp threads and pull your roving back the way is came, underneath the warp.
07. to turn around, wrap the roving around the last warp thread that you would want to use. this can be in the middle or at the end.
+rya knot
i love a good fringe moment and you can use these knots to create fringe at throughout the weaving for extra added texture. tabby is needed as a base for your rya knots. you will need to create many similar size strands of yarn. you can use a book or piece of cardboard to wrap the yarn around. you can also cut the yarn strand by strand if you only need a few pieces.
01. you will need three strands of yarn per rya knot. depending on the thickness of your yarn and and the look you want, you can adjust the number of strands up and down as needed.
02. fold one of the bunches in half and lay the top of the loop over two warp strings.
03. pull the ends of the right- most strands of yarn around and behind the right warp and to the front between the two warp strands. repeat for the left side.
04. tug the ends gently to tighten the knot and ease it down to butt against your previous row of weaving.
05. trim your rya knot to your desired length.
making weaving is so much fun! you have enough materials to make many a weaving’s so get excited, because you are on your way to becoming a weaving queen like me!


