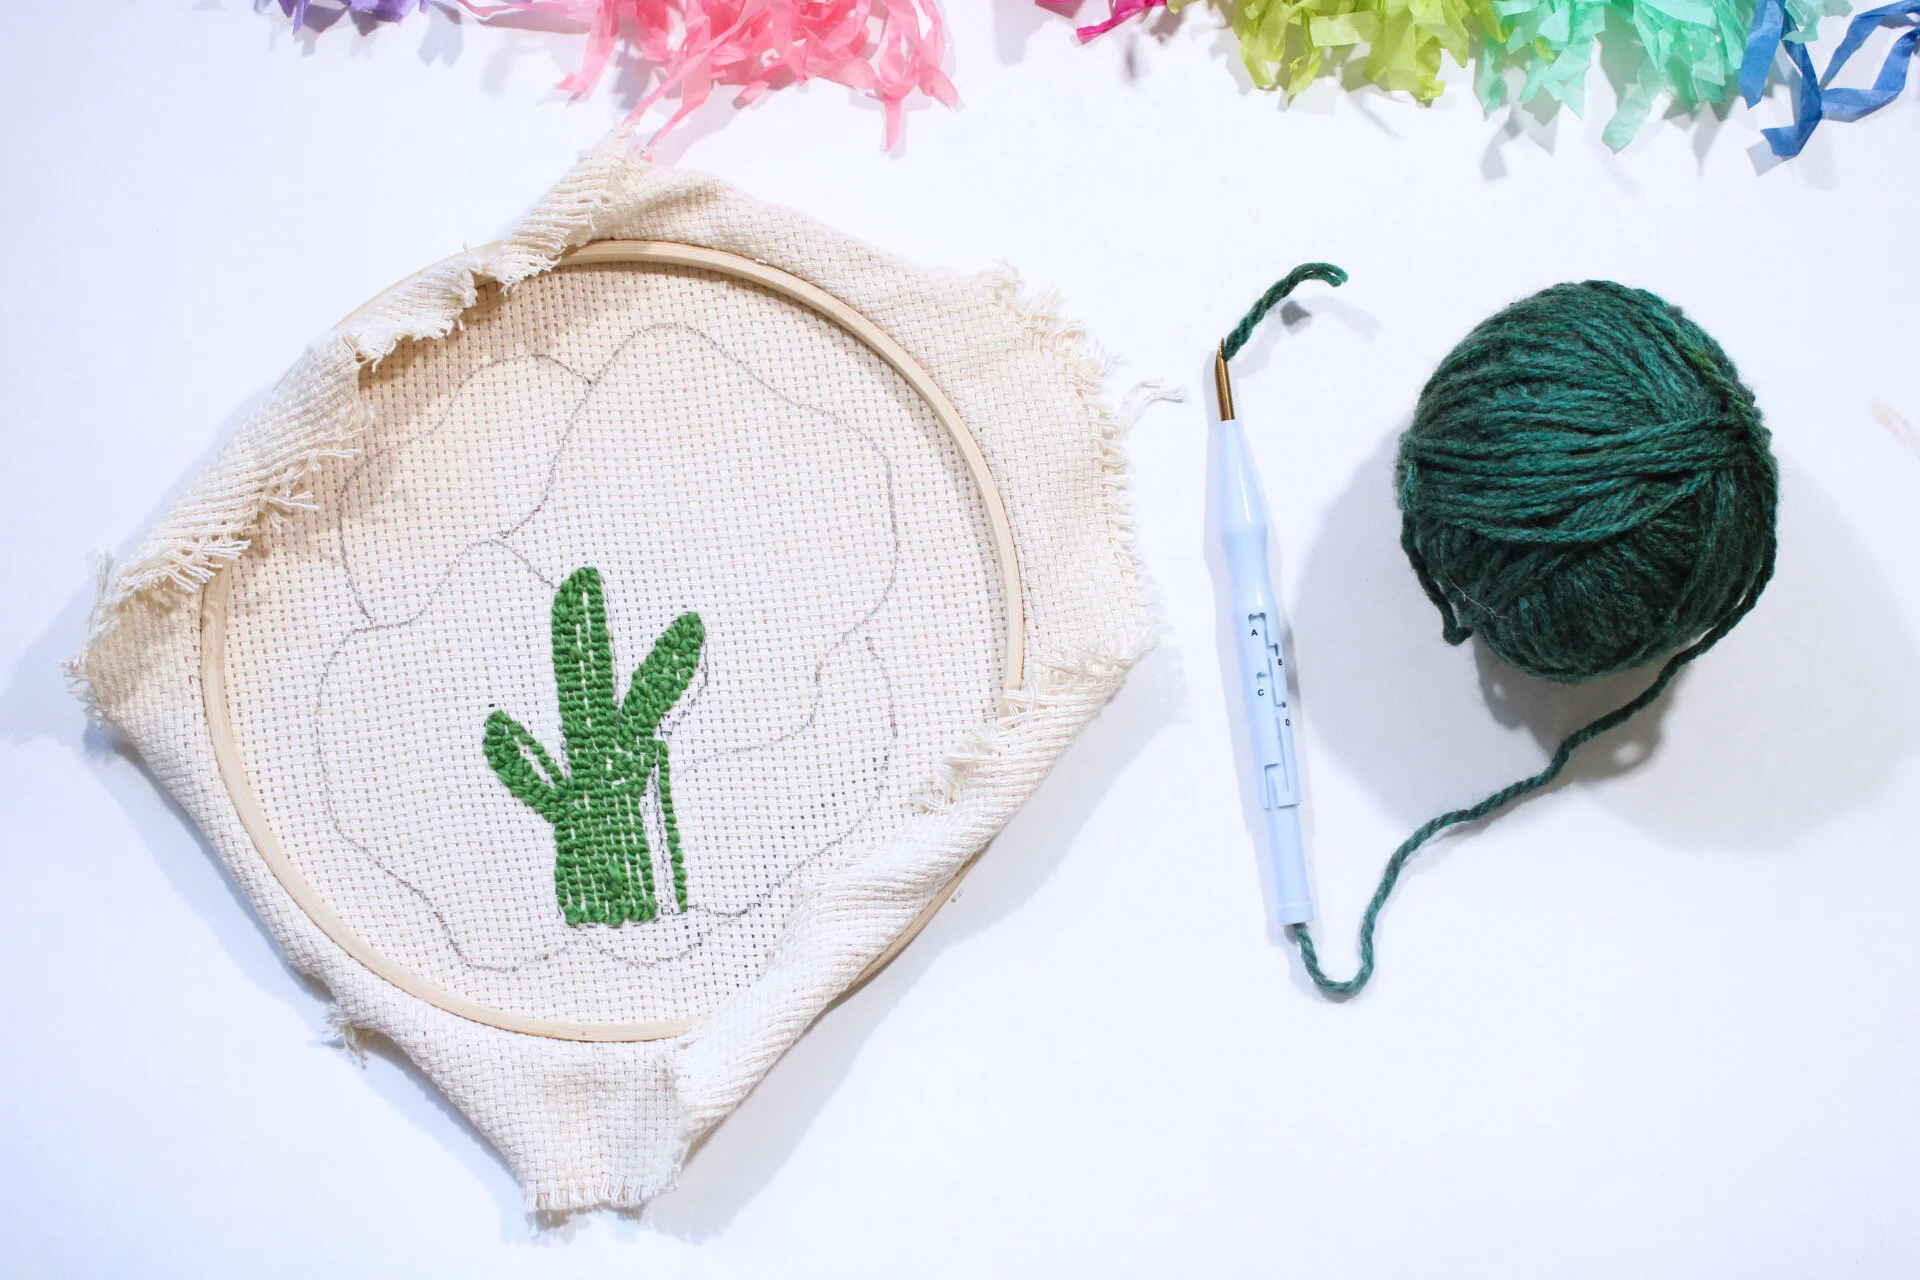
DIY Punch Needle
I have totally fallen in love with punch needle and making these cute rug like structures. I feel that they are very simple, fun and move a bit quicker than embroidery, but still takes enough time to be mindful and engage in a project. I am not proficient by any means but I love anything with an immediate gratification experience! I am totally self taught here though thanks to a few amazing Instagram-ers and a lot of improvising. I hope that my free flowing and experience with punch needle will inspire you to try this DIY and make something fun and colorful!
I also came across an Amazon kit that does all the work for you and puts all these supplies into one nice and neat box!
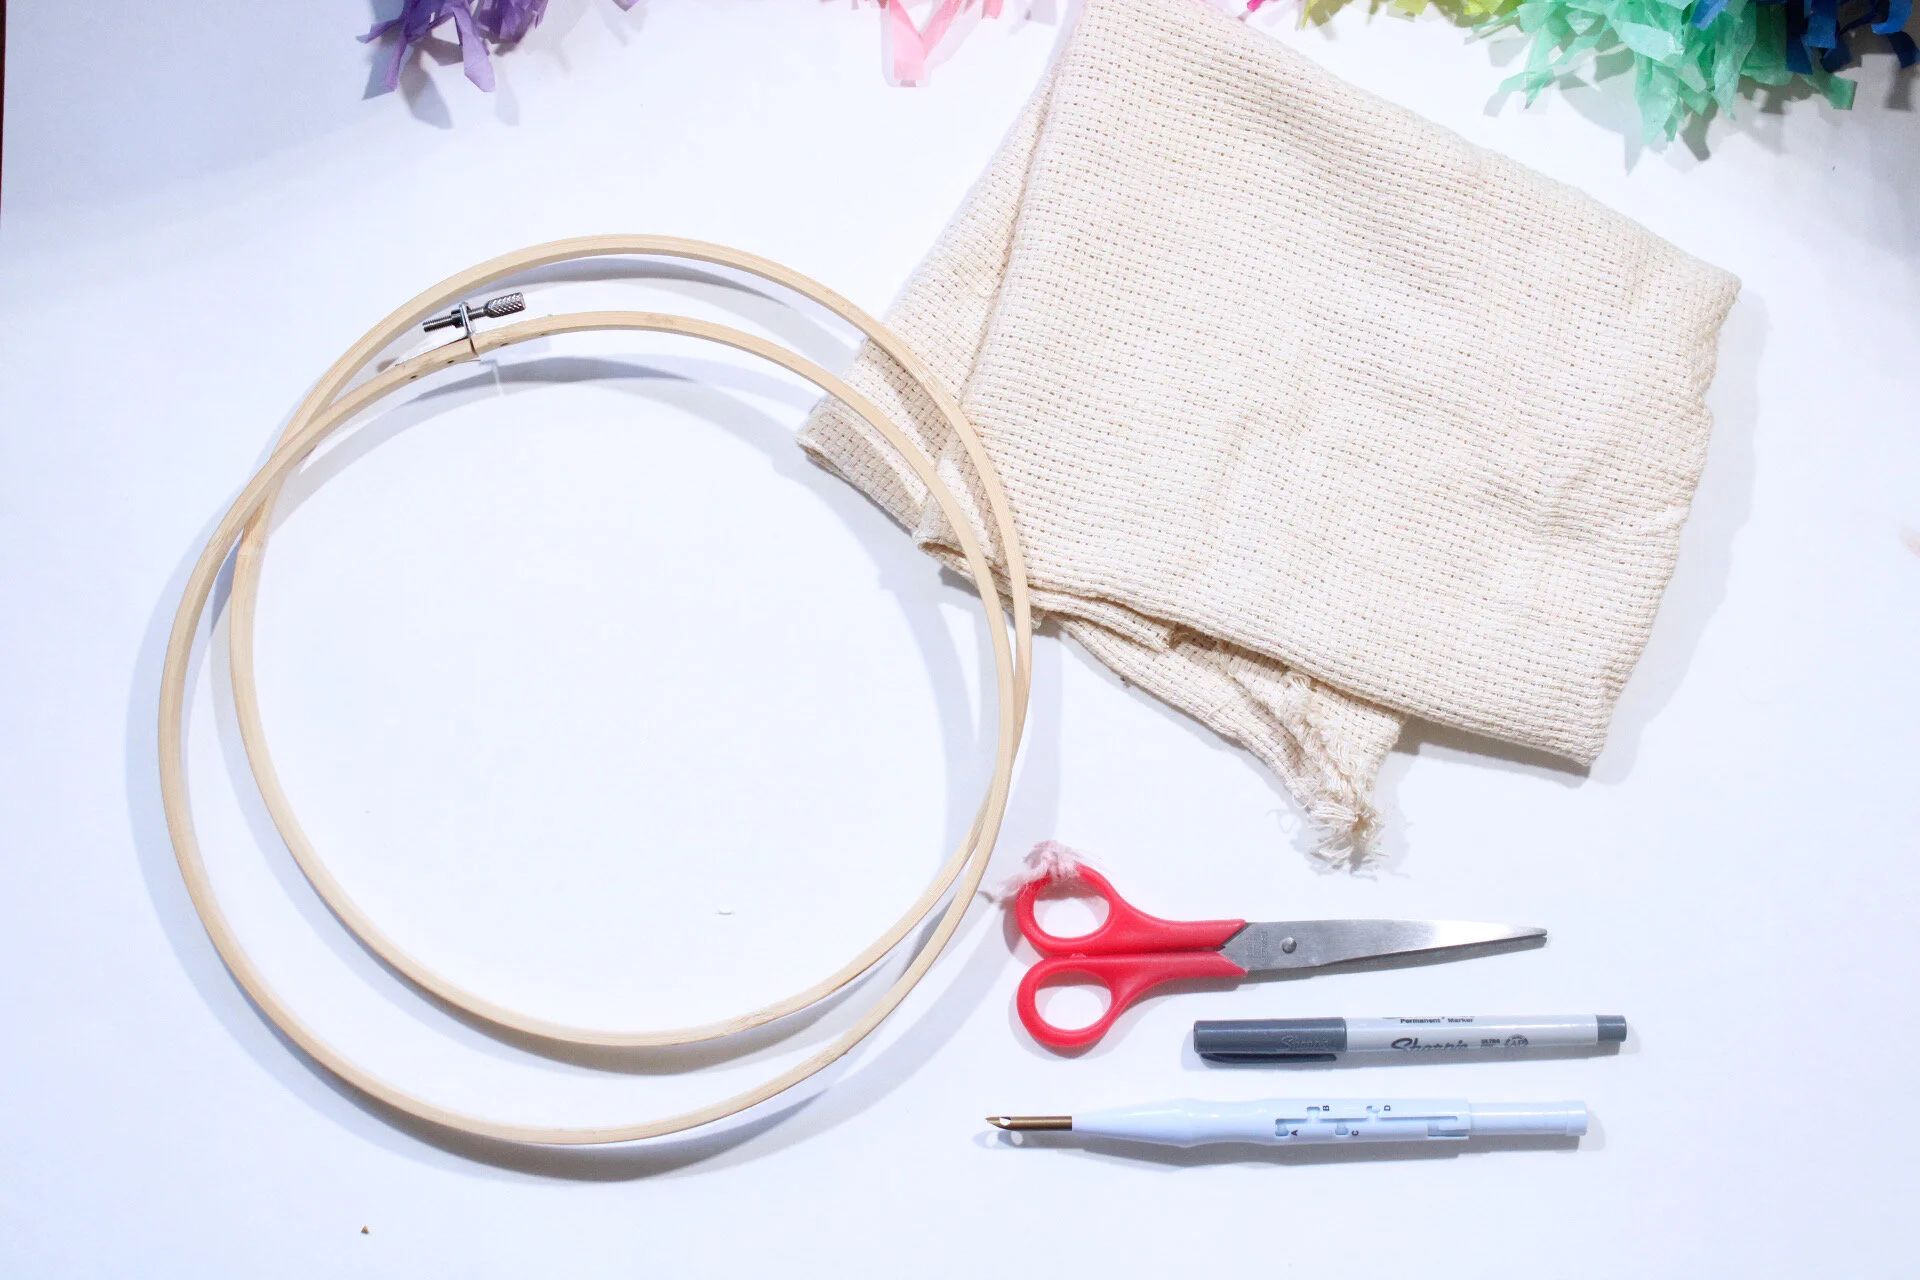
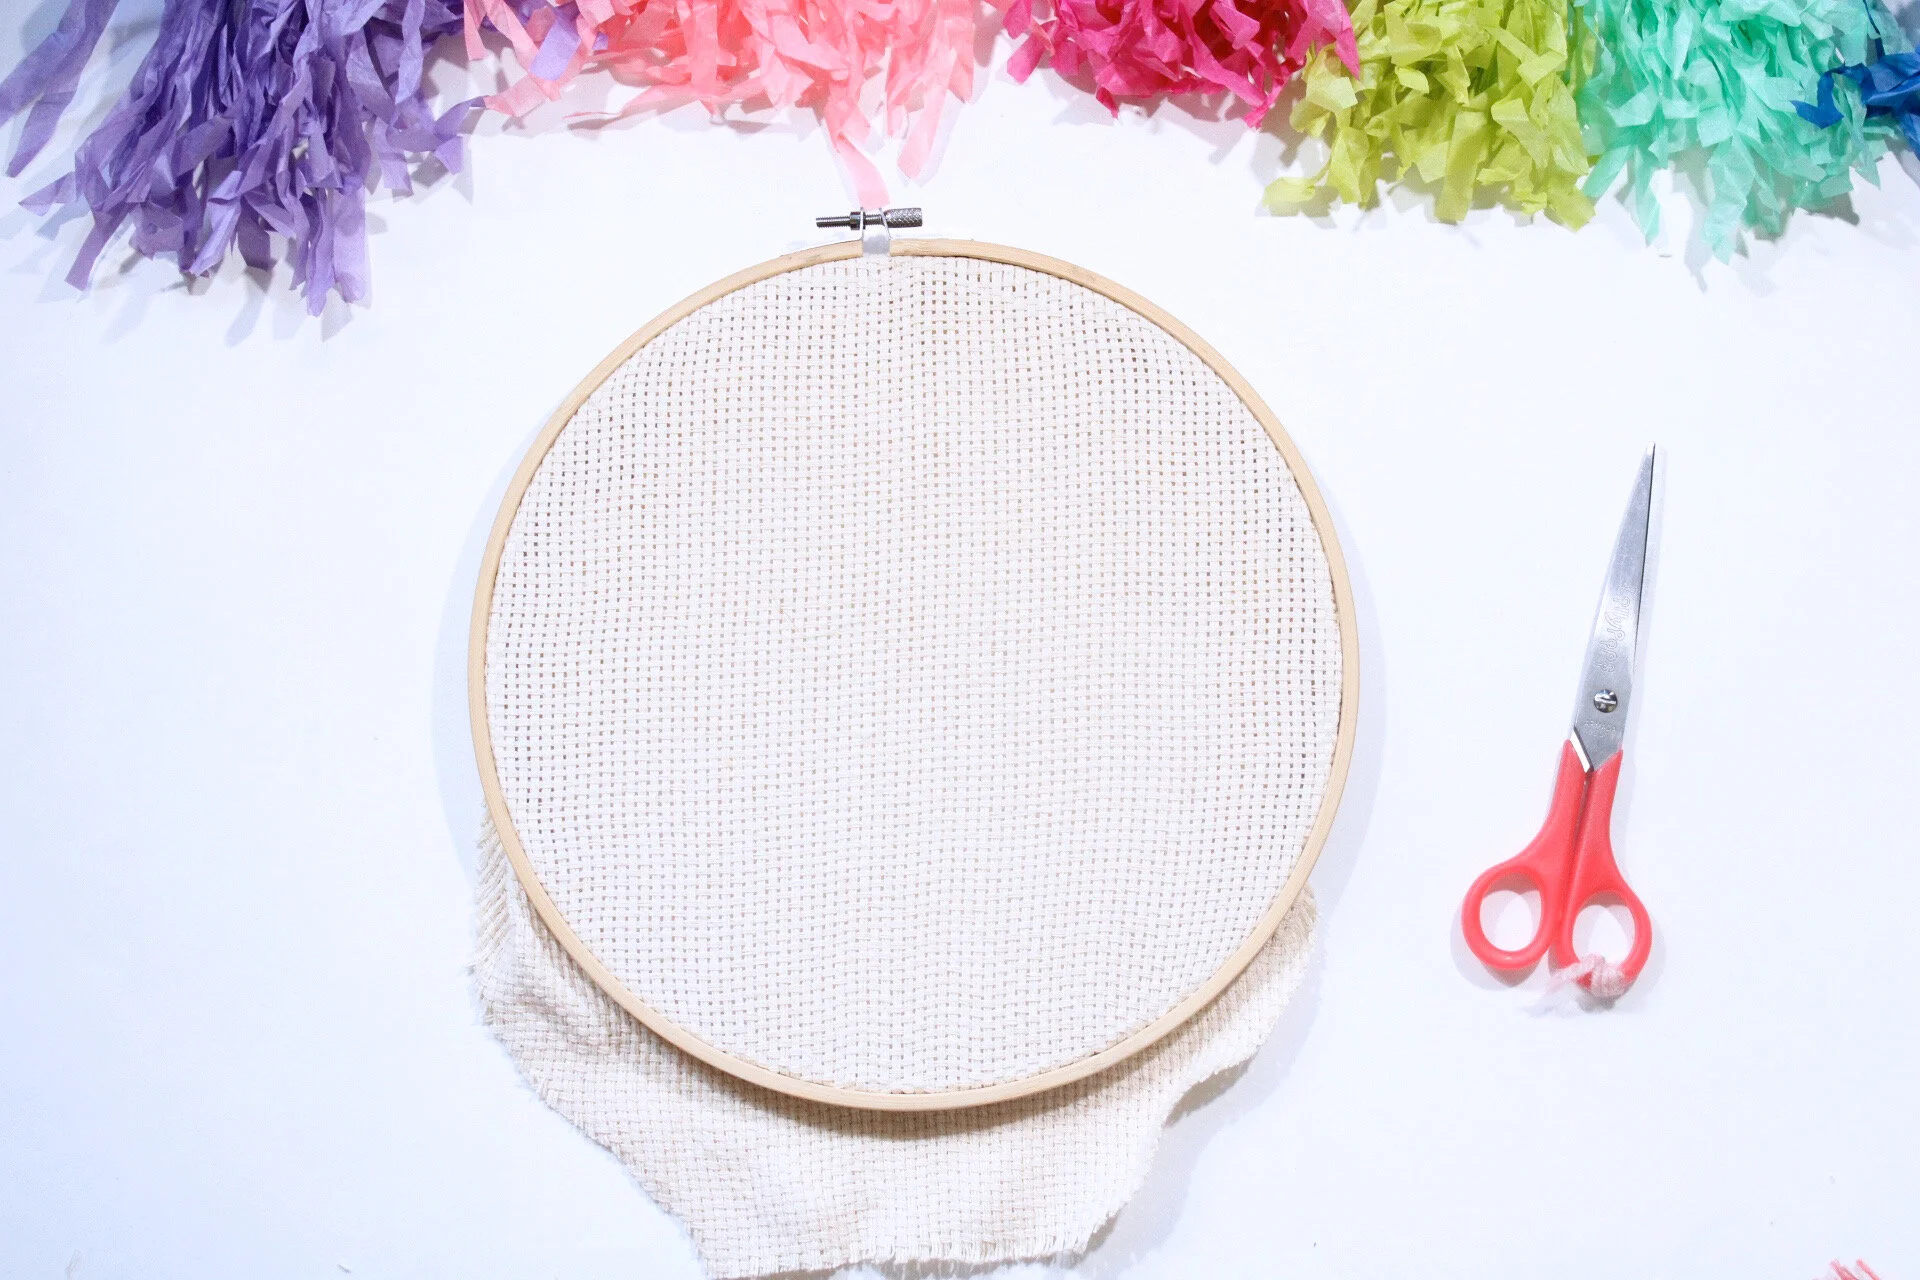
Step One: To start, place your fabric into the hoop. Make sure that it is pulled tight and that your hoop is securely closed. I like to use pliers to make sure the hoop is nice and tight, those little metal screws are hard to handle!
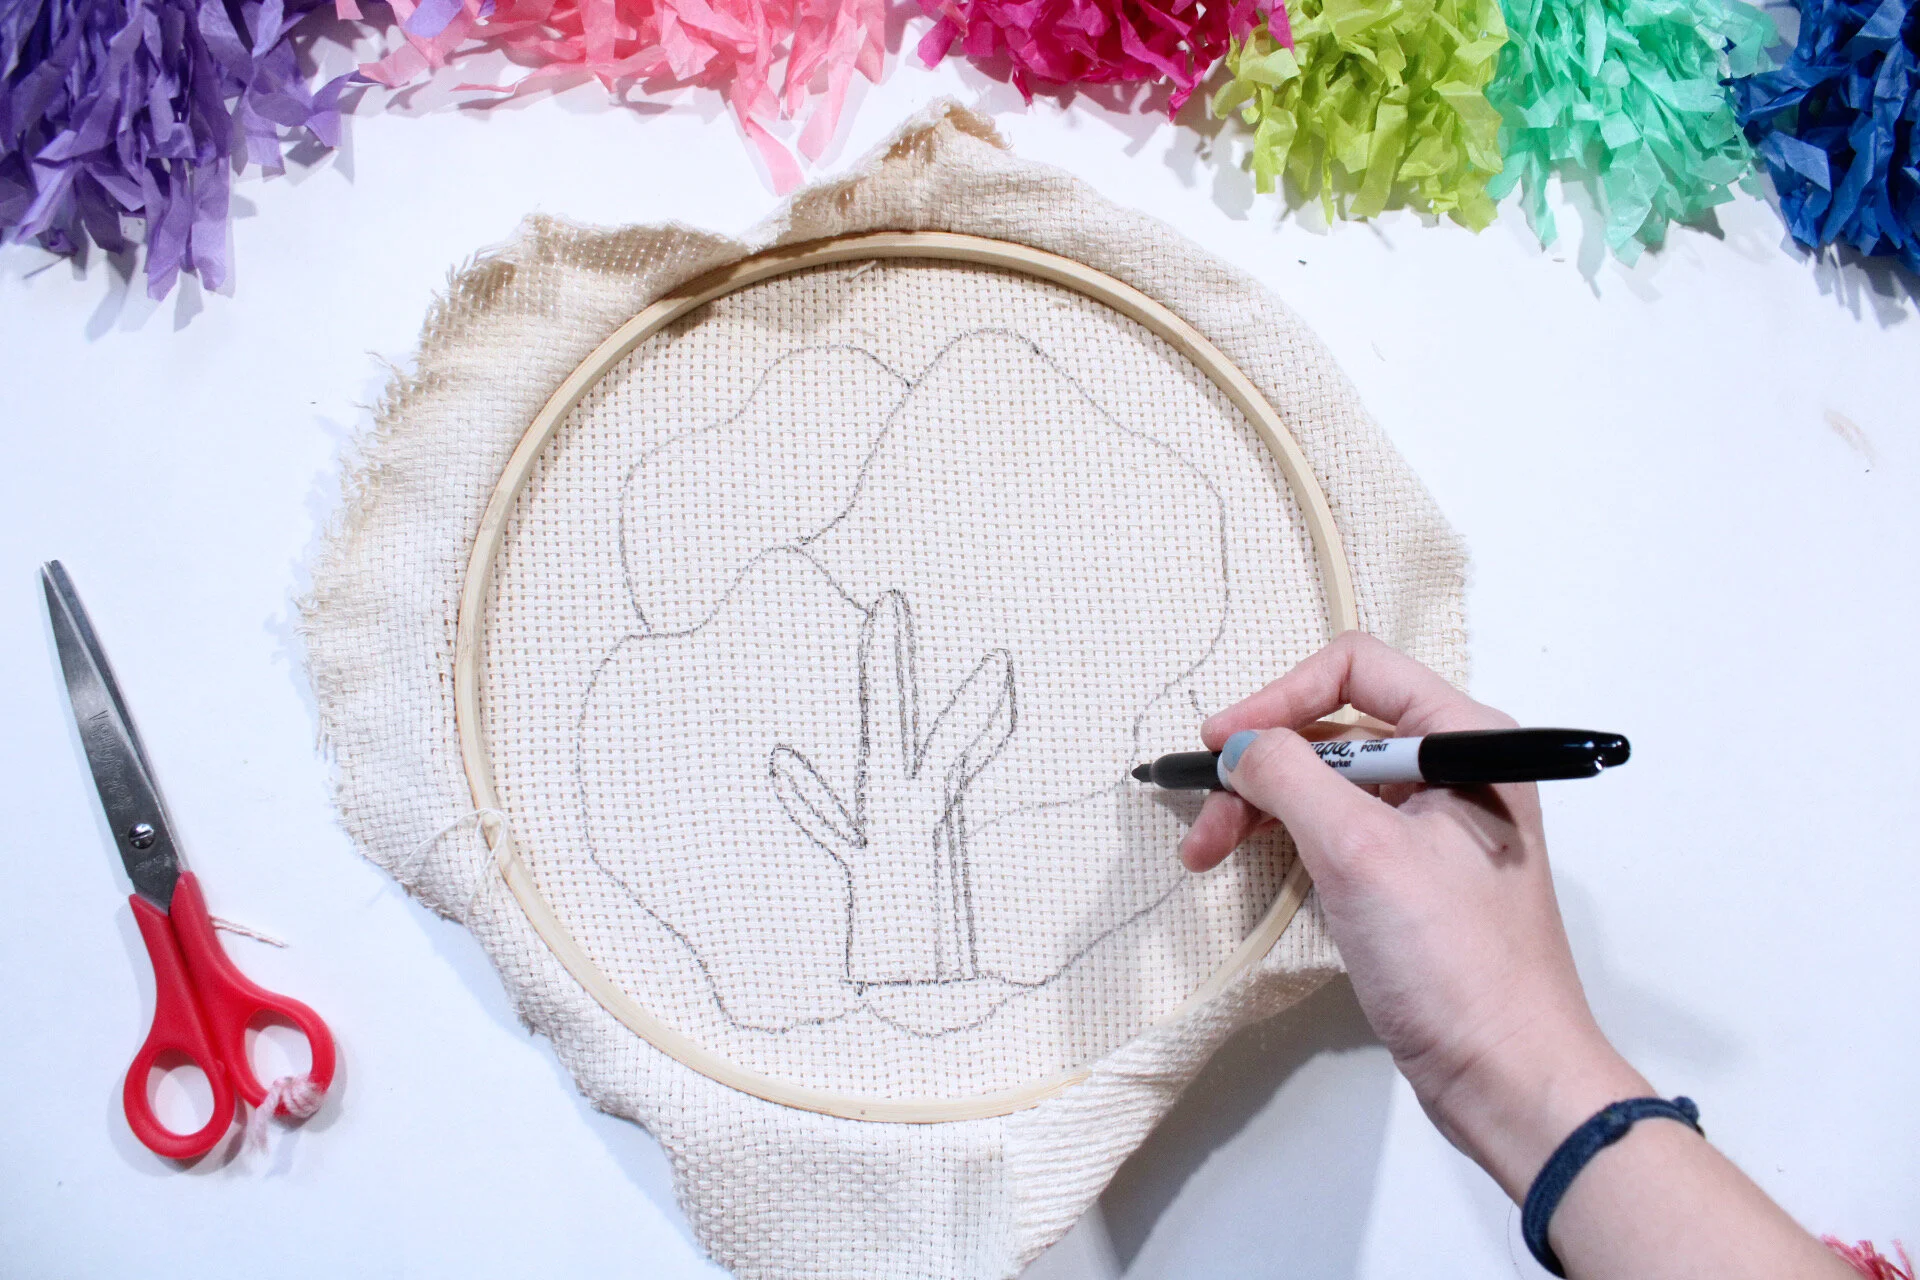
Step Two: Next on the back of your fabric, draw a design that you want. This can be something as intricate at flowers and birds or simple as some fun shapes. I did a mix of both which was super fun.
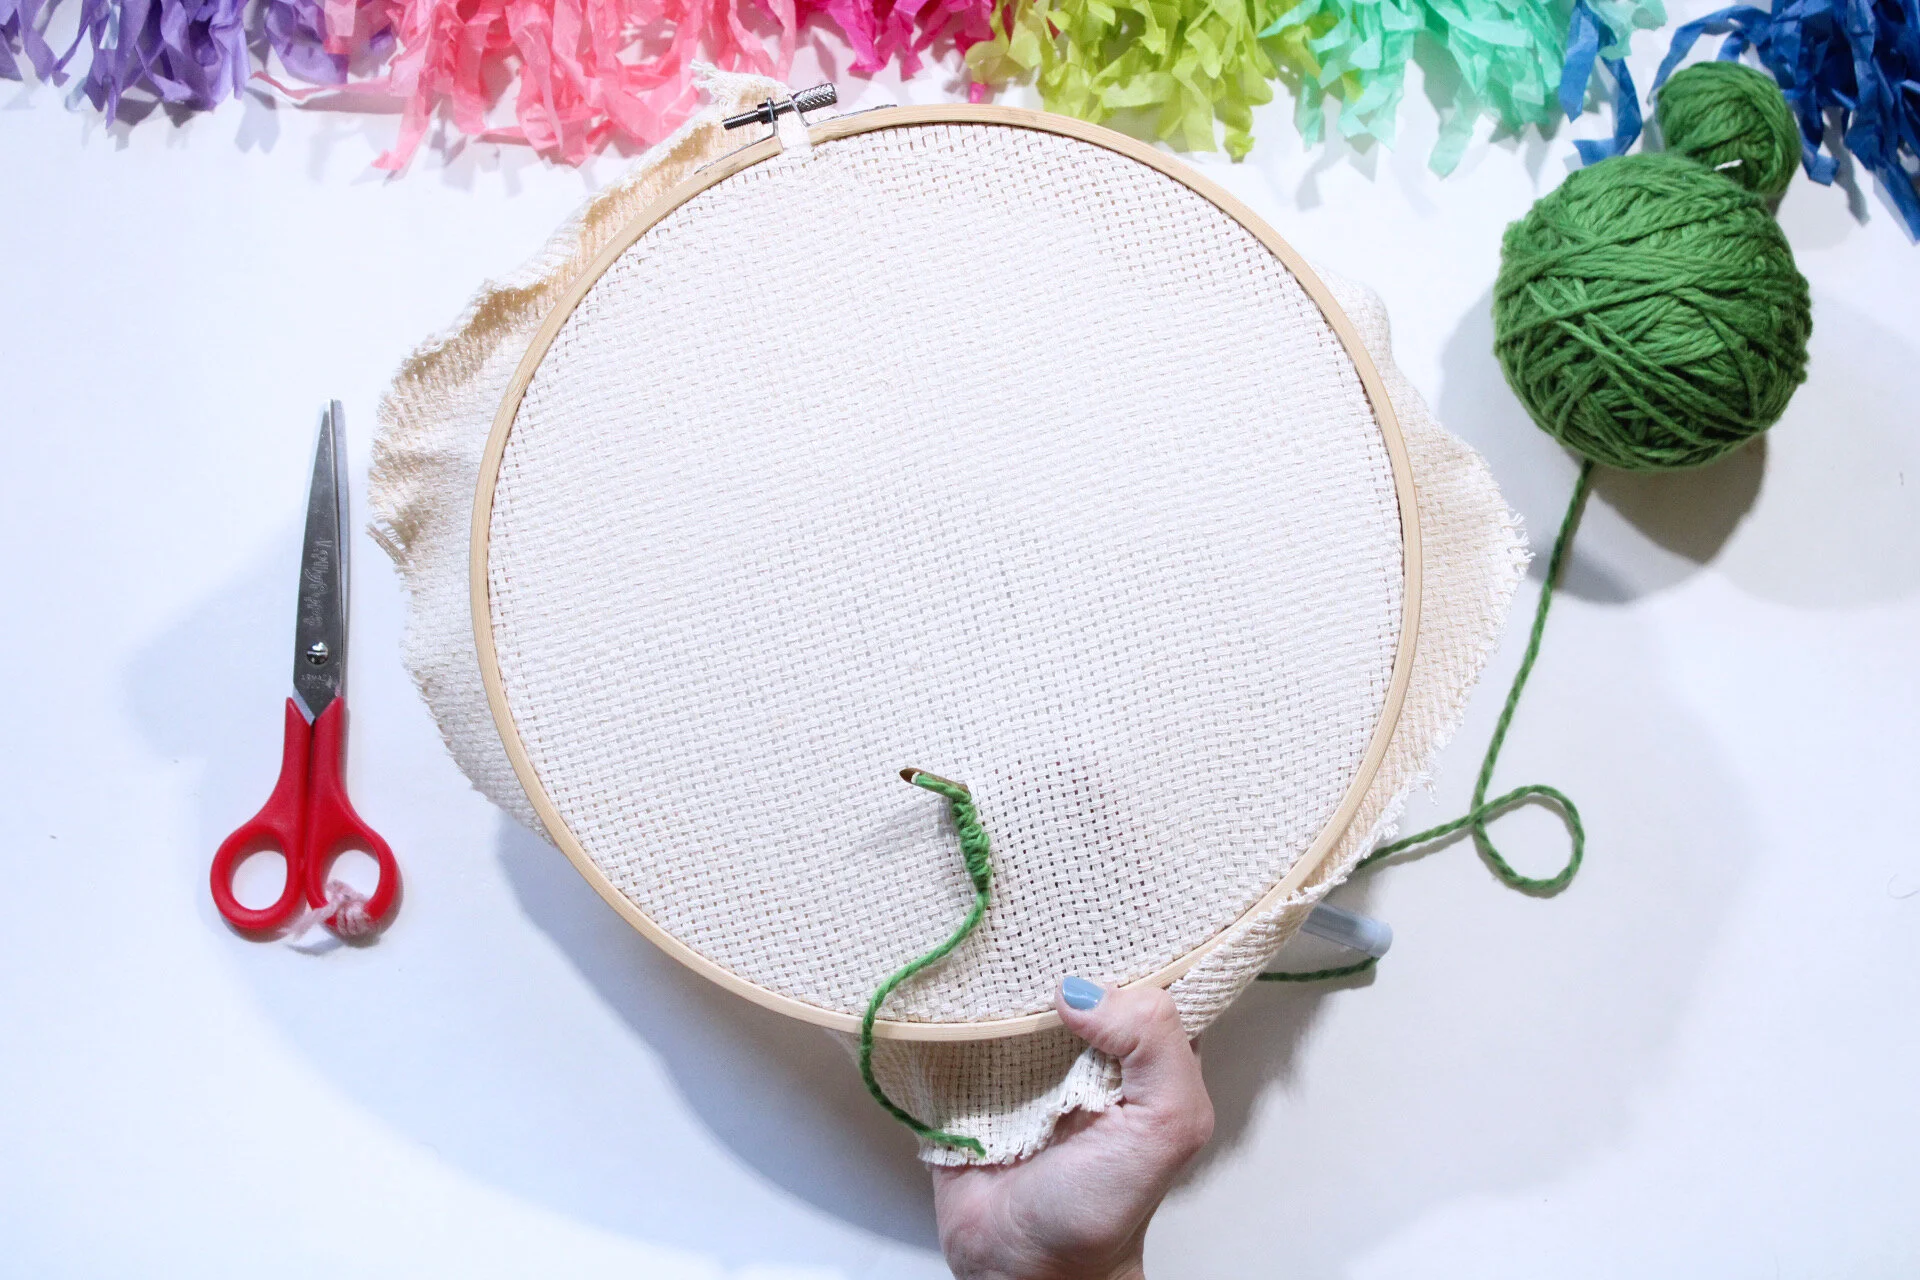
Step Three: Now you will thread the needle from the pointy end to the flat end through the hole inside the tube. You will need to use a long needle threader to complete this step because you will need to make sure the yarn goes all the way through. With thicker yarn it might be harder to get it through but just be patient and it will happen.
Step Four: Next, find your starting point on the monks cloth (this literally can be anywhere you feel comfortable) and push the needle through. For the first punch, pull the end of the yarn through the fabric so the tail is in the front. This helps with the securing.
Step Five: Now, pull the needle back out of the fabric and hold onto the end of the yarn on the other side. Working from left to right make sure that the needle is facing left, that way the needle is moving in the same direction of travel.
Step Six: Next, push you needle back through the fabric next to the initial punch hole. Monks cloth is like a grid so just follow that along. Depending on your yarn weight you can skip a few holes in the fabric. You will want to push all the way down to the handle and then bring it back up and out of the fabric. Repeat this step to create short loops on the back and longer loops on the front.
Step Seven: Continue until you have finished a section. Punch the needle through the fabric and cut the yarn off the needle on the right side. Pull the needle out and trim the excess yarn at the start and finish.
Step Eight: If you want to have different textures in your rug, you will need to adjust your handle to the different letters. This will create longer loops/ piles on your rug. You will be able to tell because the needle will be sticking out more. This allows you to play with different yarn weights and materials to have some fun!
Pro Tip!: Sometimes the yarn will not stay in the fabric. This can be incredibly frustrating because you will be punching away and nothing will be sticking. This can happen because the fabric is not pulled tight enough or because the Monks Cloth, which is loose in its weave starts to get fussy. When this happens, gently pull the yarn back through the needle and head back to the last successful stitch. Realign the fabric weave and just start again. Take it slow this time and leave very short gaps, it helps to make the stitches almost on top of one another.
Step Nine: Once the fabric is full and you feel content with it, pull the monks cloth as tight as it will go and brig it to the edge of the hoop. Cut off the excess fabric and this bad boy is ready to hang!
They are the perfect way to bring a pop of color and texture to a room. This project is also incredible to do when you are passing the time. I created this whole piece watching Gilmore Girls on my couch and taking care of KC. It was truly fantastic how quickly the time went by because I was so occupied. I hope you guys enjoy making this as much as I did! XOXO


