Tissue Paper Printed Postcards
With all the social distancing happening these days, it is important to stay connected and act as though we are seeing one another. There has been lots of FaceTiming with loved ones, virtual hangs and even an ability to “watch a movie together” virtually. Honestly, I feel that social distancing might be keeping us all closer than ever.
I think it is important at this time to also share with friends and loved ones words and expressions of love via SNAIL MAIL! We might as well take the chance and send mail while the post offices are still up and running. The color of tissue paper is easily transferable to paper just using water! It is a fun craft to do as an adult or with your kiddos who are also home!
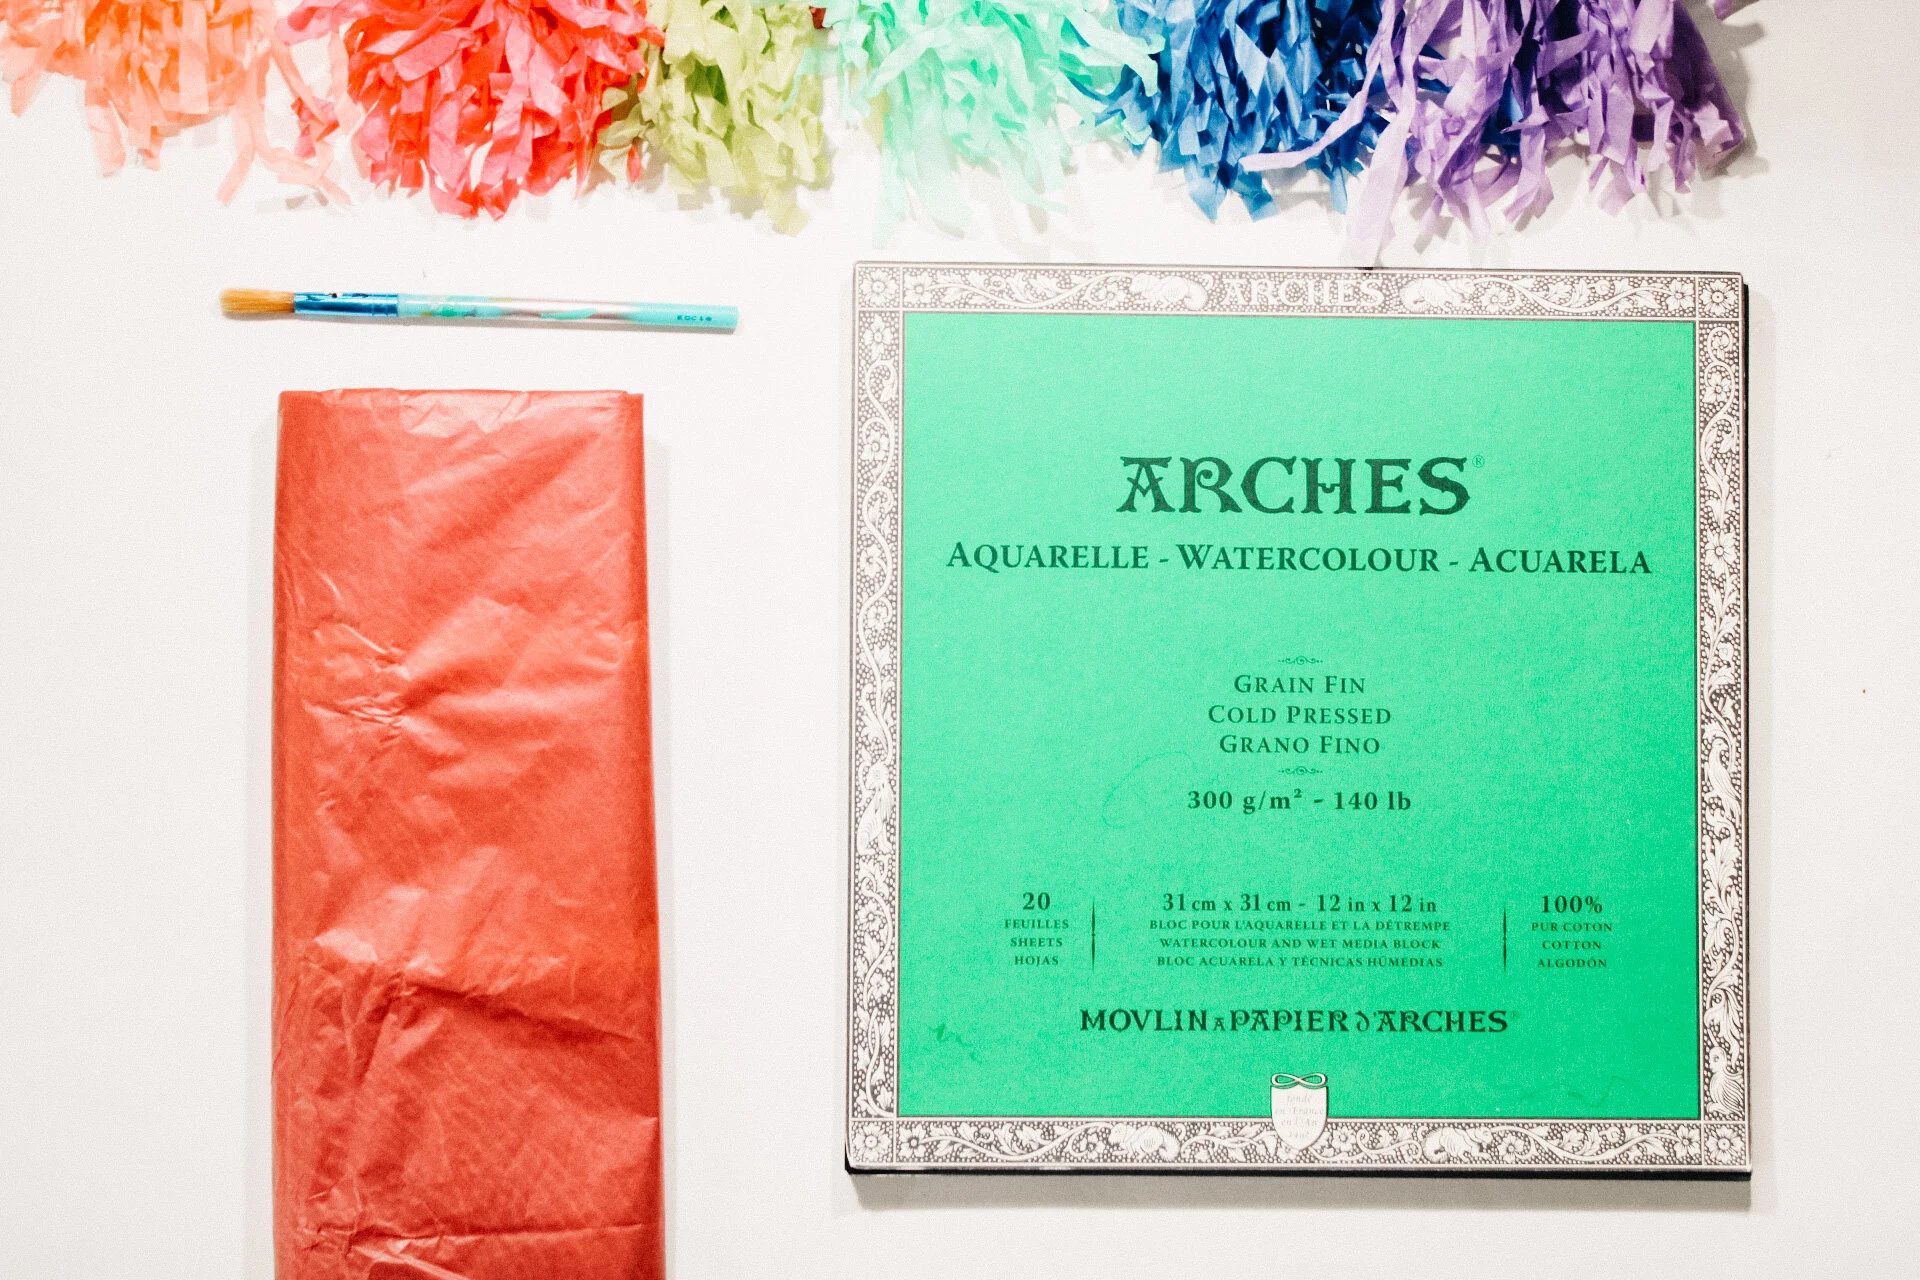
Supplies:
-Tissue paper
-Watercolor Paper
-Scissors
-Markers
-Colored Pencils
-Ruler
-Paint Brush
Step One: Make the Postcards
Using a ruler, mark out how large you want your postcards to be on the watercolor paper. I am using a piece of 12” x 12” paper so I measured out three 4” x 6” postcards. Apparently that is the average size of a postcard so it felt right.
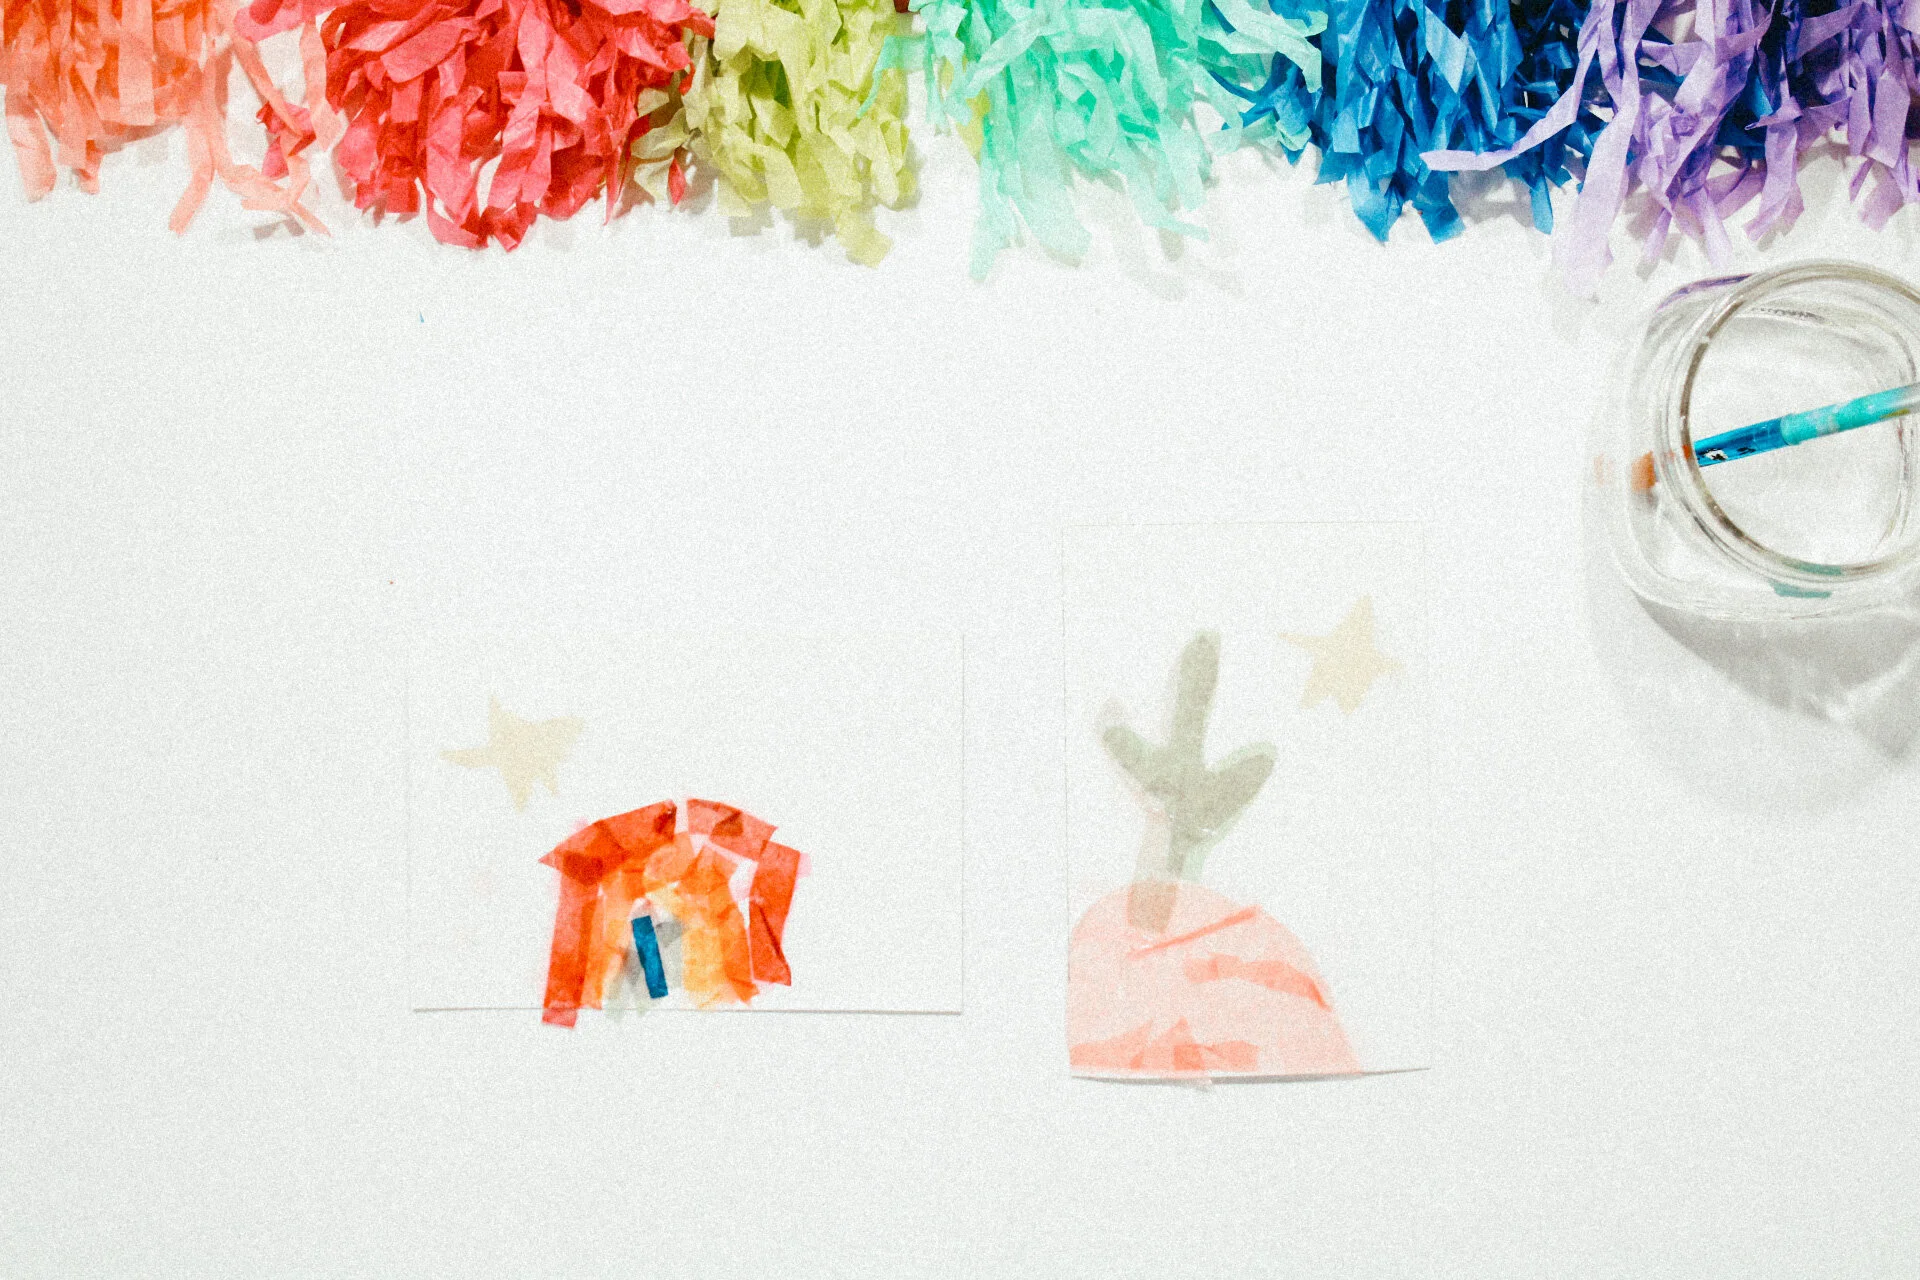
Using the tissue paper, plan out your design. It can be as large or as small as you want and it can also be intricate or just some shapes cut out. There is no right way! Once your design is all planned out, using a paint brush dipped in water, paint over the tissue paper with an even coating of water. The water will saturate the tissue paper and the color will bleed through onto the watercolor paper.
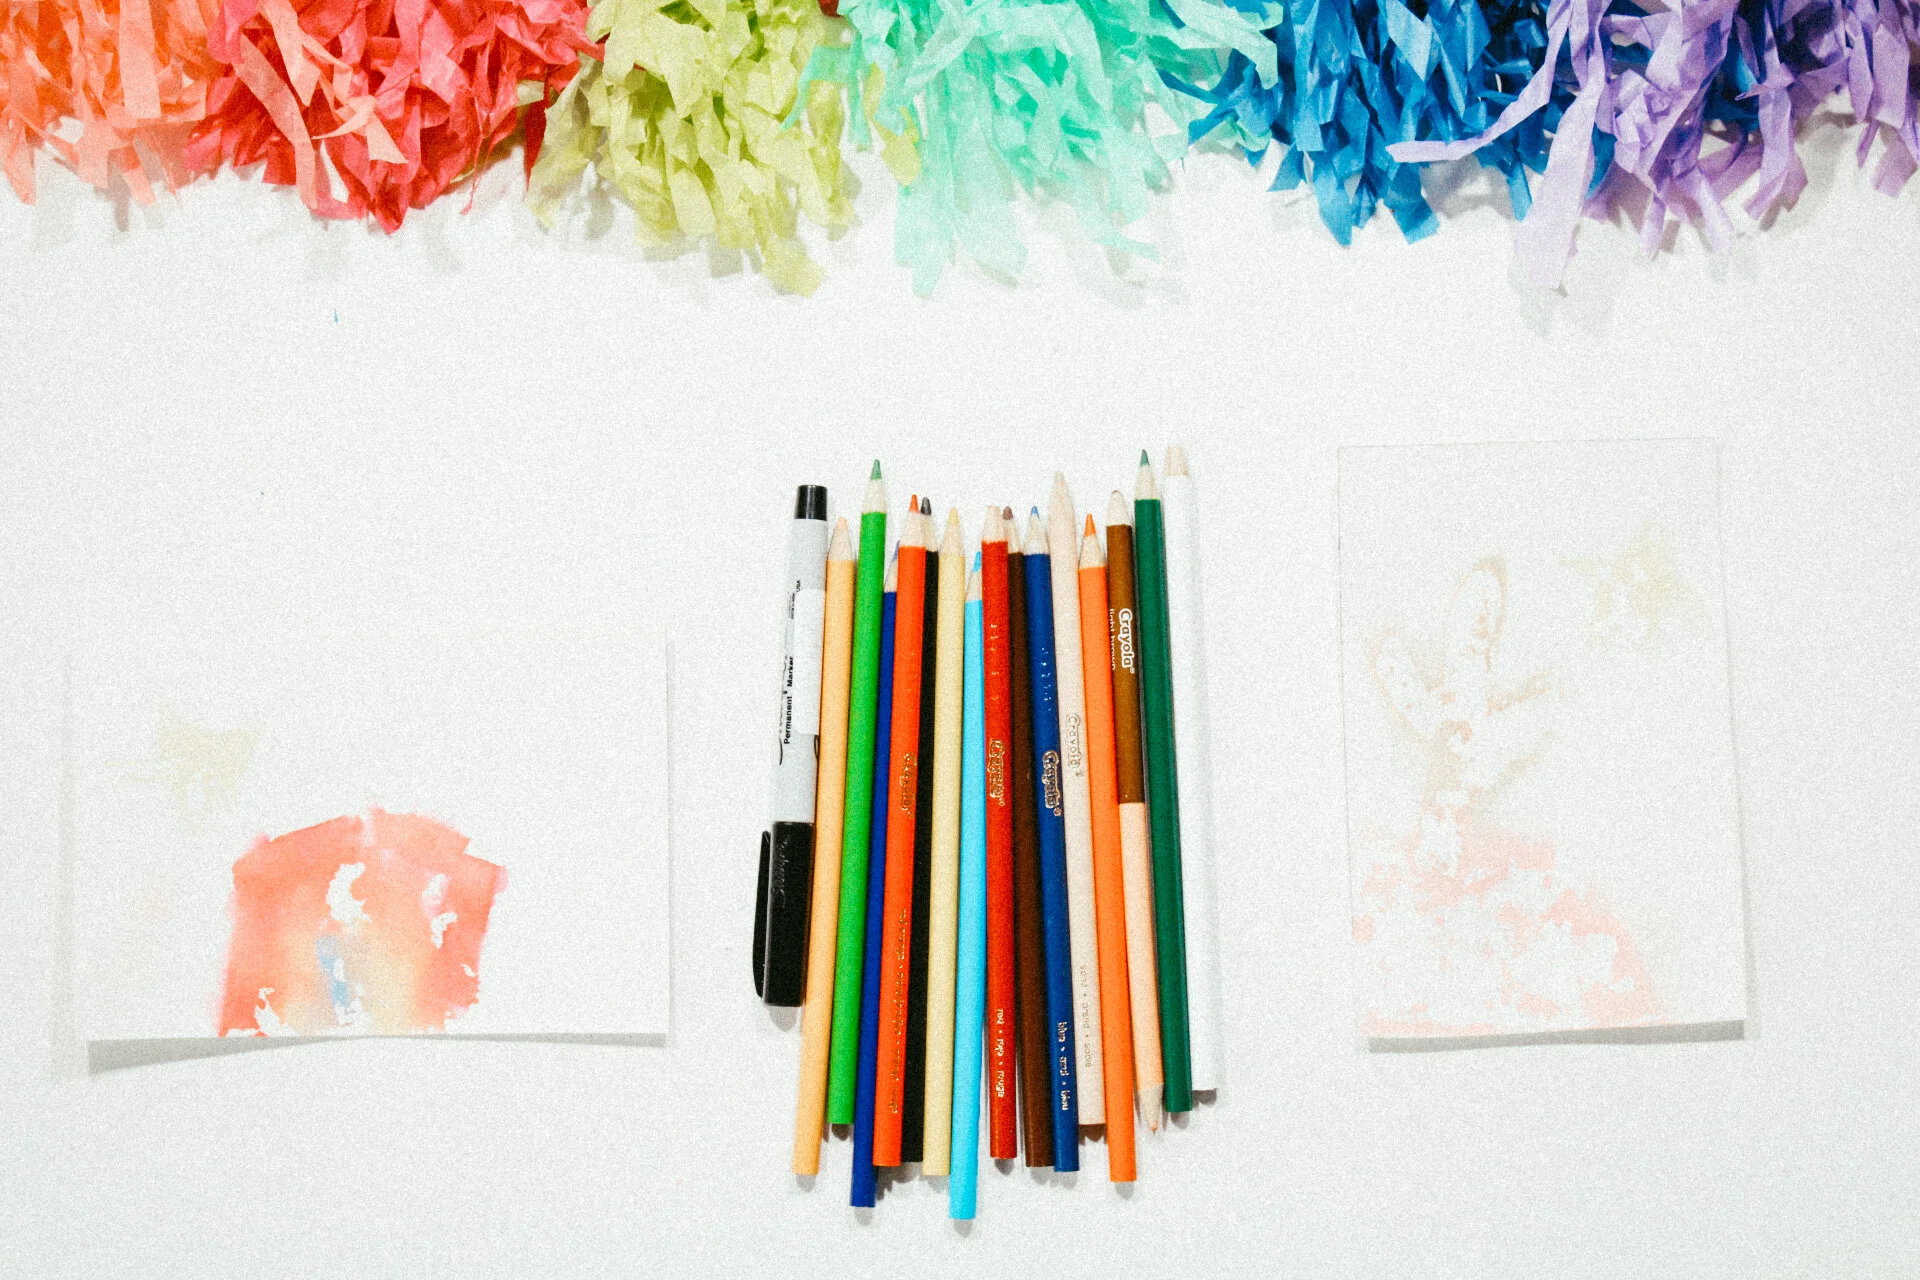
When the tissue paper is dry the edges will start to curl up and that is how you know it is ready to peeled off. Peel back the tissue paper and see the image that is on the paper! Some colors bleed better than others, but we will take care of that in the next step.
Step Two: Finishing Touches
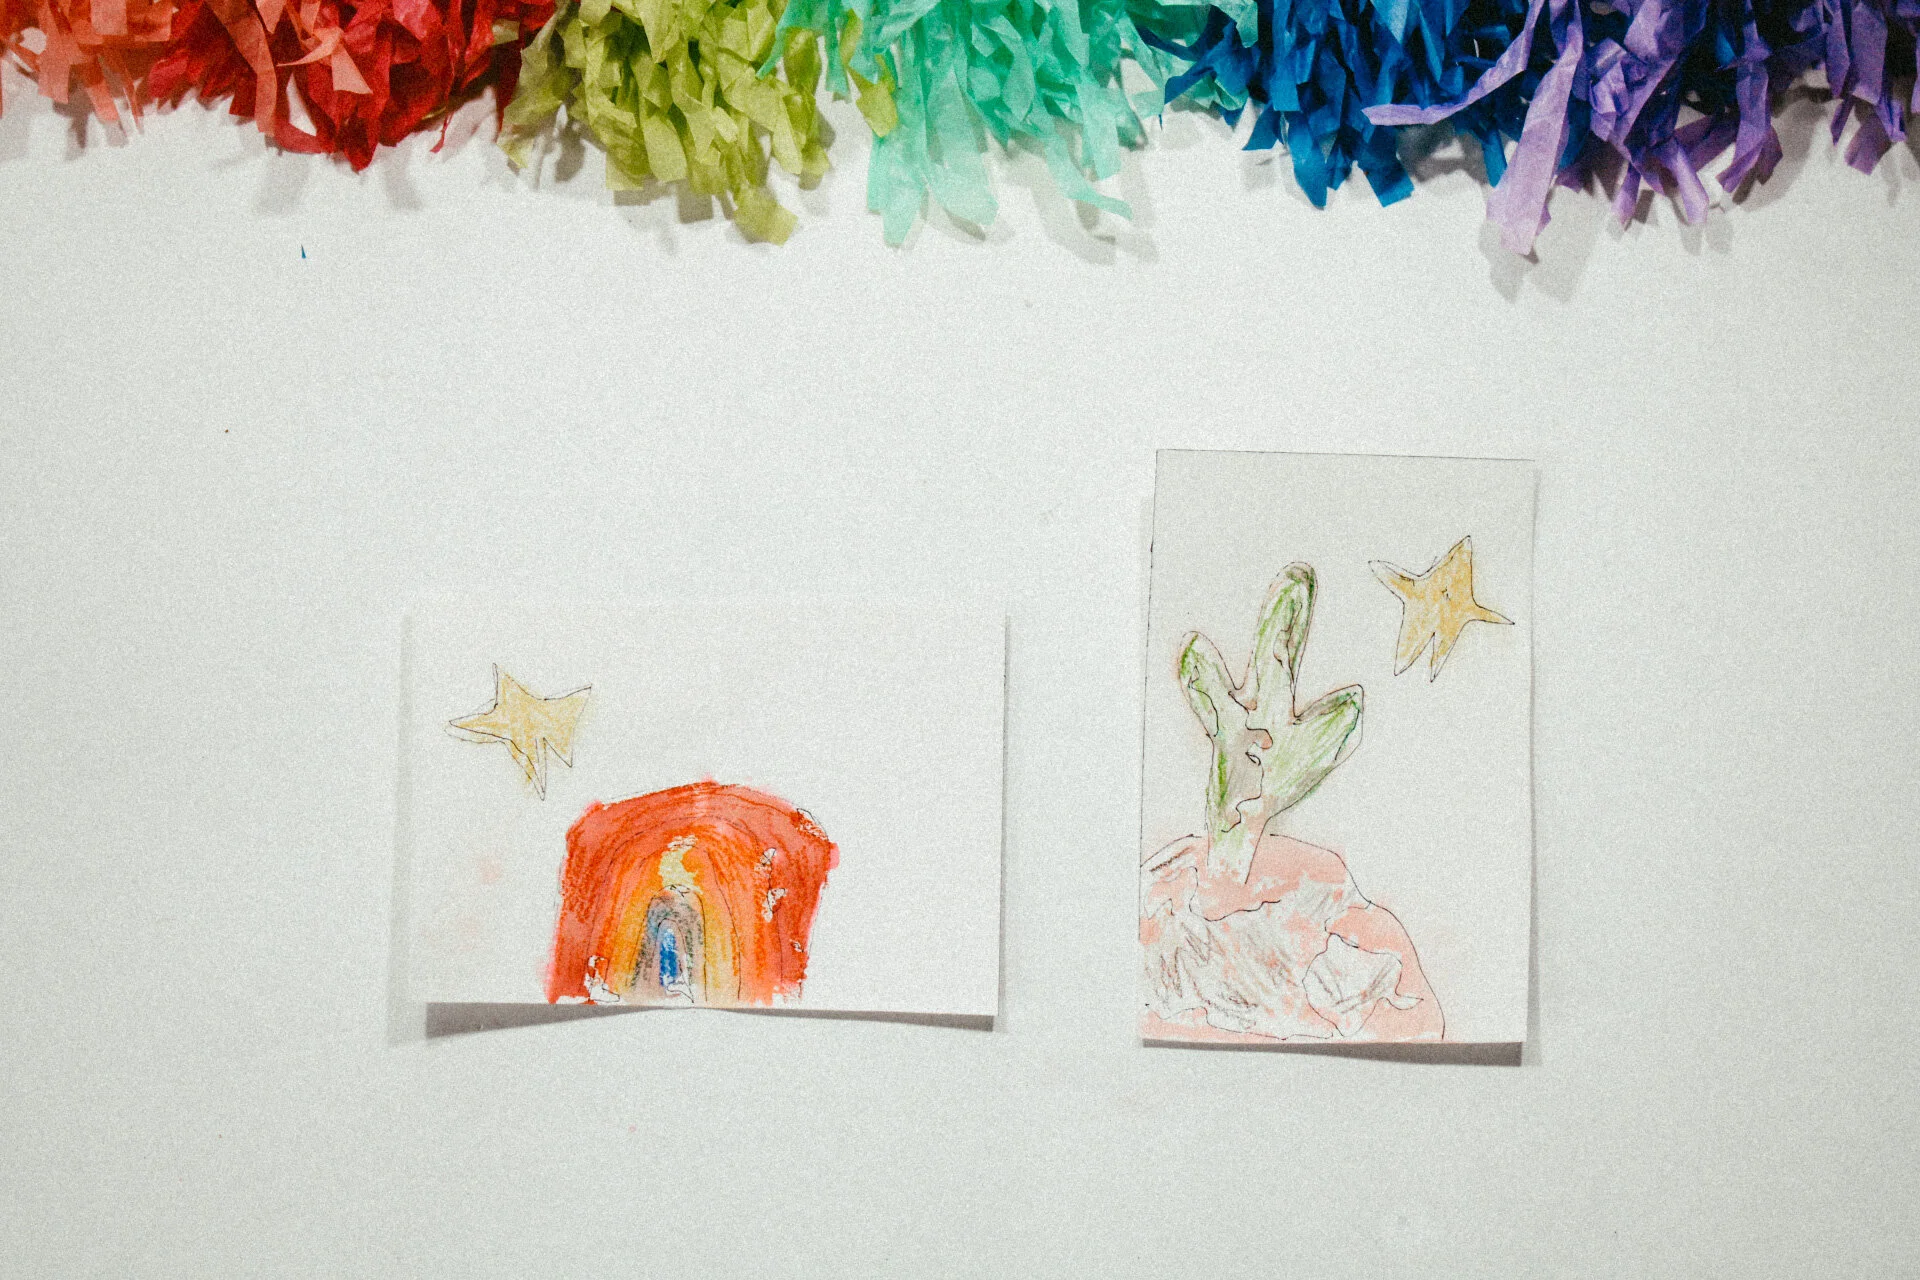
To amp your design up a little more use the colored pencils and markers to color in where the tissue paper did not bleed. I also found it fun to outline the image you created as well to define it a bit more. You can also add some words or phrases to the postcard to have it be themed or more fun!
On the back of the postcard, draw the box for the stamp and the lines for the recipient's name and address.
Now all you have to do is fill it out and send it over to a close friend or loved one! It is a perfect way to share art with family members and nice/ kind words to people during these hard and scary times. XOXO
If you make this, take a picture and post it on social media with the tag #caronahomebody
