Basic Crochet Stitches
The most response that I have gotten about what DIYs people wanted for this time off was crocheting. Most people who know me, know that I am either constantly crocheting or constantly with a crochet hook. I taught myself to crochet when I was about 13. My mom was and still is an amazing crocheter and I always would watch her hands make these amazing and super large blankets for most of my life. I learned by watching my moms hands move through the process.
Crocheting can be used as a great coping skill in times of stress because of the meditative process that it is. It also helps with mastery because you are able to create beautiful blankets, sweaters and hats with some basic knots. I am going to share with you the two main crochet stitches that will be a great base for your learning.
Supplies
-Yarn
-Crochet Hook
-Scissors
Chaining
Before you get started crocheting you have to create the chain. This is often the hardest part because you do not have to hold on and things can get clumsy and weird. In the beginning, going slow is super important because you are creating the base for the rest of your work.
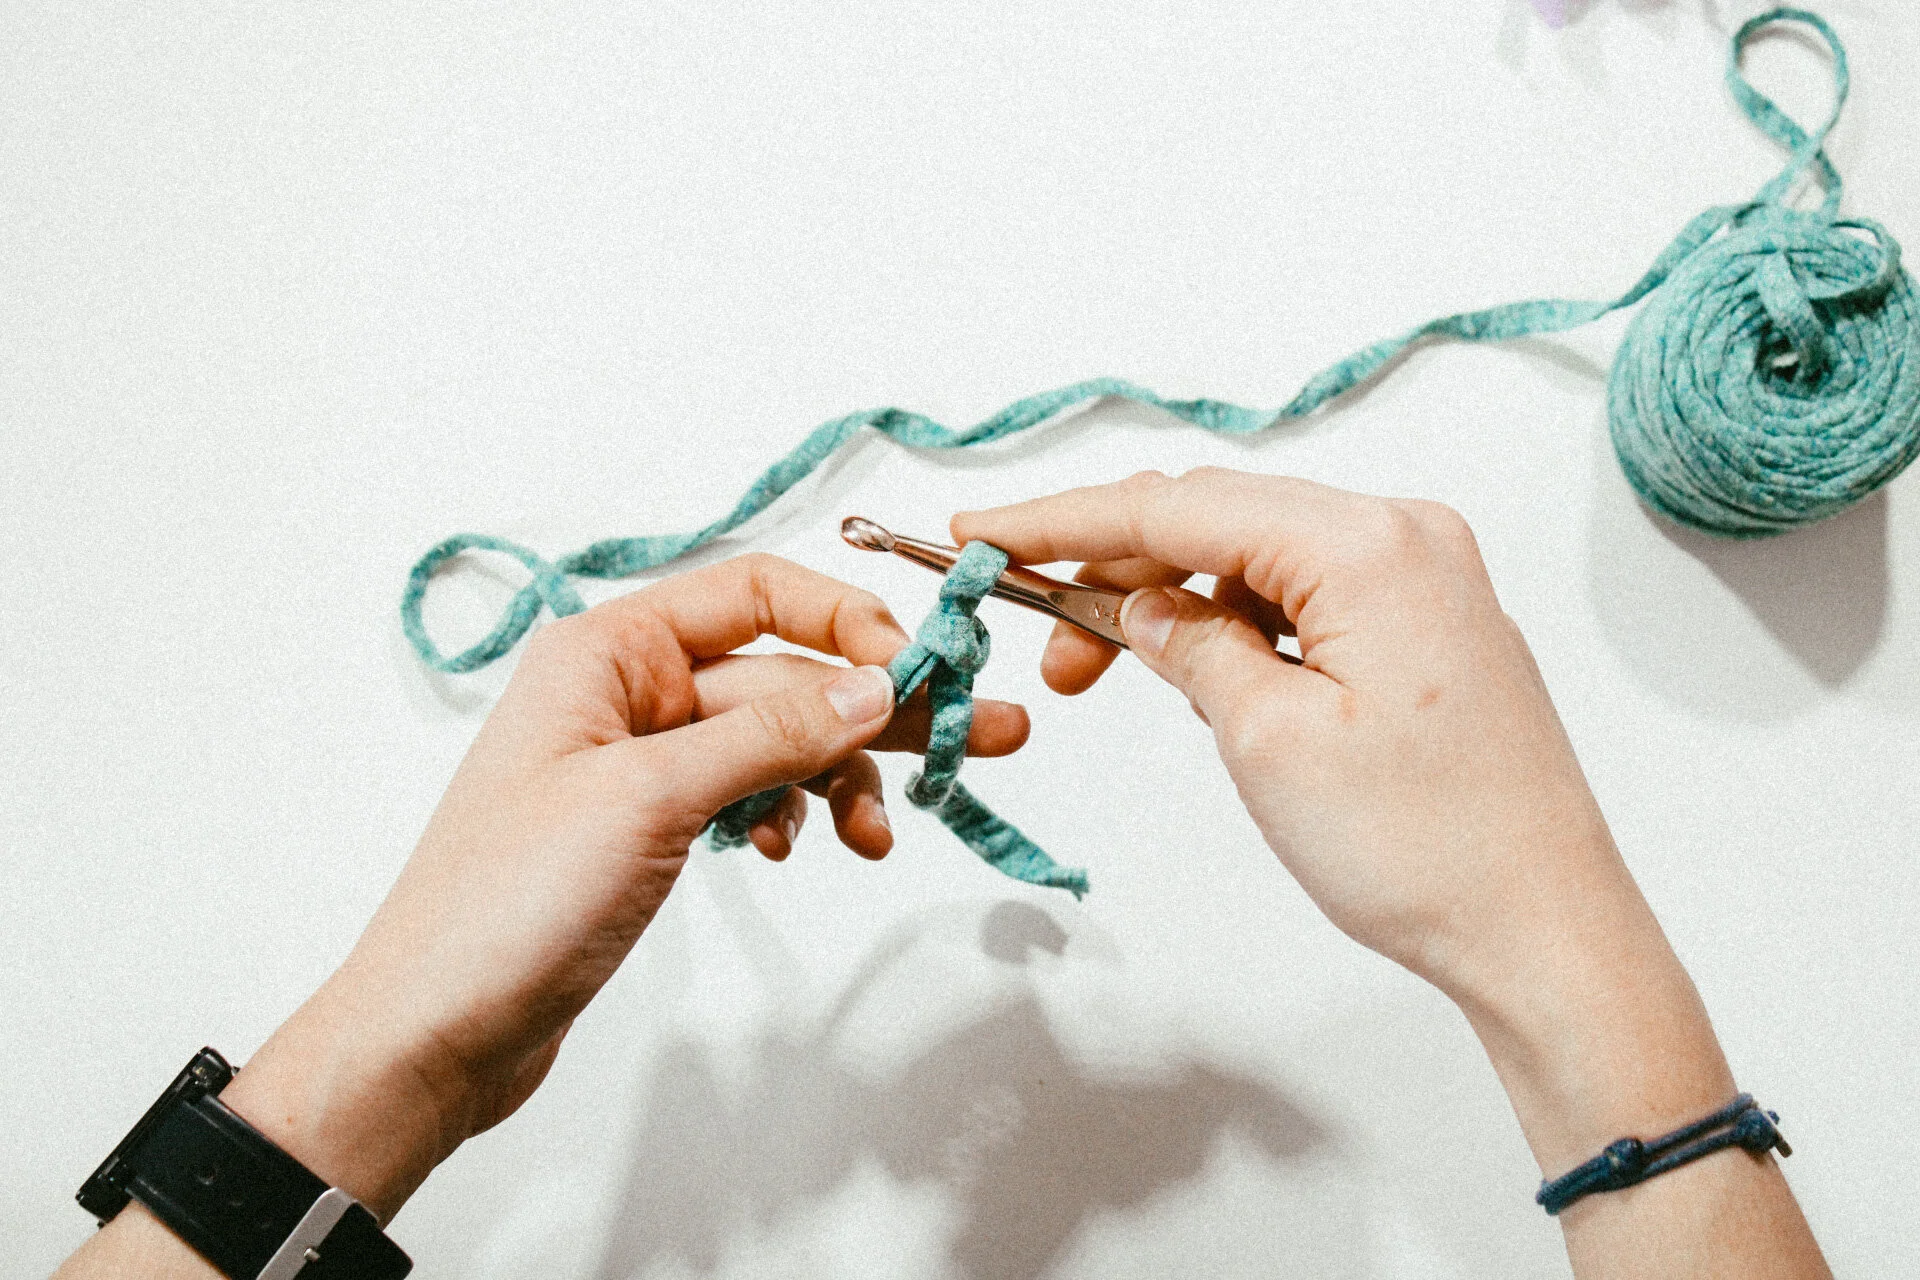
Start with a slip knot. Grasp the yarn in your left hand between your thumb and index finger, supporting the yarn with your middle finger. Next twist the yarn to form a loose loop and then pill the yarn that is connected to the ball through the center of the loop creating a slip knot. Put the crochet hook through the center of the loop and tighten to hook, leaving a bit of space so the loop is loosely on the hook.
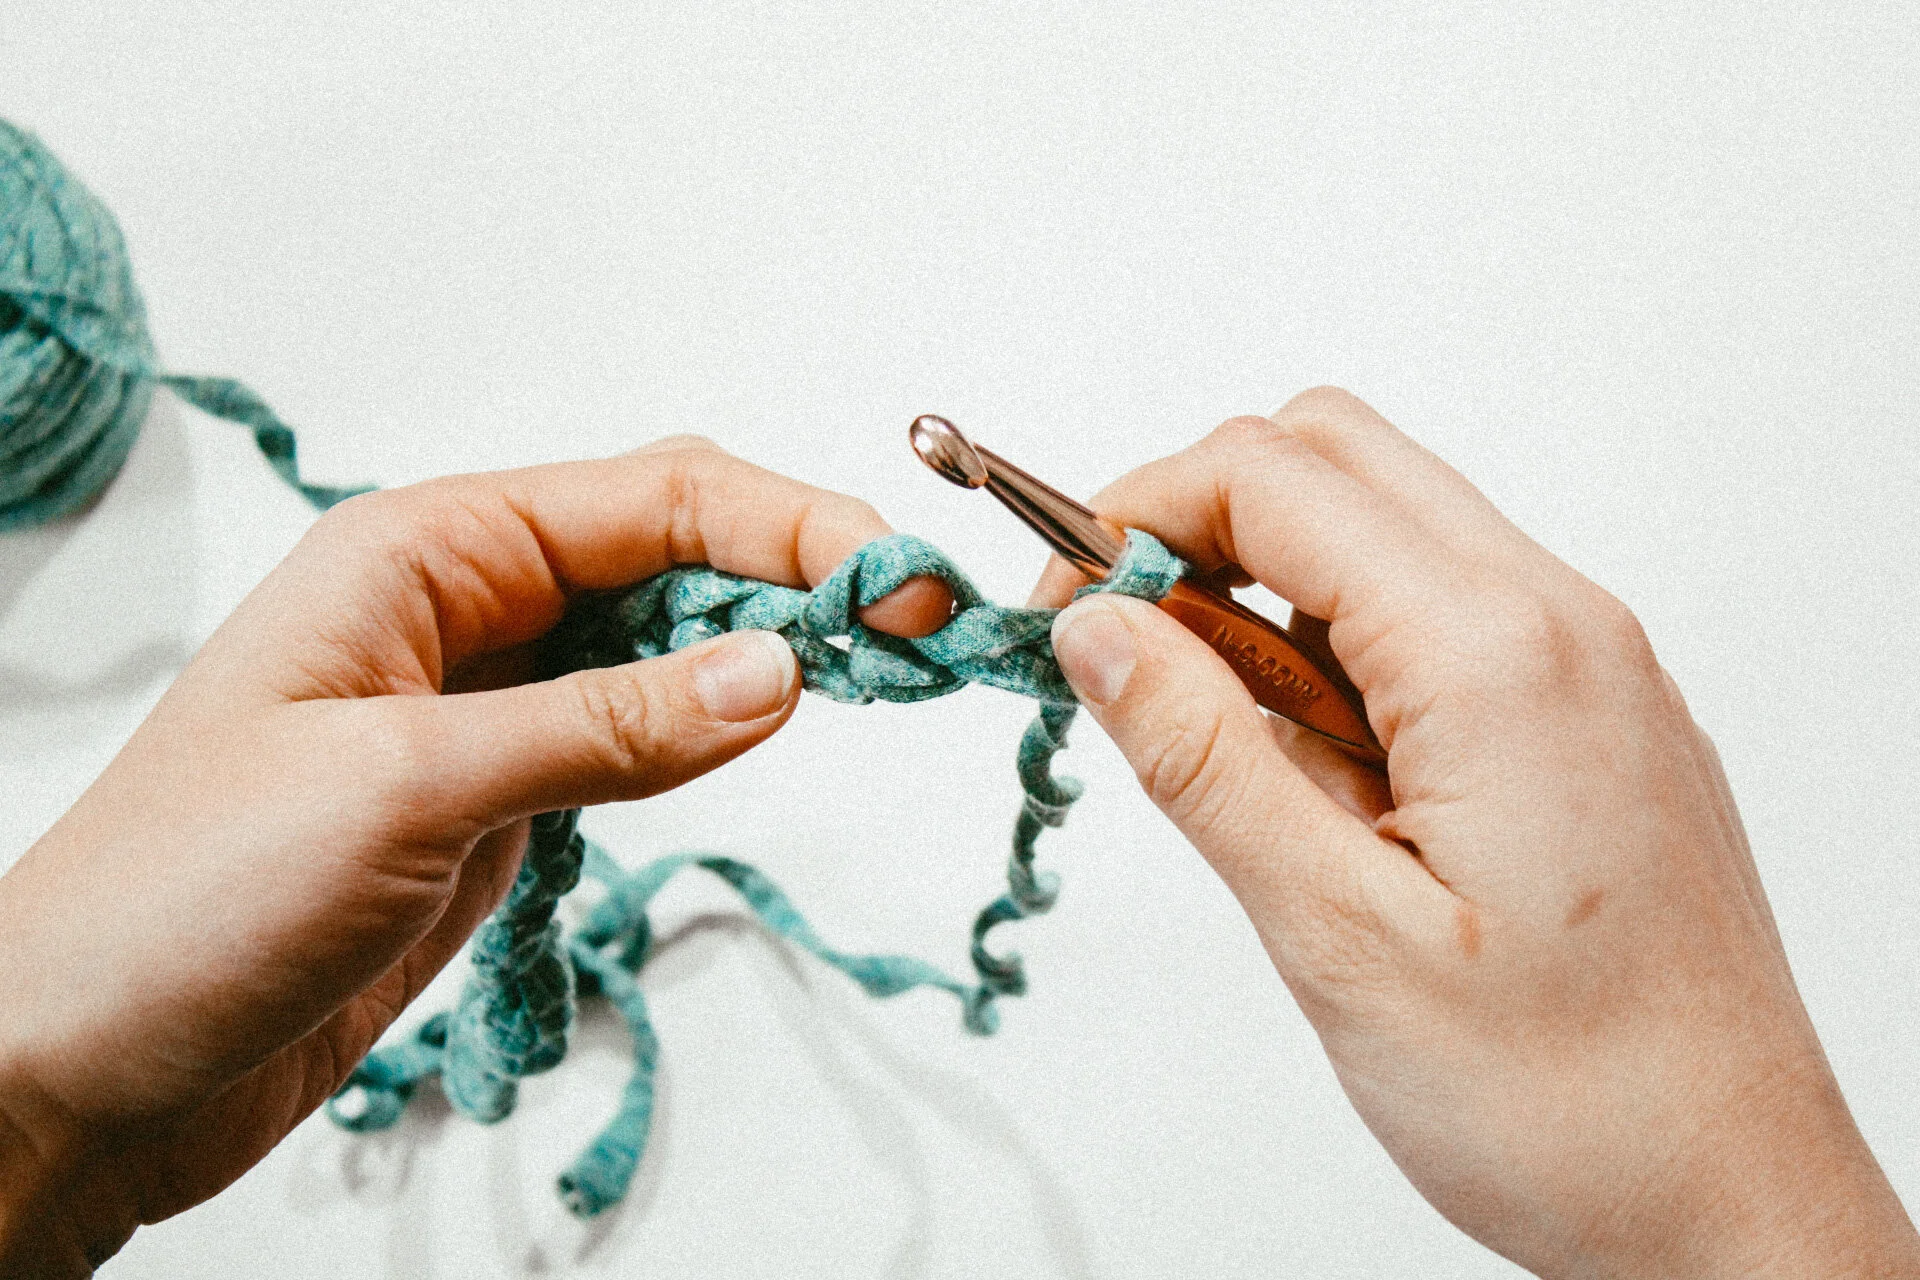
To create the chain, hold the hook out, there should be 1 loop on the hook. Wrap the yarn over the hook and pull through. Repeat that until you have your desired length for crochet. I did 20 stitches. On your last chain leave the hook and turn.
Single Crochet
A single crochet is the most commonly used crochet stitch. To be honest, you could only learn this stitch and make beautiful handmade items.
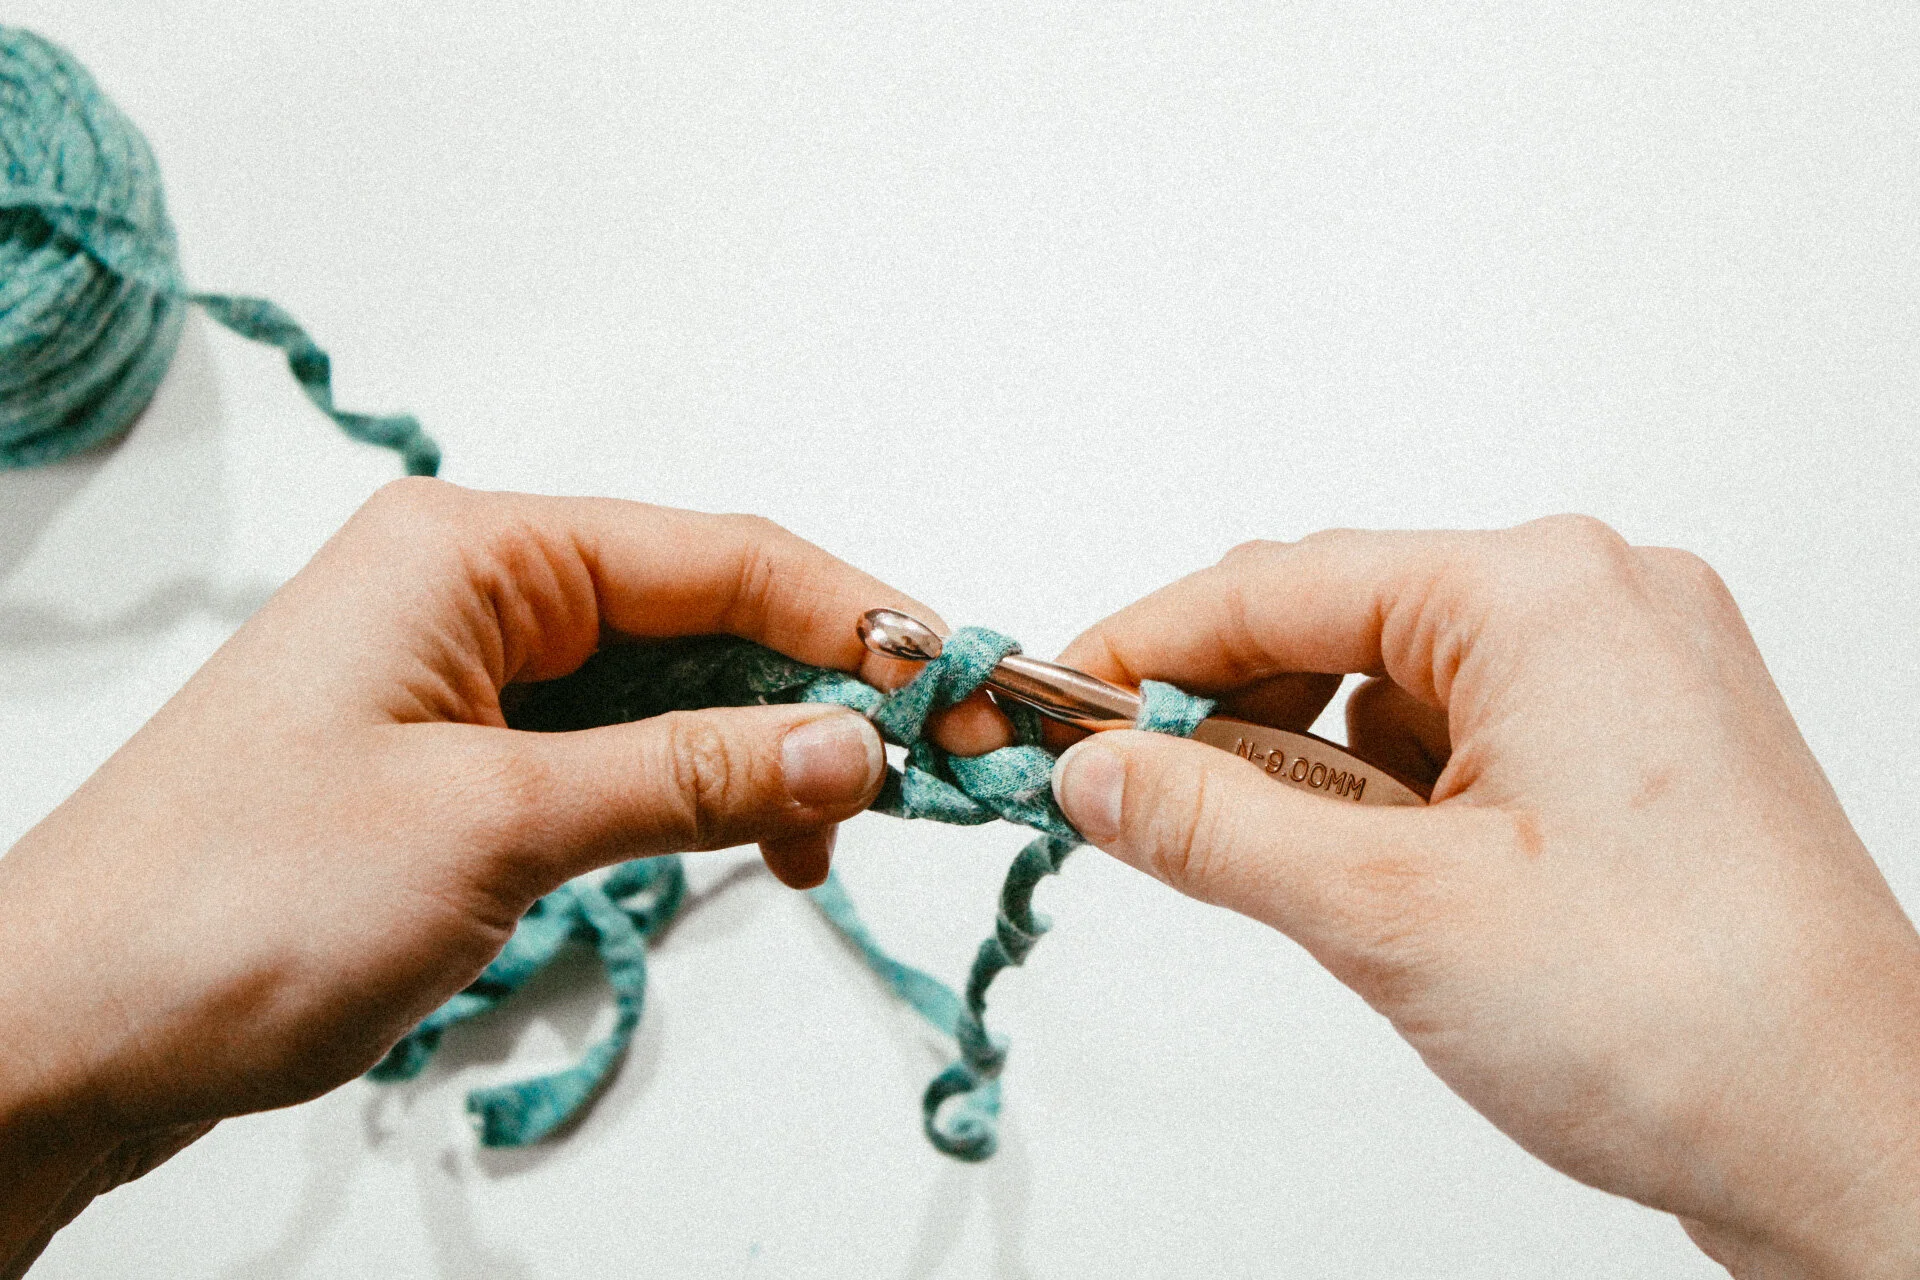
Start by inserting the hook under the yarn and into the 2nd chain stitch loops from the hook. I like to use my thumb to open up the stitch so the hook easily slides in. Wrap the yarn over from front to back (this is called a yarn over!) and then catch it with the hook. Now draw the hook through the chain stitch loops. You will now have two loops on the hook.
Wrap the yarn over the hook from front to back and then draw the yarn over loop through both of the loops on the hook.
You now have completed one single crochet stitch. Continue to repeat this step 19 more times inserting the hook into each chain stitch across. You will then have 20 single crochet stitches completed across the row.
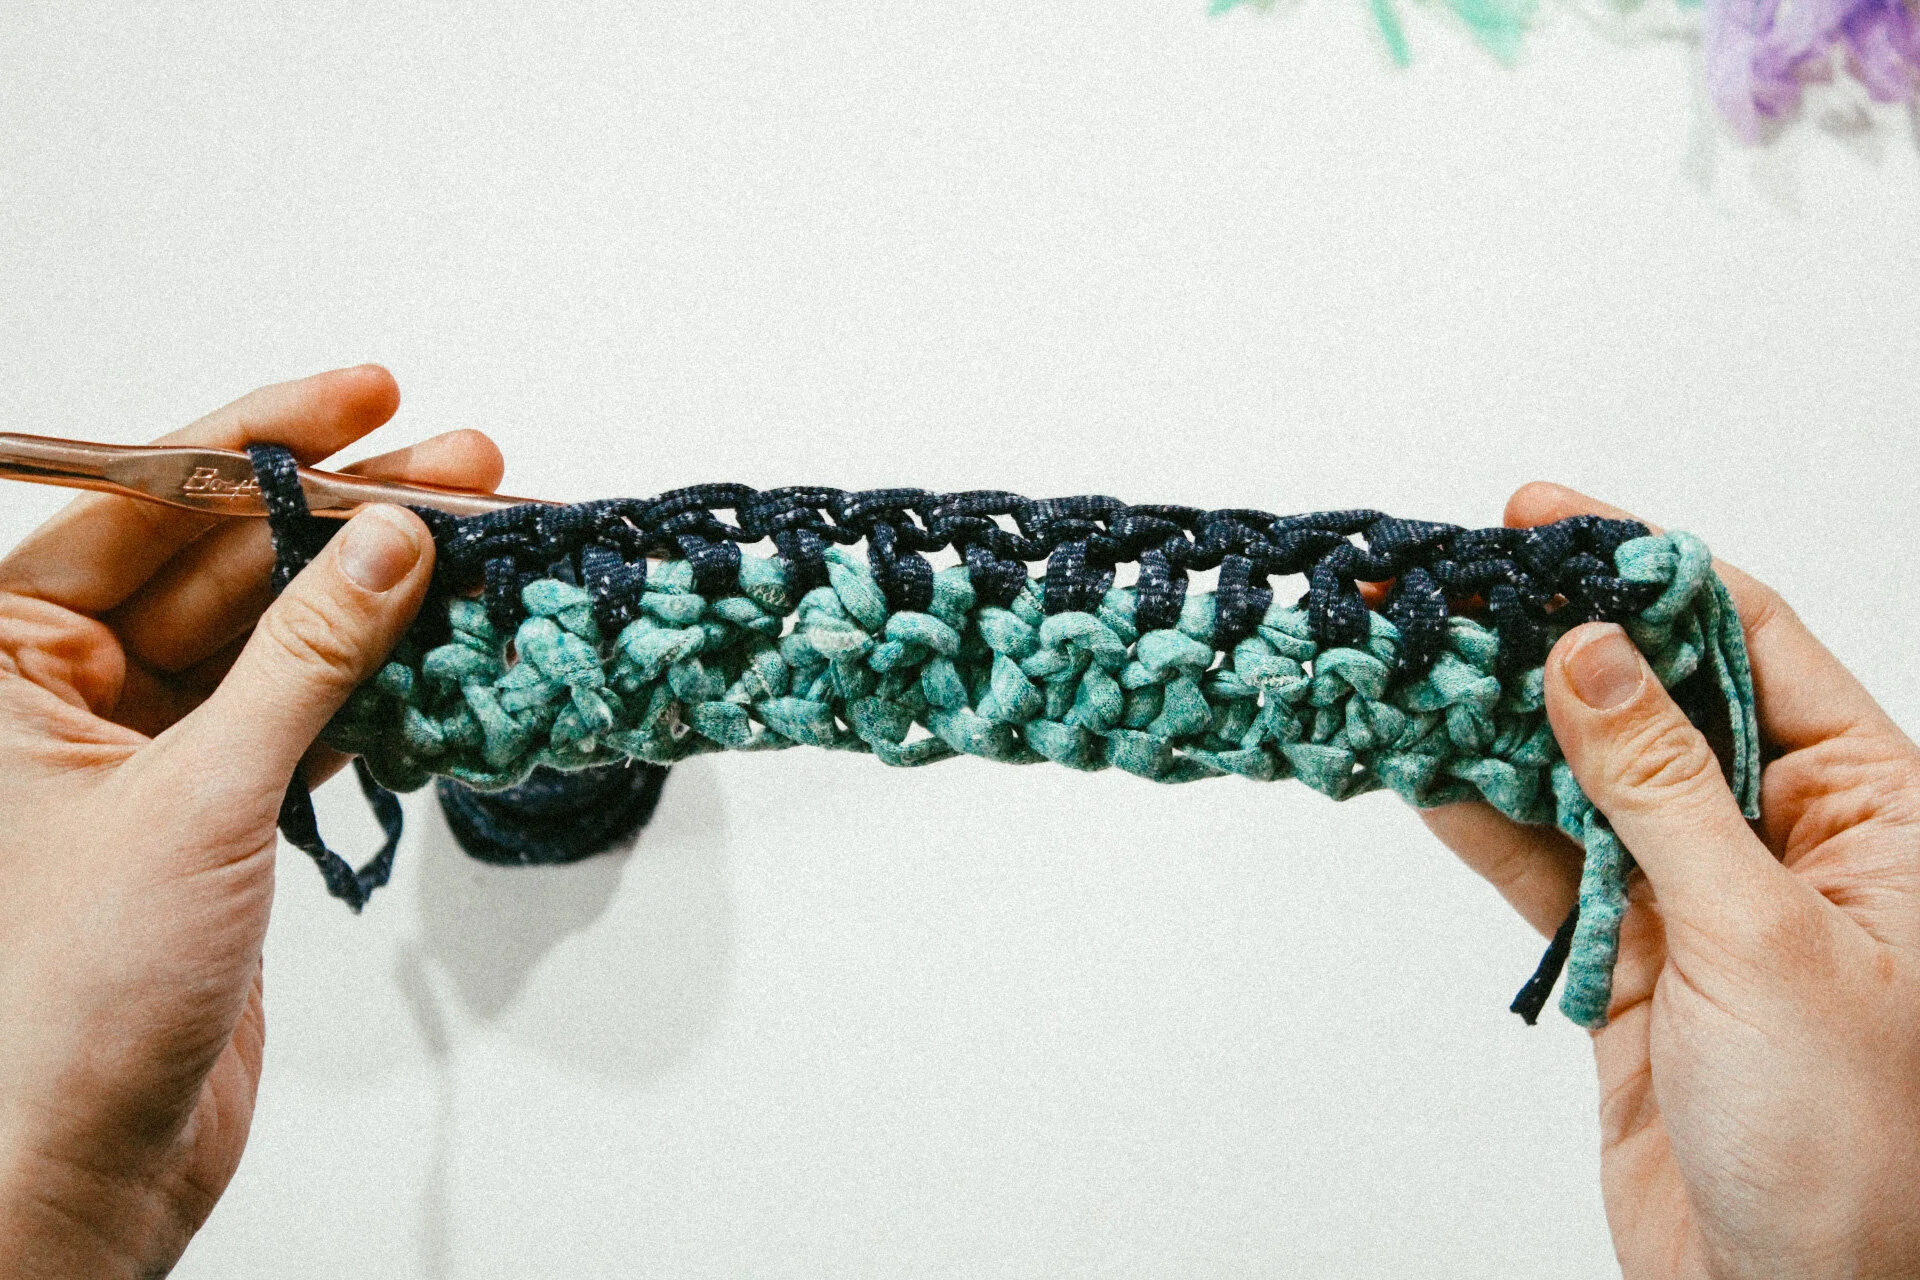
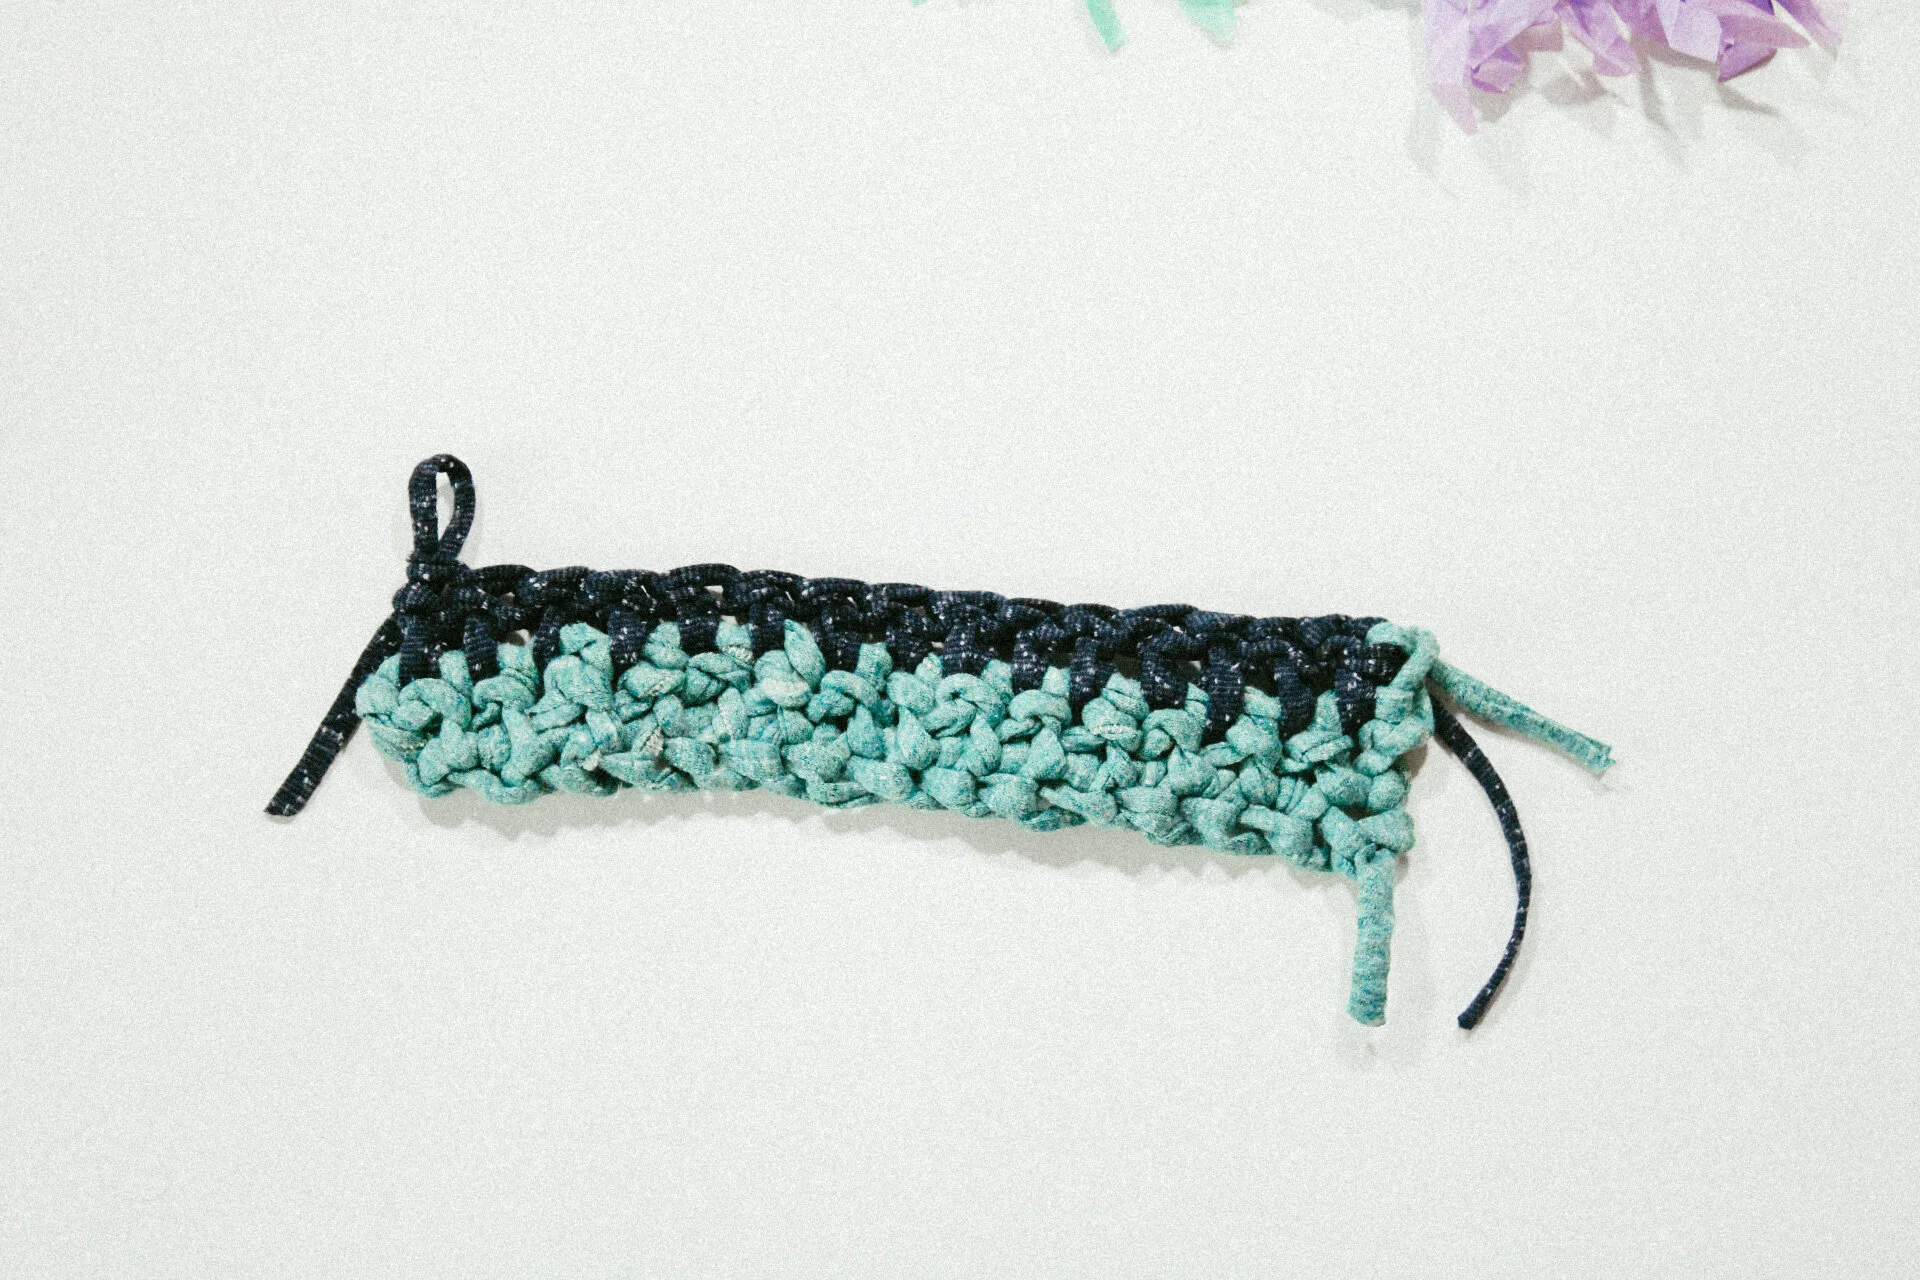
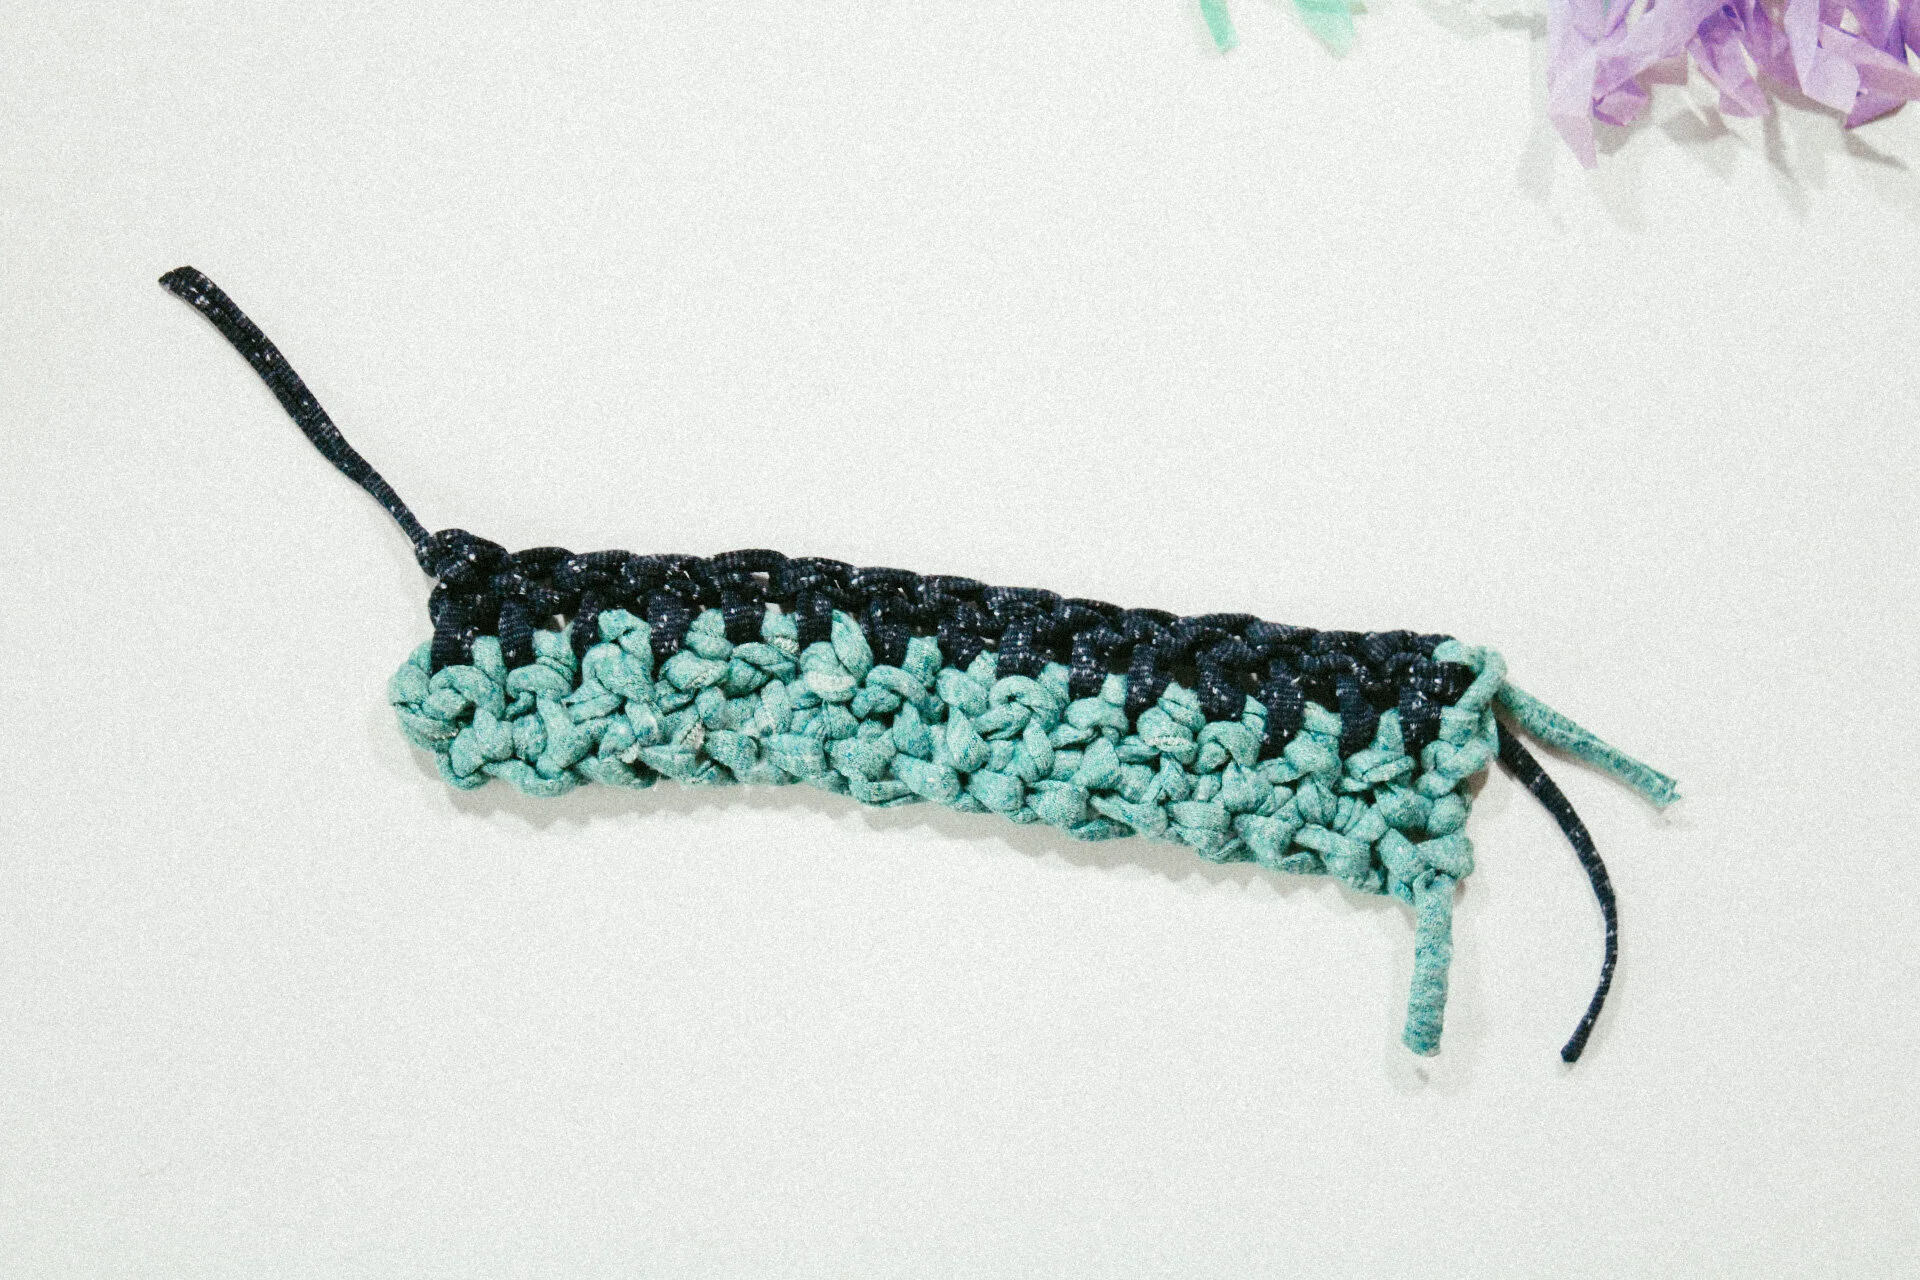
To proceed to the next row, make one chain stitch as the turning stitch and then turn the piece from the right to the left. I changed colors because we are going to be changing stitches (I changed colors as well to better differentiate).
Double Crochet
To start the double crochet, hold the yarn on the crochet hook and yarn over on the hook from the front to the back before entering the stitch. Insert the hook under both the front and back loop of the second stitch from the hook.
Yarn over the front of the hook and catch the yarn. Now draw the hook through the two single crochet loops. Now you will have three loops on the hook.
Yarn over the hook from front to back. Draw the hook through the first two loops on the hook. You now have two loops remaining on the hook. Yarn over the hook from front to back and draw the hook through both loops on the hook.
You now have completed one double crochet stitch. Continue to repeat the steps above until you have 20 double crochet stitches completed across.
Fastening Off
When you have completed the number of rows called to achieve the length you want it to be, you need to secure the last stitch so the rest of the stitches do not come undone. Simply cut the yarn coming from the ball about 12” from the loop on the hook. Bring the yarn over the hook and then draw the yarn end (tail) all the way through the loop on the hook. Take the hook out and pull the tail to tighten and secure the last stitch.
I thought it would be fun to make these two rows into a cuff (though you do not have to do that). I would say see what stitch you like more and try to fill a whole swatch, try to complete about 20 rows to complete a square.
Pro Tip: Make sure that you are counting throughout and you don't lose count. In the beginning it might make sense to count out loud to yourself in order to make sure you have the right amount of stitches. Other wise it will get wonky.
If you make this, take a picture and post it on social media with the tag #caronahomebody
