
DIY Cookie Cutout Soaps
I love soap making. I became completely obsessed with it this past holiday season when I wanted to make gifts for people that were not incredibly overwhelming but interesting and cool looking so people thought they took a lot more time. I always use melt and pour soap because they are incredibly easy to shape, add color and also add scents! I also live in an apartment and do not have the space by any means to mess around with the chemicals that are needed to make soap.
In the past I have always used molds to make soap, but I decided to do something different this time and make these house shaped soaps! They are a lot easier than they look, I promise.

Materials:
2 Goats Milk Melt and Pour Soap
Soap Coloring
Soap Fragrance Oils
Cookie Cutter (Any shape)
Aluminum Pan
Glass Measuring Cup
Mason Jar
Wooden Dowel or Popsicle Stick
Making The Soap
Cut the soap into small pieces and add to the glass measuring cup and mason jar. You will be making several shades of purple (or whatever color you want) to create a swirl pattern so it is easiest to do in separate containers before pouring into the tray.
Put the measuring cup and the jar into the microwave and heat for 30 second increments until it is all liquid. Add any essential oil and scents now to make your soap smell the greatest! In your different containers add differing amounts of blue and red food coloring to create the layers of purple.

Pour the soap into the tray starting with the darkest shade and adding the lighter colors as it cools. Using a dowel or stick mix the colors together so they begin to marble. Melt and pour soap dries pretty quickly so the surface of the soap will become uneven because you will be moving around the layer that dried. I personally really like this, but if you are not a fan you can cut this off later. Keep pouring the soap into the tray until it is about halfway high in the tray. You might not use both blocks of soap and that's totally fine!


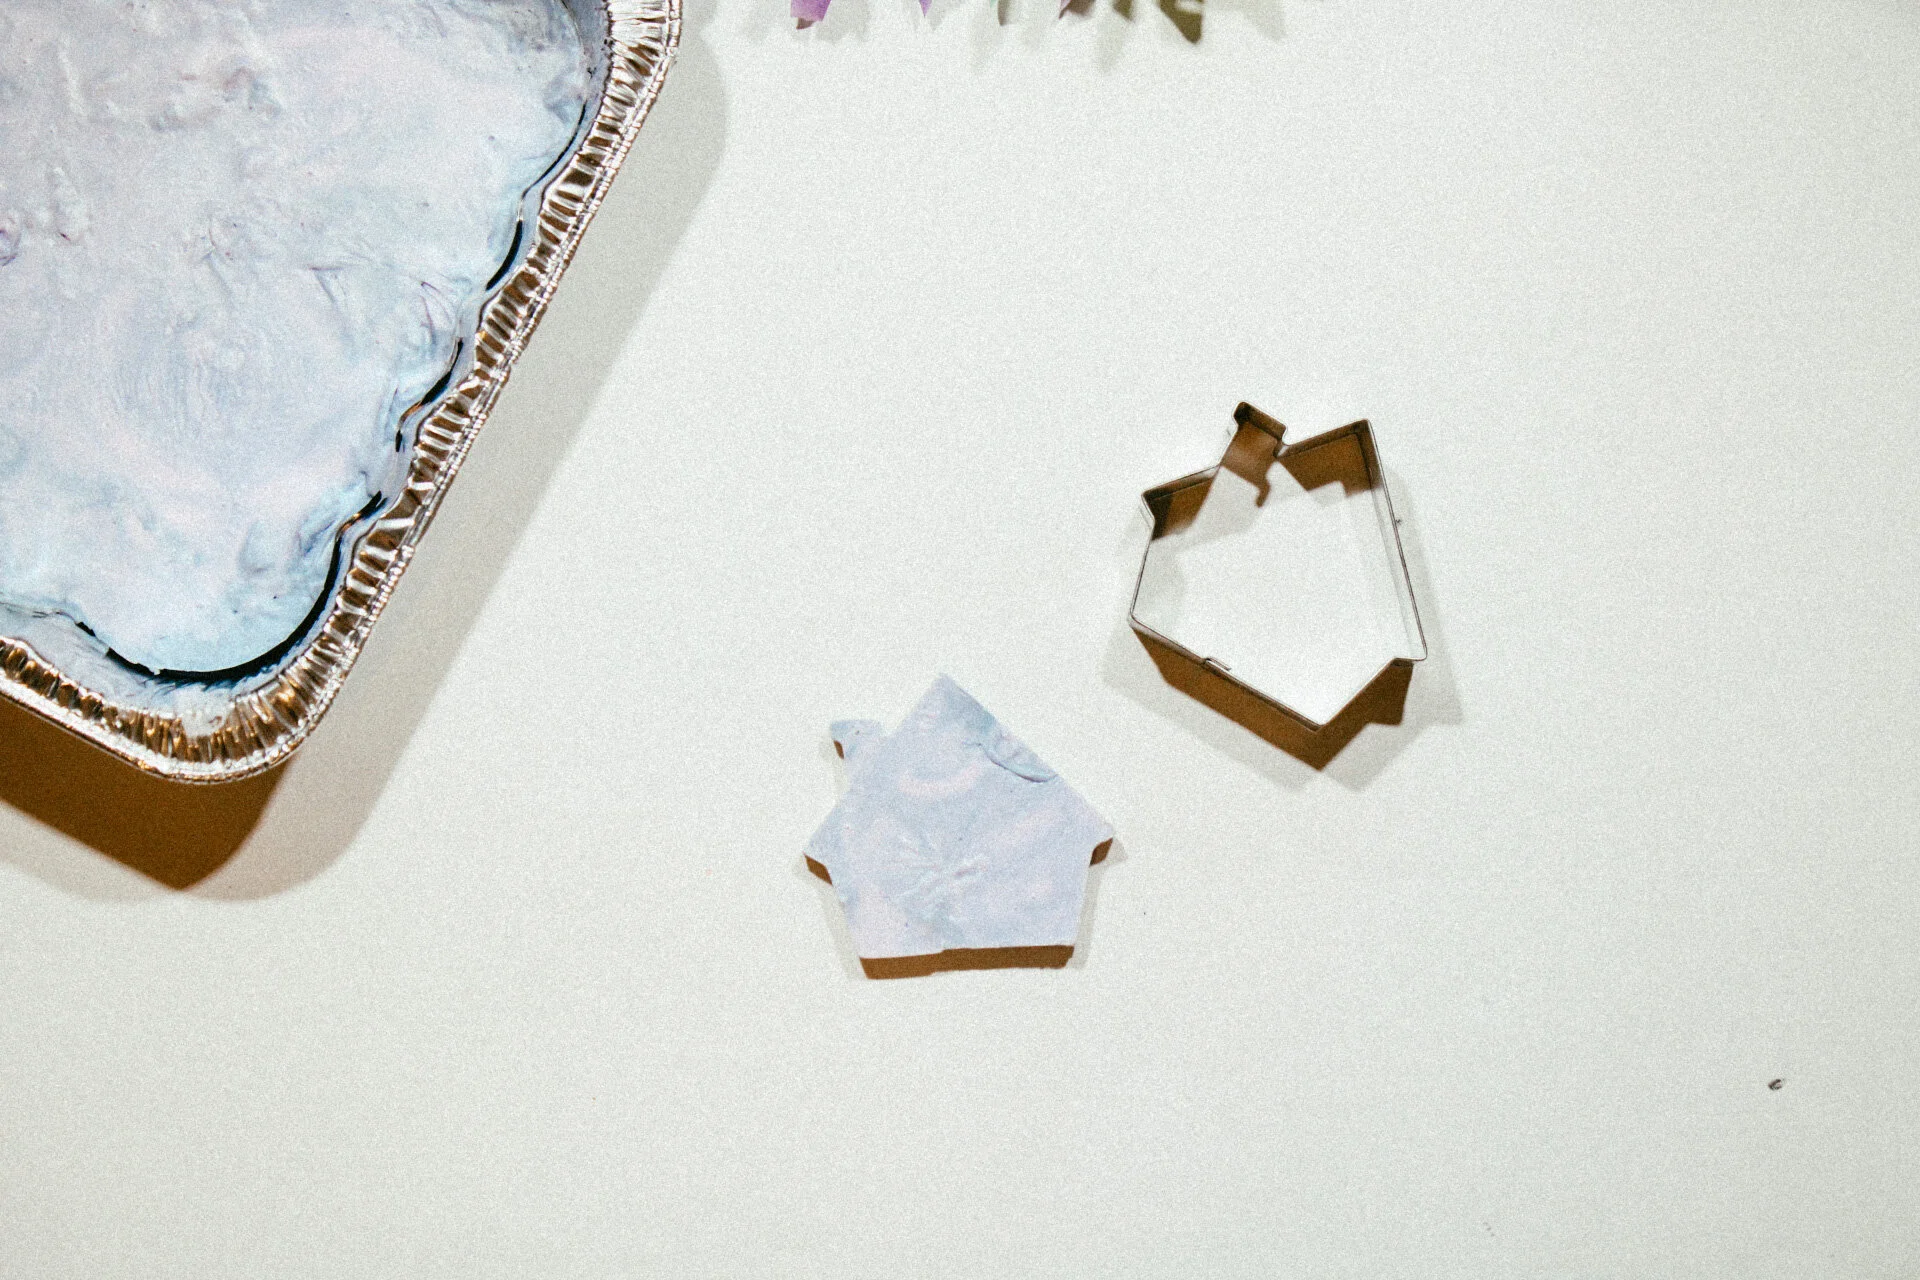
Cutting The Soap

Once the soap has cooled use a hammer to gently tap the cookie cutters into the soap. Once the cutter has gone all the way through the soap, carefully lift it out.


Push the soap out of the cookie cutter and repeat! If you have multiple cookie cutters, of the same or different shapes you can place them all in at the same time that way this process moves a bit faster!


Finishing Up
You can leave these as they are and just wrap them up with a piece of string or you can place a hole in the top and make soap on a rope!


I love giving handmade soap as a gift and now adding this layer of them being shapes and layers of the same or even different colors make these soaps even more exciting. I am now interested in like maybe a tie dye soap because that could be so cool!!
If you make this, take a picture and post it on social media with the tag #coronahomebody