
DIY Friendship Bracelets
Making friendship bracelets is one of my secret guilty pleasures and one of my favorite things to do. Honestly, if someone gives me the chance or the excuse to make a friendship bracelet, I am running to do it. I remember when I was in grade school I used to spend so much time taking them that when I got in trouble I would “punished” from using the string (LOL). I know that most people know how to make friendship bracelets, but let's just say this is the refresher course!
I really like making the chevron pattern because I feel that it looks a lot cooler than the regular friendship bracelet. It also makes it look more “challenging” and people think you worked a bit harder than you did. If you are already a friendship bracelet master take a look at friendshibracelet.net and grab a fun pattern from there for an extra challenge!

Materials:
Embroidery Floss
Tape
Scissors
Make A Bracelet
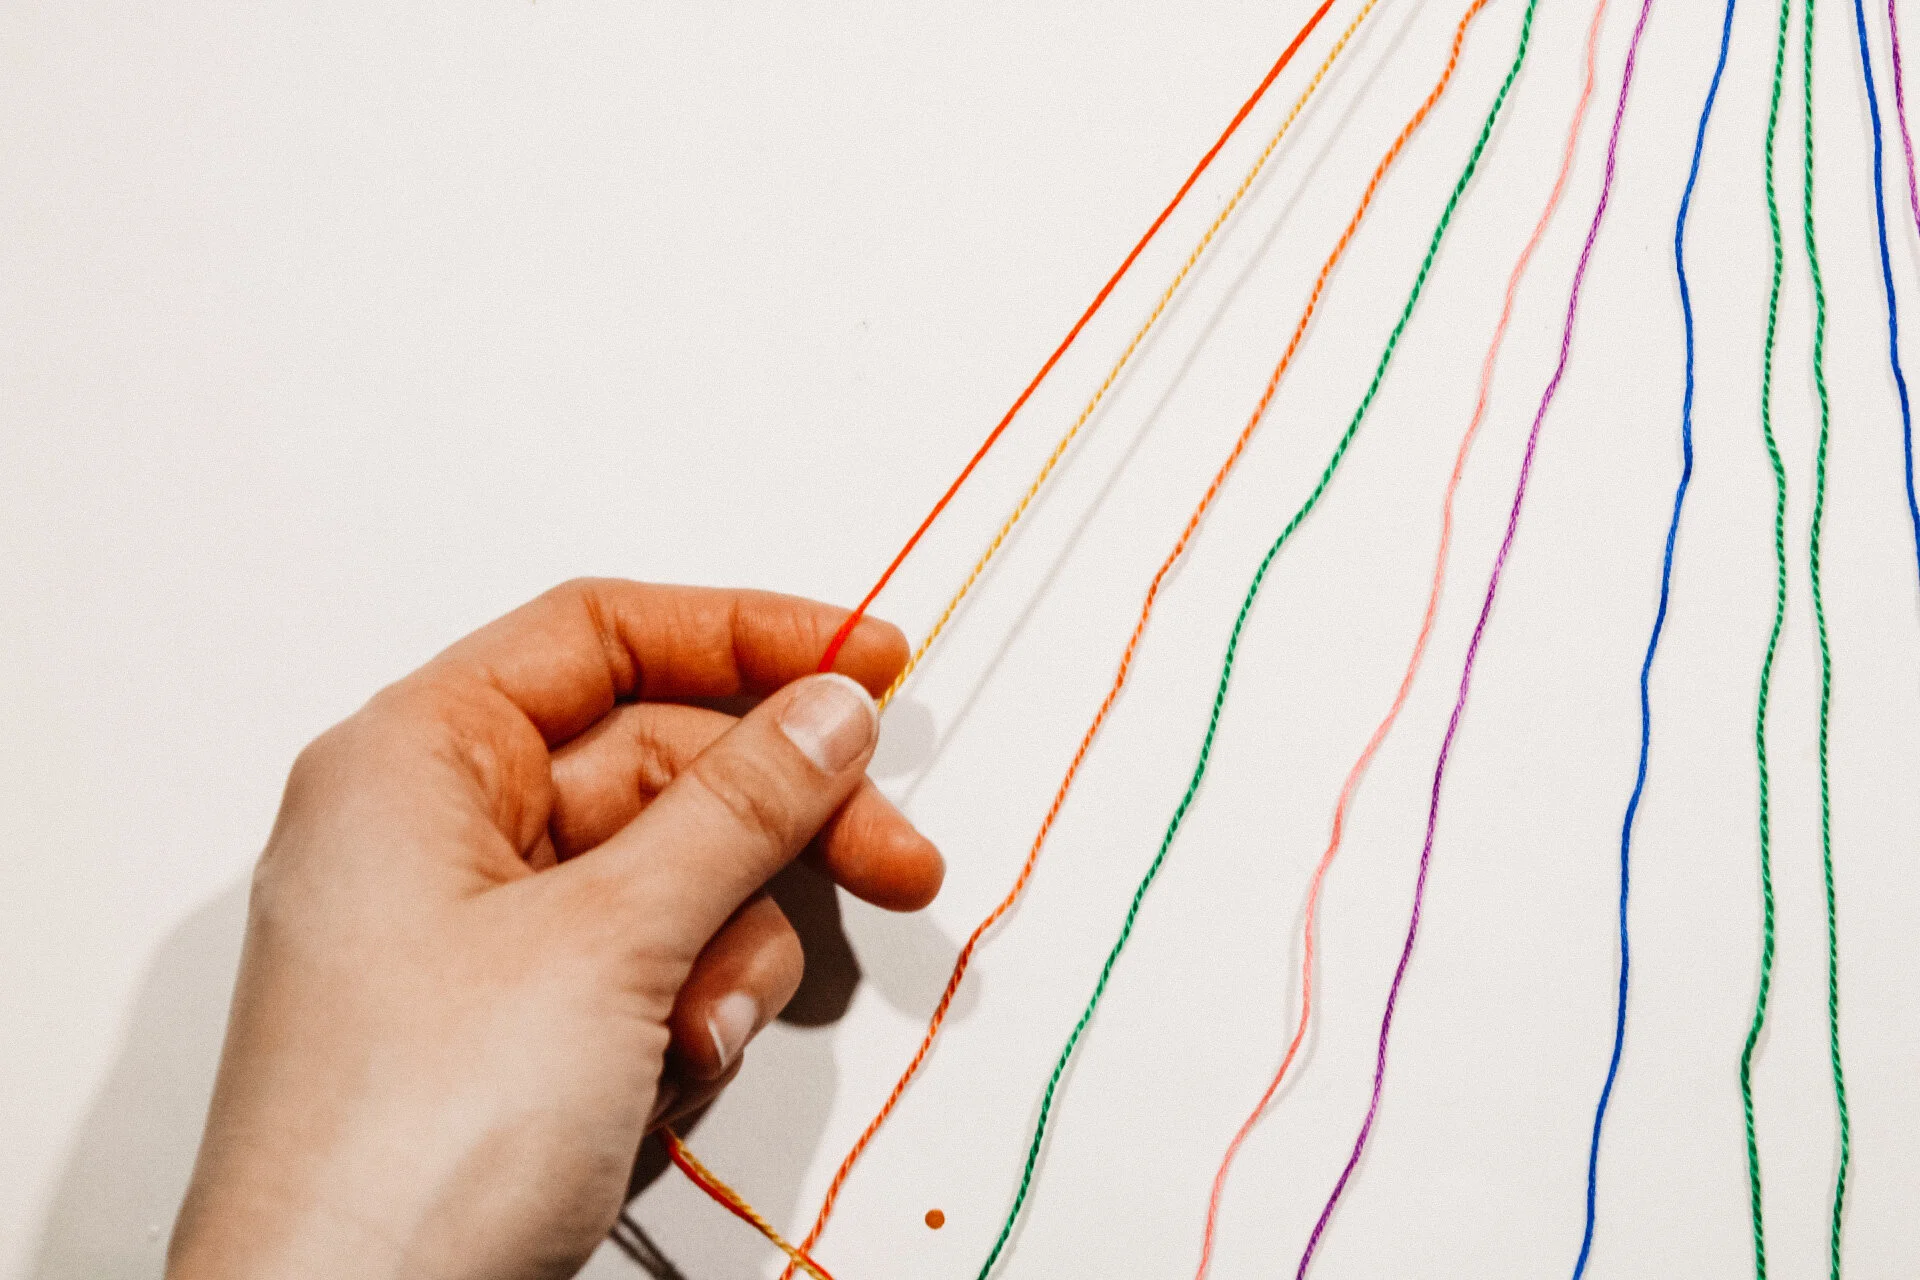
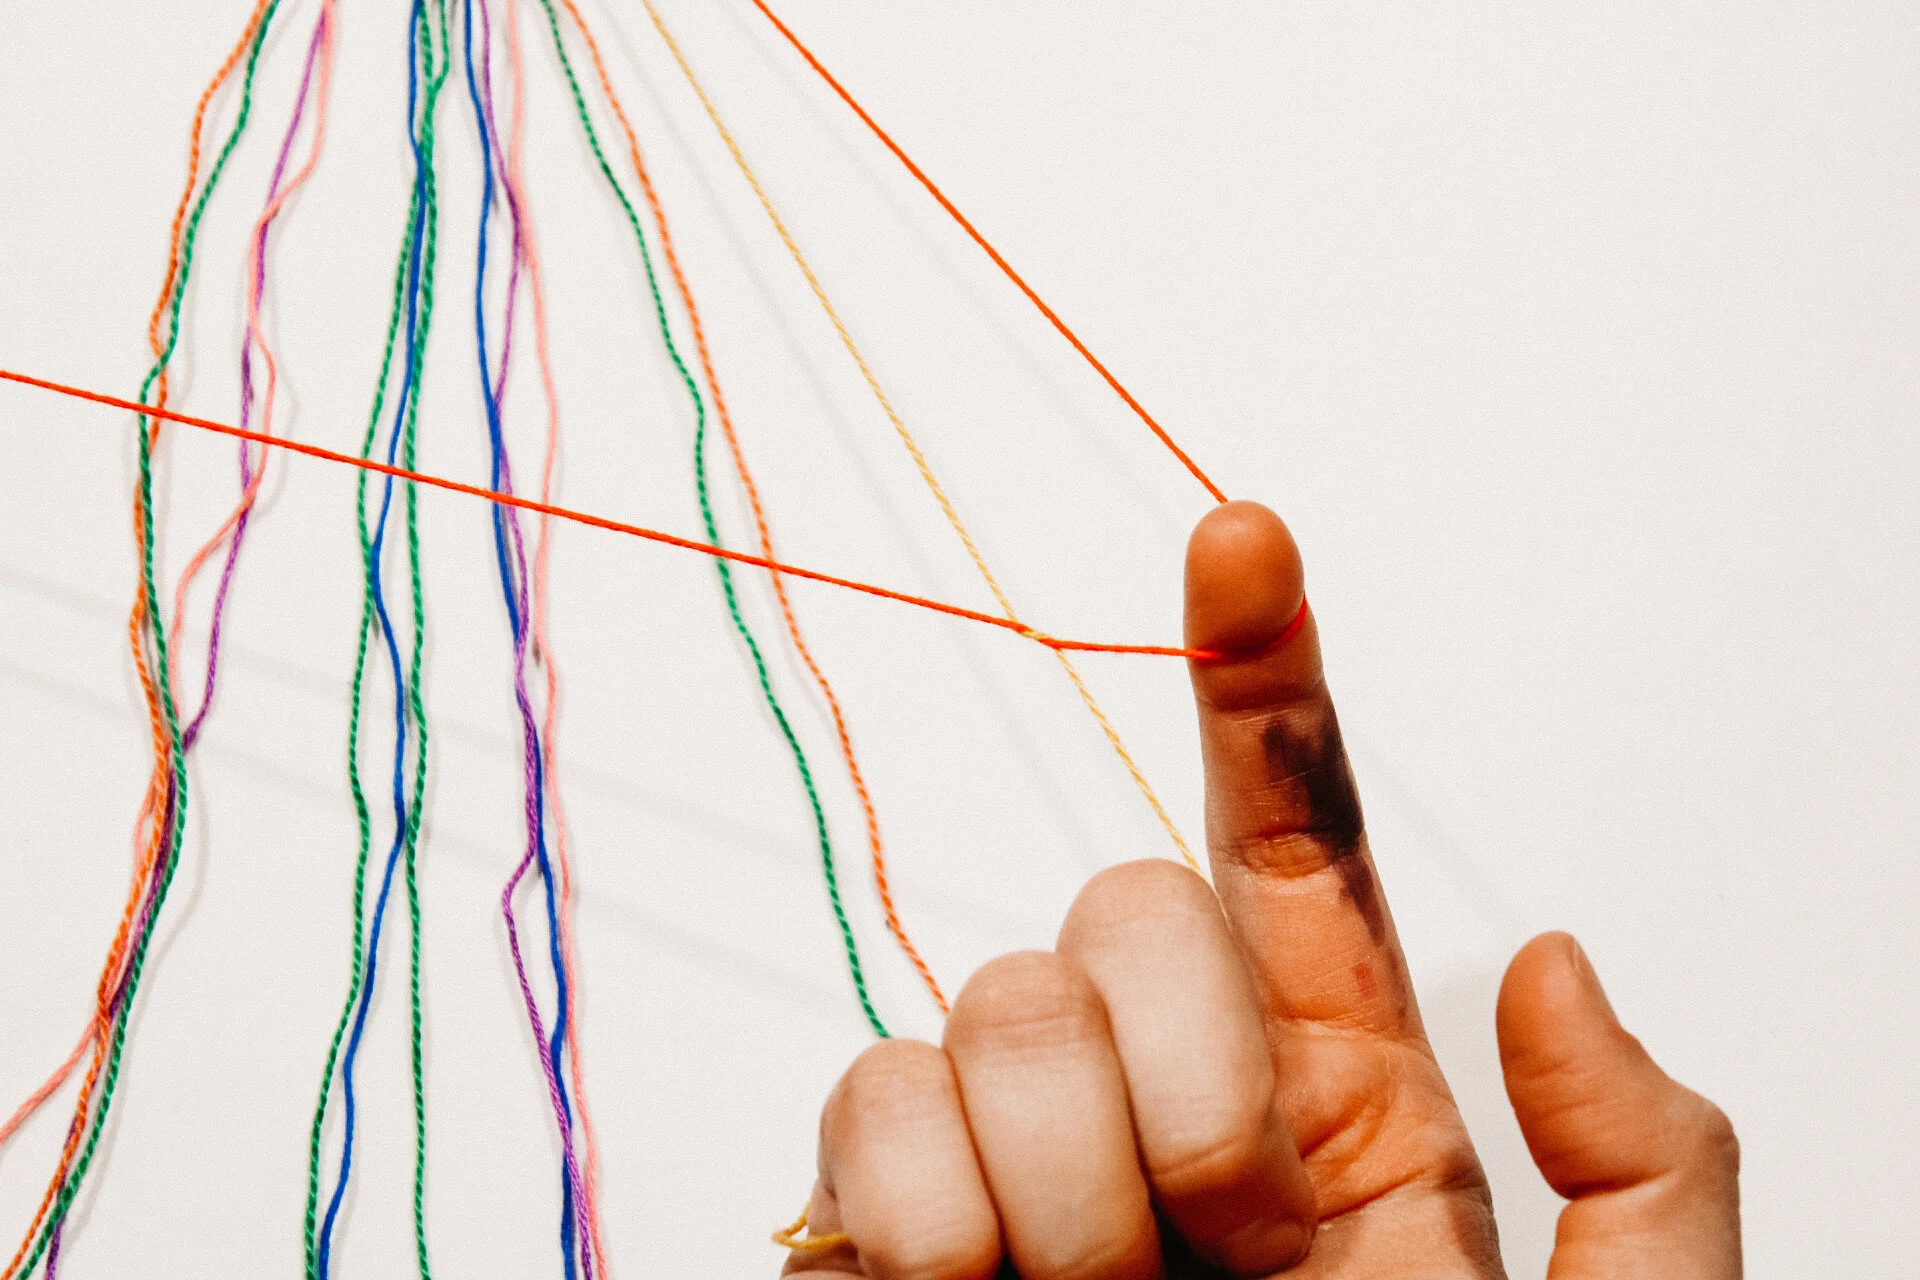
Start by cutting several strands of embroidery floss about an arms length. I like to have atleast 5 colors to make a seriously fun bracelet! Fold the string in half and tie a knot at the top leaving a few inches of slack at the top. Tape to a flat surface (or if you are on the go you can safety pin it to your pant leg or shoe.) Seperate the two sets of colors by arranging the strands in a mirror- image pattern with the outside strands being the same color and following the same as you move inwards.

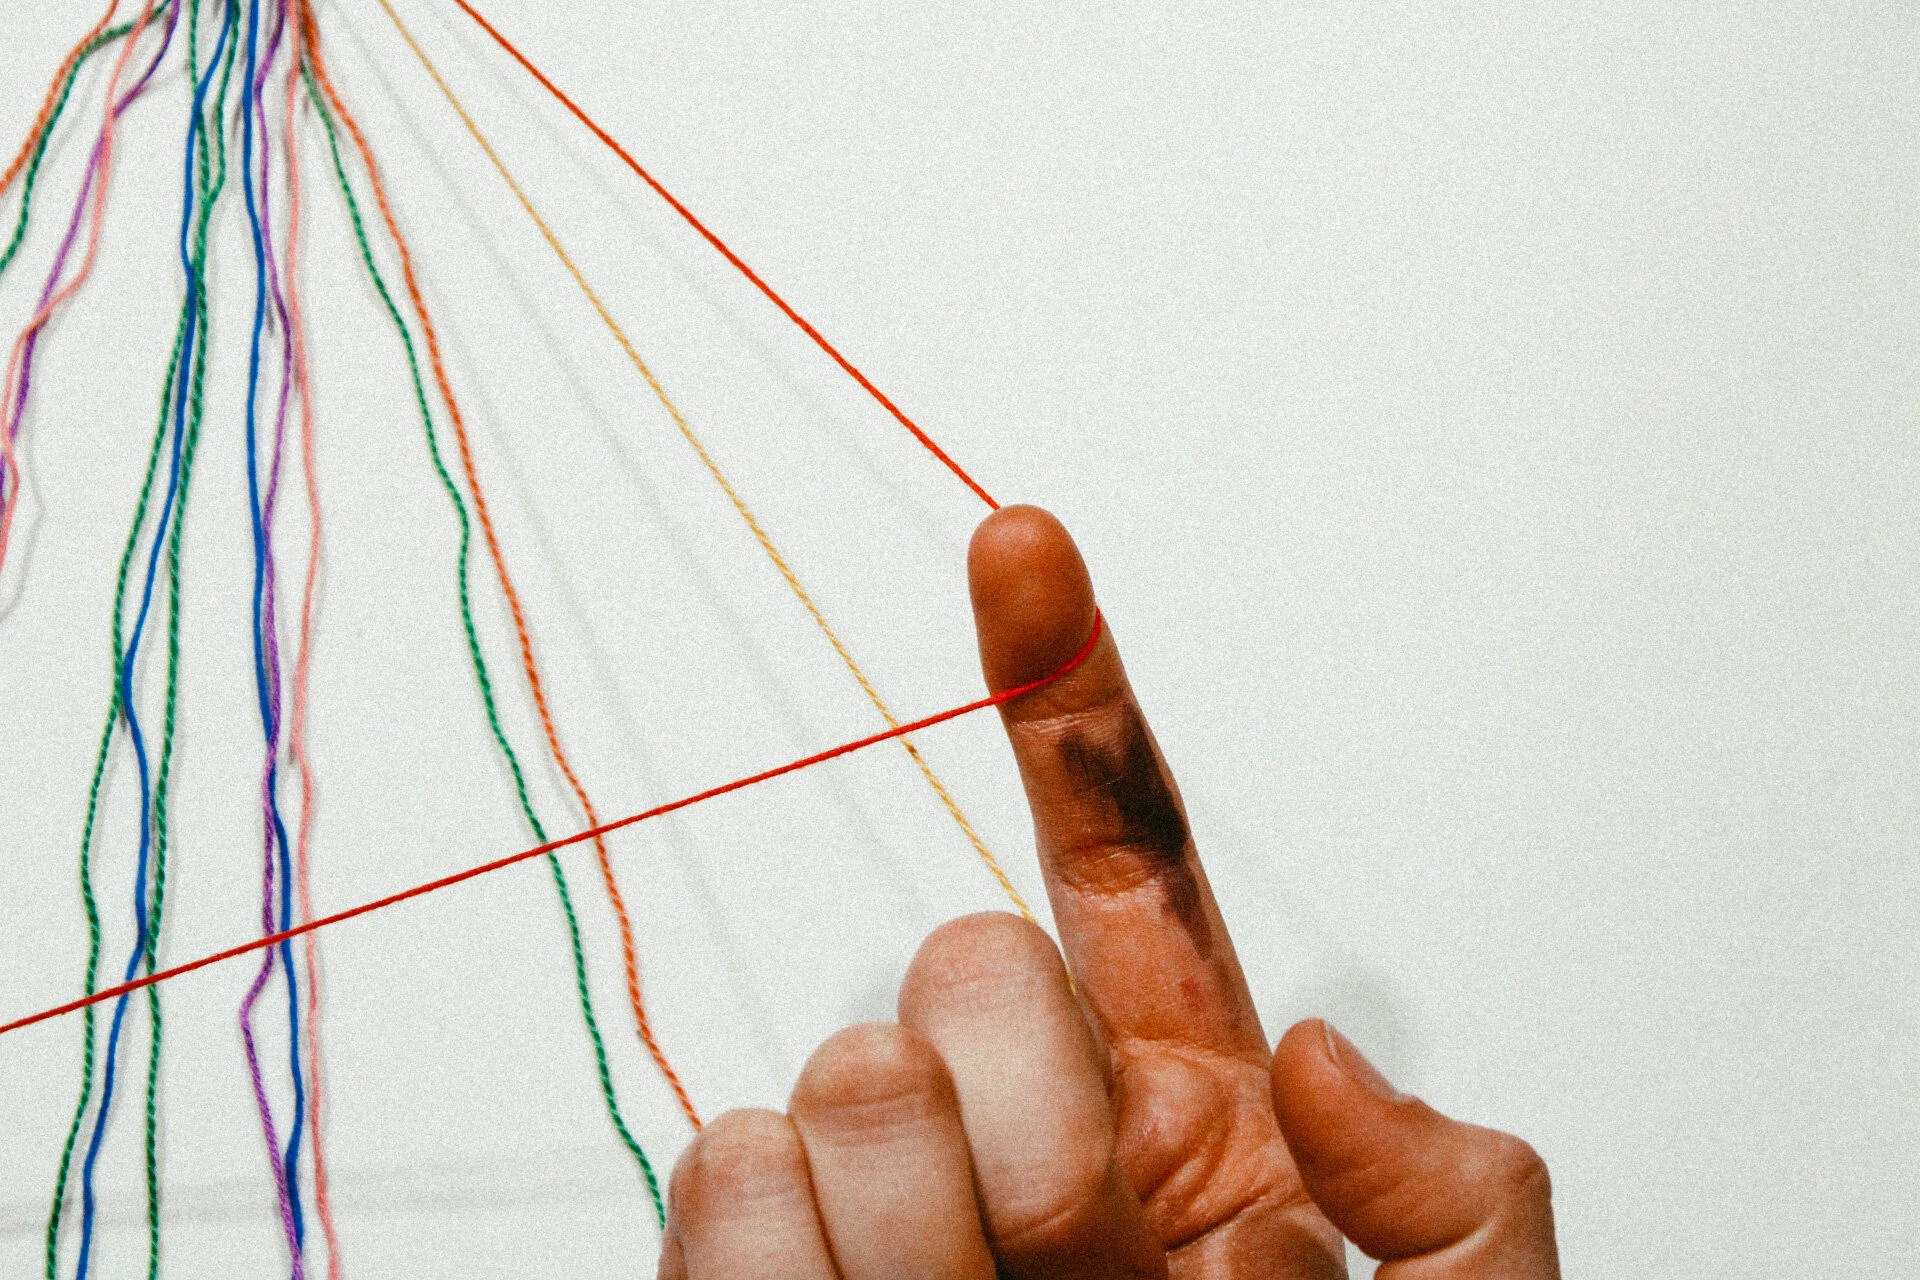
Start on the left side with the outermost color (mine is red) and make a forward knot by creating a 4- shape over the second color (mine is yellow), loop it under and back through the opening to create the knot. Pull it up and to the right to tighten. Make sure to bring it right up to the top knot.

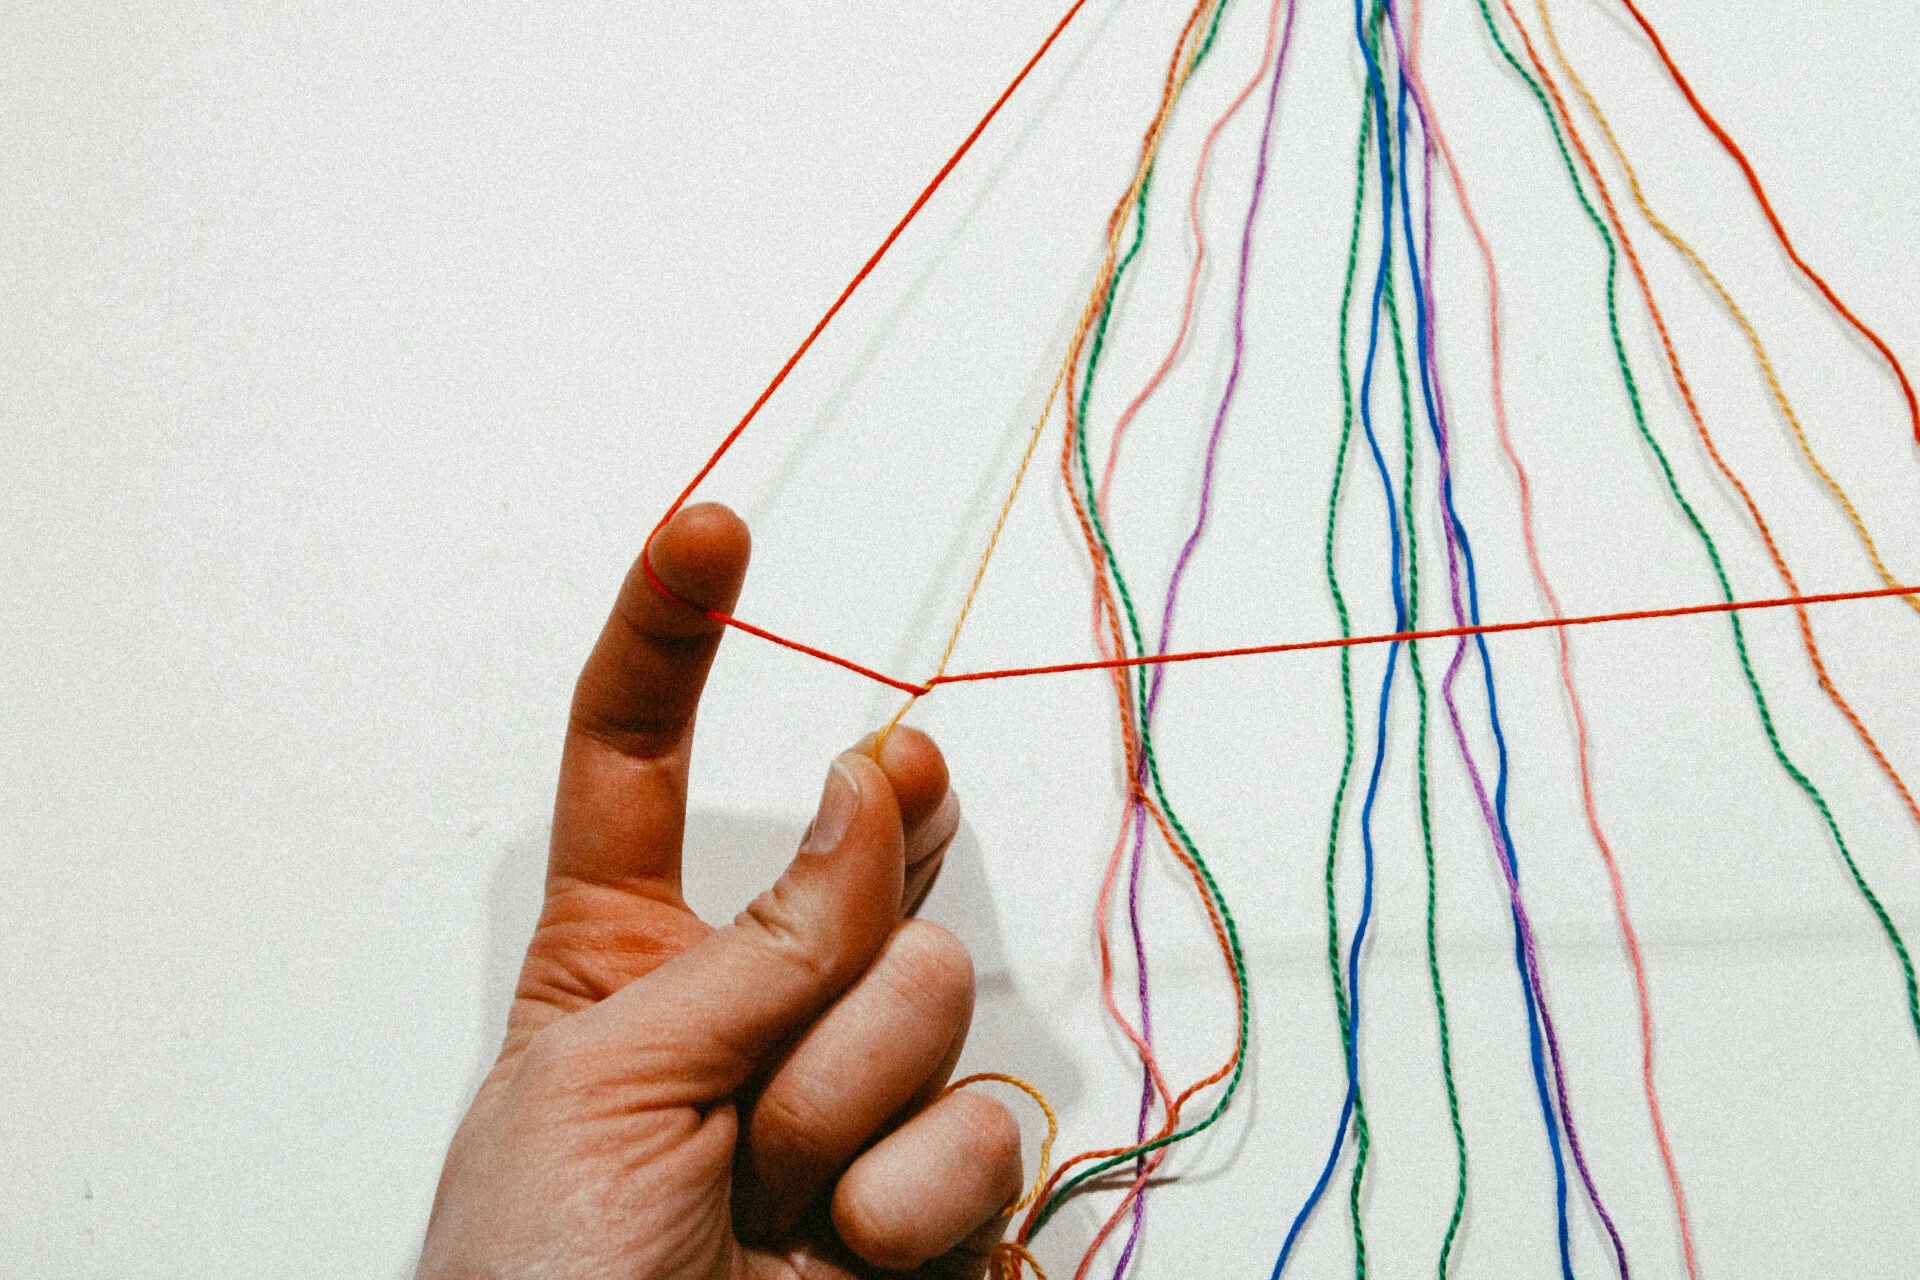
You will make the same knot TWICE over each color . Continue knotting over each color towards the right until the outer color has carried over to the middle. Yay you have made it through one half of the chevron pattern.
Now pick up the outermost color on the right side (also red) and create a backwards knot by creating a backwards 4- shape over the second color (yellow) and loop it under and back through the opening. Pull up and to the left to tighten and DON’T FORGET to knot TWICE over each color!
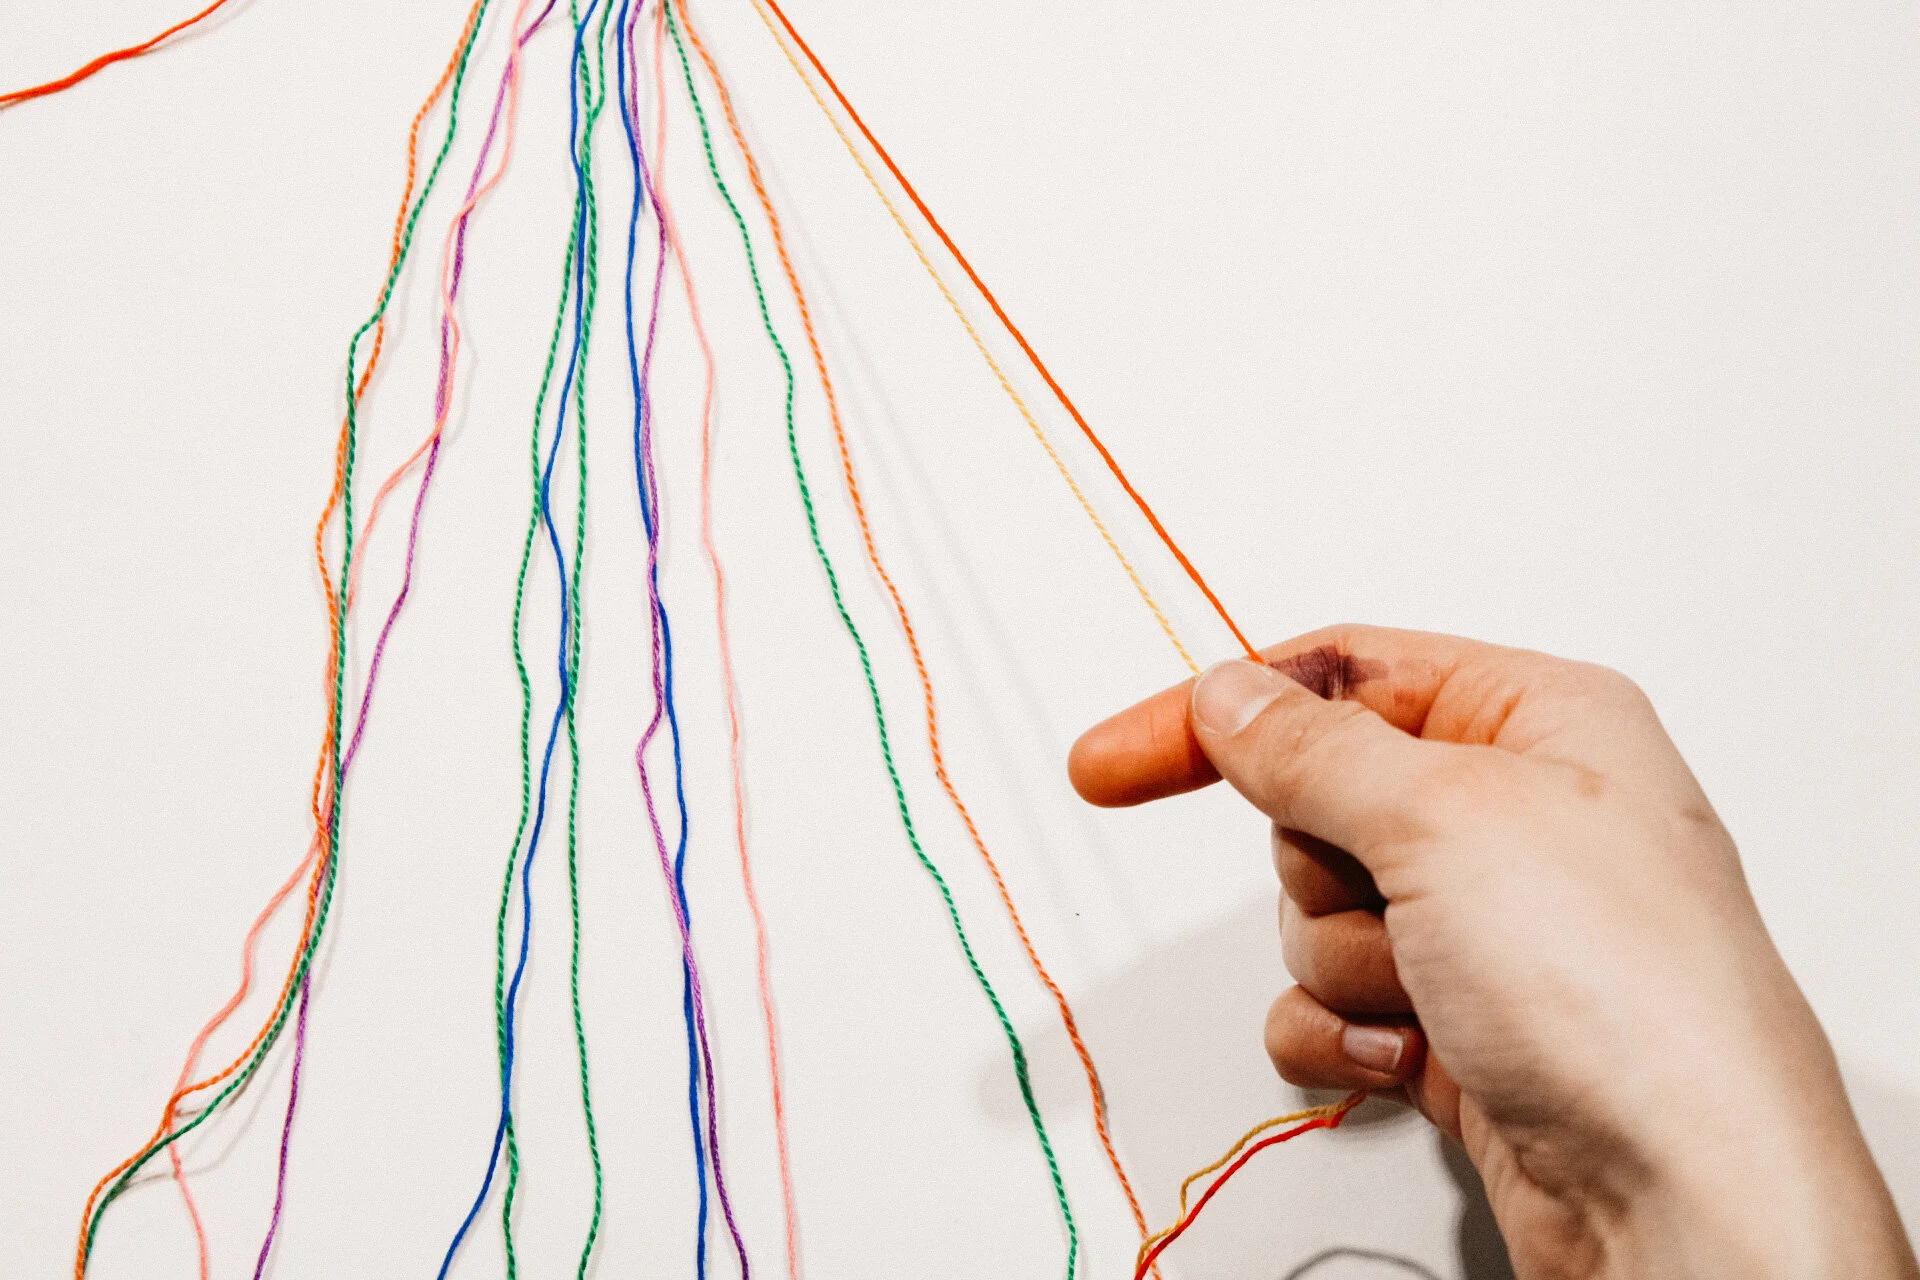
Continue knotting towards the left until the outermost strand reaches the middle. Now the two red strings should be in the center. Tie a backwards knot over the middle strands to connect the two halves. You have completed your first chevron row!!! You will now continue this pattern with the next color that is the outermost strand.


The first few rows are a bit more challenging because the color order is SO important but the more you go, the easier the strands will fall into place.
Finishing Up

You will continue the pattern until the end when you can wrap the bracelet around your wrist and feel content with the amount that you have completed. Tie a knot at the bottom and bring the knot to kiss the last row of chevron. Then braid the bottom strings to make it easier to tie to your wrist.

There you go! You have created a fun bracelet that you can keep yourself or give as a gift. If you hate this chevron pattern and just want to make a stripe, after you fold the strings in half, organize the strings so that each double color is next to each other. A fun little DIY to keep you busy through this home time and makes it feel like summer camp at home.


If you make this, take a picture and post it on social media with the tag #coronahomebody