
Quick and Easy Crochet Hat
The DIY that was most requested after learning to crochet, was to learn how to make a hat using some basic crochet stitches! It is almost springtime but learning how to make a hat is such a good crochet skill because you can easily make these as gifts for family members or friends and they do not take that long to make.
One of the first things I learned to crochet was a hat because it was super simple! Over the years I have looked at different patterns, both knitting and crocheting and found out what pattern works best for me. That's because I wrote it! I like using yarns that change colors as you go which is why I have chosen a Caron Tea Cake because the yarn is different throughout! Lastly, I love having a rib on my hat so we are going to be working towards making a hat with a rib on it, and it is much easier than you think!
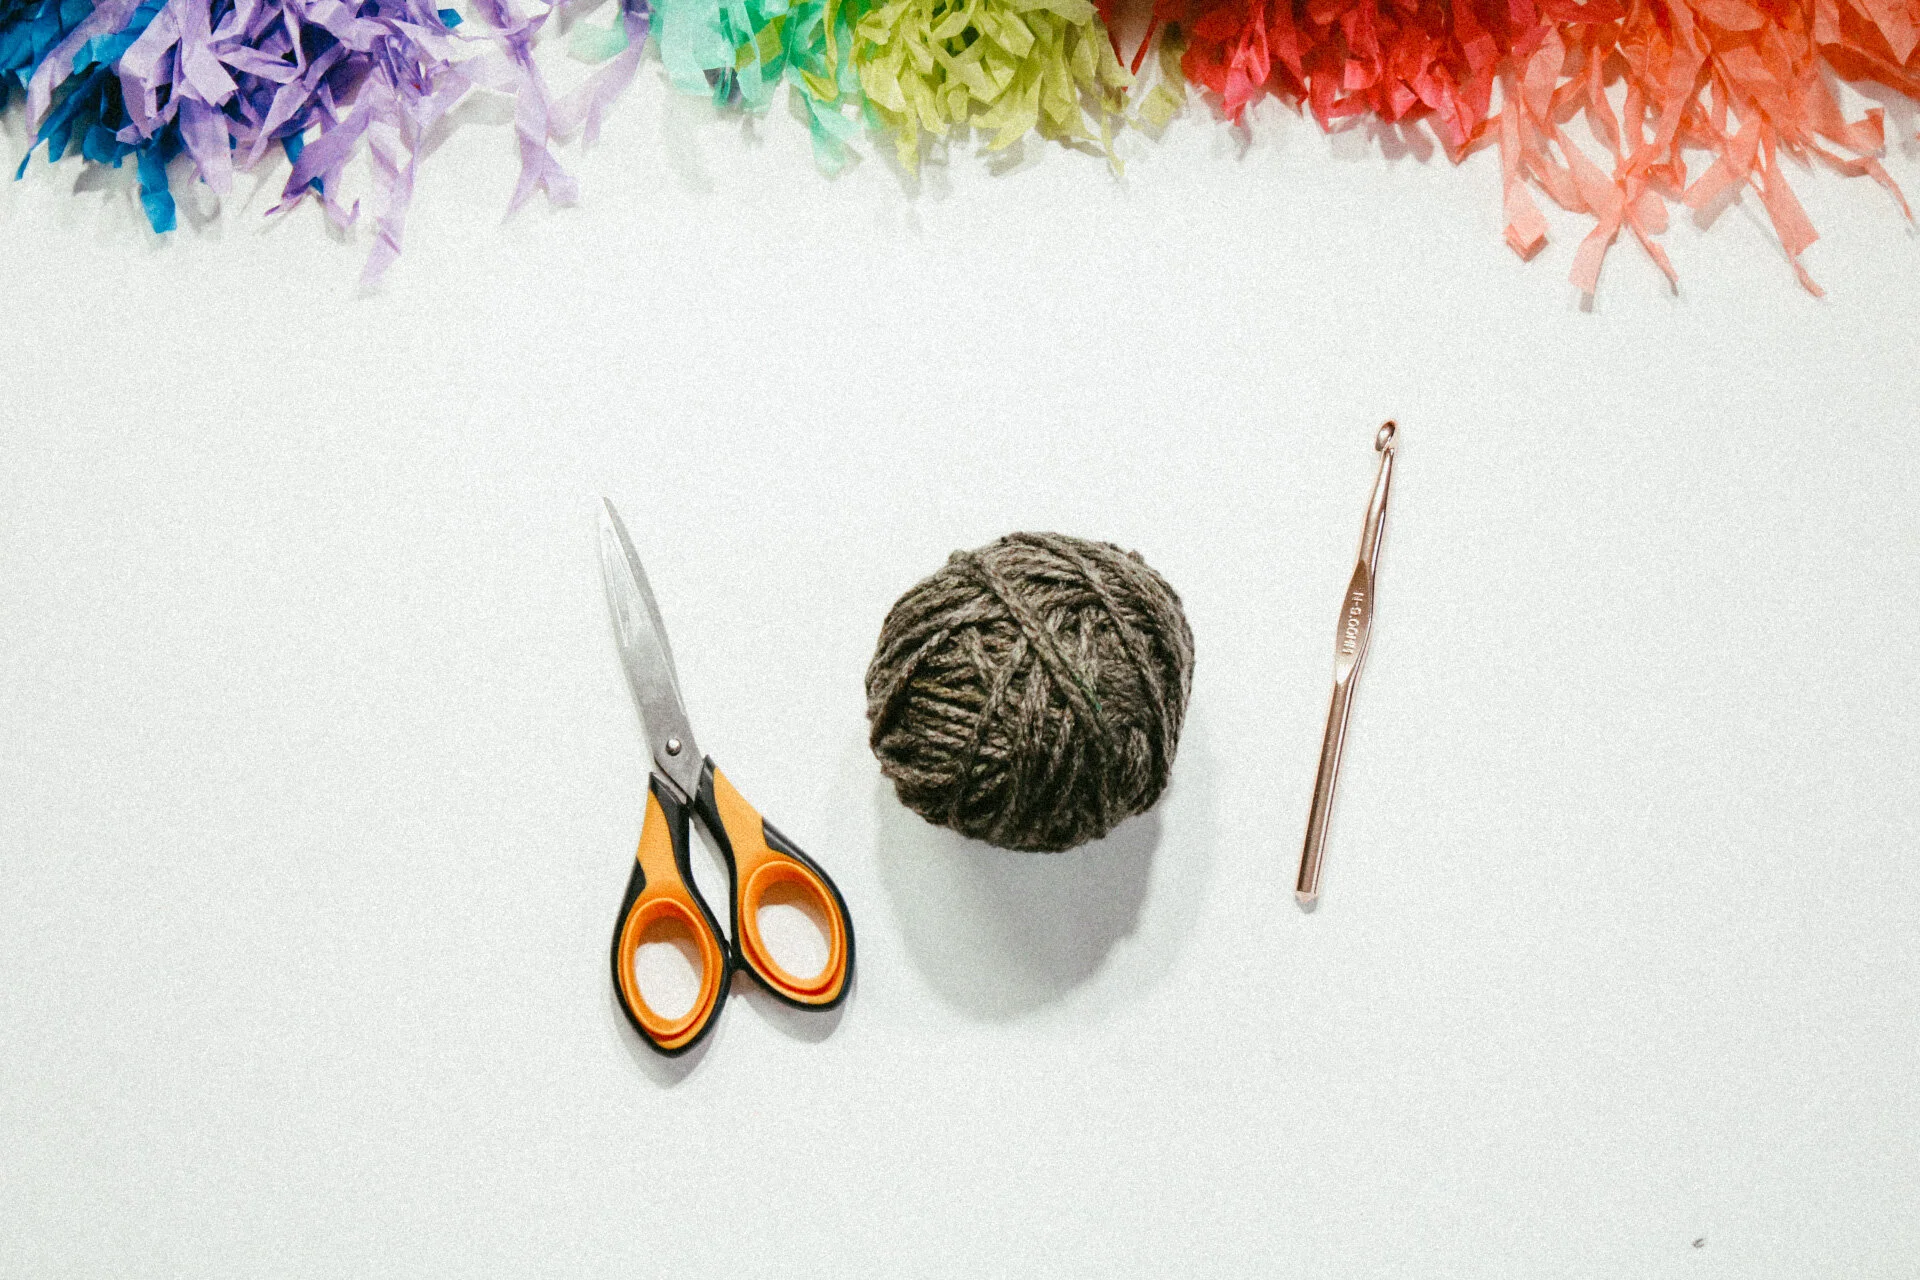
Materials:
1-2 skeins Caron Tea Cake Yarn
Size N (9mm) crochet hook
1 Stitch marker or safety pin
Clover Pom Pom Maker or Cardboard Pom Pom Maker
Gauge:
10 stitches = 4 inches in crochet back loops only
Sizes:
This hat will fit the average adult head sizes up to 23 inches in circumference .
Finished circumference (relaxed): 16 inches
Finished height (not including pom pom) 12 ½ inches
Pom Pom diameter: 4 inches
Glossary Terms:
ch- chain
sc - single crochet
dcblo- double crochet through the back loop only
st- stitch
rep- repeat
sc2tog- single crochet two together
Making The Rib
Notes: The rib is worked back and forth in rows and then the rest of the hat is worked in a circle.
• After Row 1, the double crochet stitches are worked only under the back loop of the stitch from the previous row. This is always the loop farthest away from you, regardless of which side of the crocheting is facing you.

• If you need a refresher on the basic crochet stitches, click here!

Foundation Row: Chain 11
Row 1: 1 sc in the second ch from the hook and each ch to end of row, ch 1 to turn (10)
Row 2: Skip the turning stitch and dcblo in each sc to the end of the row; ch 1 to turn (10)
Repeat Row 2- 38 more times to create a total of 40 rows for the rib of the hat.

After completing all 40 rows match the last row (row 40) with the chain stitch (row 1). Working through the back loop of row 40 and front loop of row 1, slip stitch through each of the stitches connecting the two sides together. This creates the base of the hat that we will begin working the body of the hat from. Fasten off, leaving a 6” tail.

Leave the seam on the outside if you plan to fold your rib up, which is recommended. If you want to leave the rib flat, flip the rib inside out to have the seam on the inside.

Making the Hat
Now that you have your foundation you will continue to work in the round along the “raw” edge of the ribbed band. Create a slip knot and attach to the stitch to the left of the seam.
Round 1: Work a sc around the top of the band, working one stitch per row (40). Do not attach, just keep crocheting into the next round. Place a stitch marker or a paperclip into the first stitch so you do not lose your place.

Round 2- 17: Continue to work sc into each sc from the previous round (40). It will look like a tube!

Round 18: Sc2Tog around the hat (20)
Round 19: Sc2Tog around the hat (10)
Finishing Up

Tie off leaving a long (approx. 12”) tail of yarn. Using a yarn needed, weave the yarn back and forth through the stitches of round 19. Pull tight to cinch the top of the hat closed. Make and attach a pompom. I decided I did not want a pom pom for my hat, but you can make one with a pom pom maker or with cardboard. Weave in all ends.
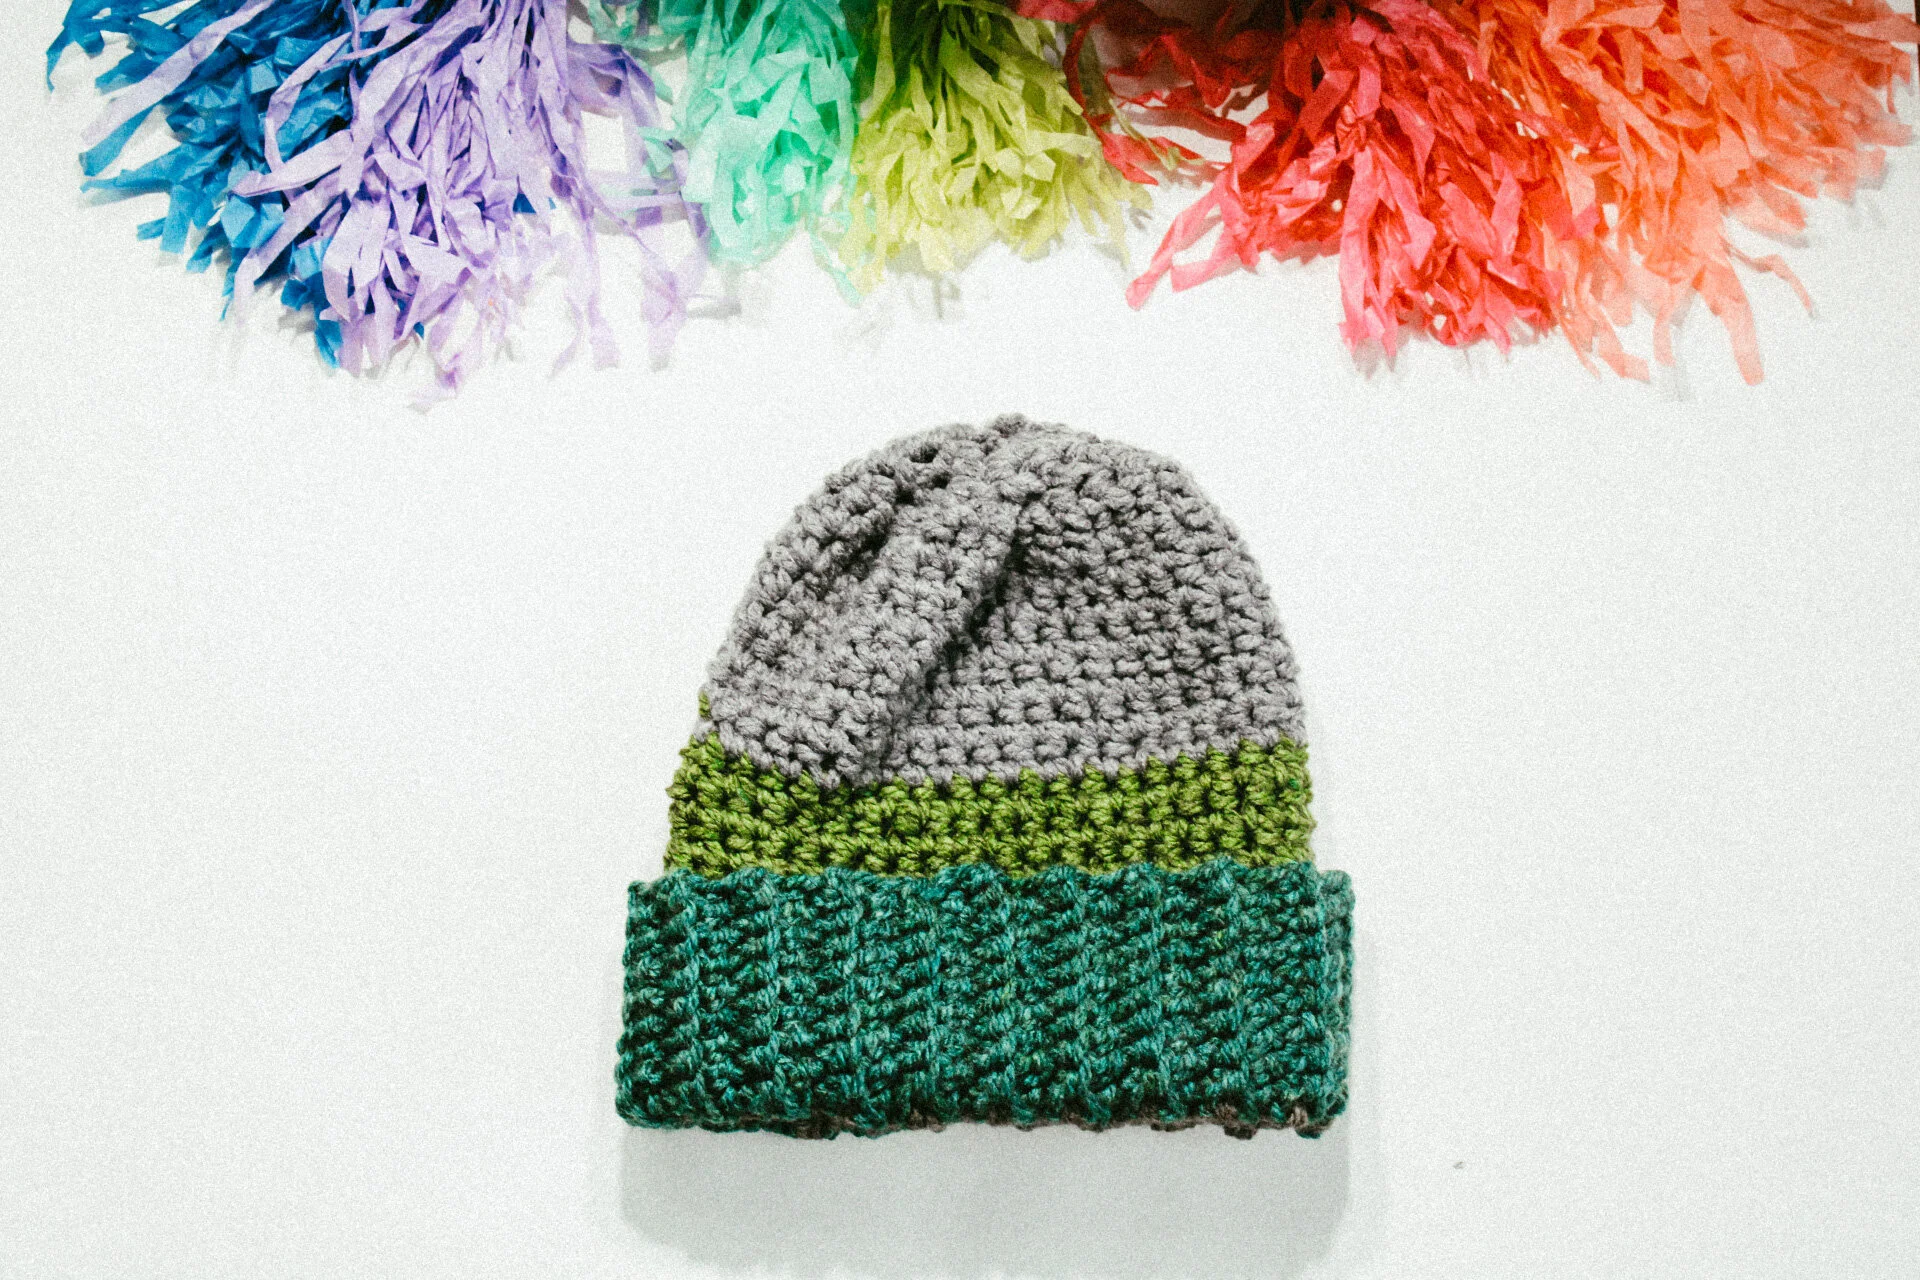
There you have it. The simplest hat ever made, but looking cool and cosy all the time! You can leave the ribbing flat or fold it up depending on the look you are going for. These make the perfect gifts, especially for the holiday seasons because they take minimally no time!!
If you make this, take a picture and post it on social media with the tag #coronahomebody