DIY Graphic Tee Pouch
When I was younger I was obsessed with making my own tee shirts. I originally went to art school to study graphic design so I could open up a tee shirt business! I quickly learned that that was not for me and I switched my major to painting. That being said I still love making tee shirts and using iron on letters to make funny sayings! I recently just went through my closet and found a lot of tee shirts that mean a lot to me but I will never wear again. I am planning to make a quilt out of the logos on them, but I still have a lot of fabric left over. SO, I had this great idea to mix my love for making tee shirts and my love for making pouches into one DIY! I am using old tees, but if you want to follow this along and use regular fabric that is also dope!
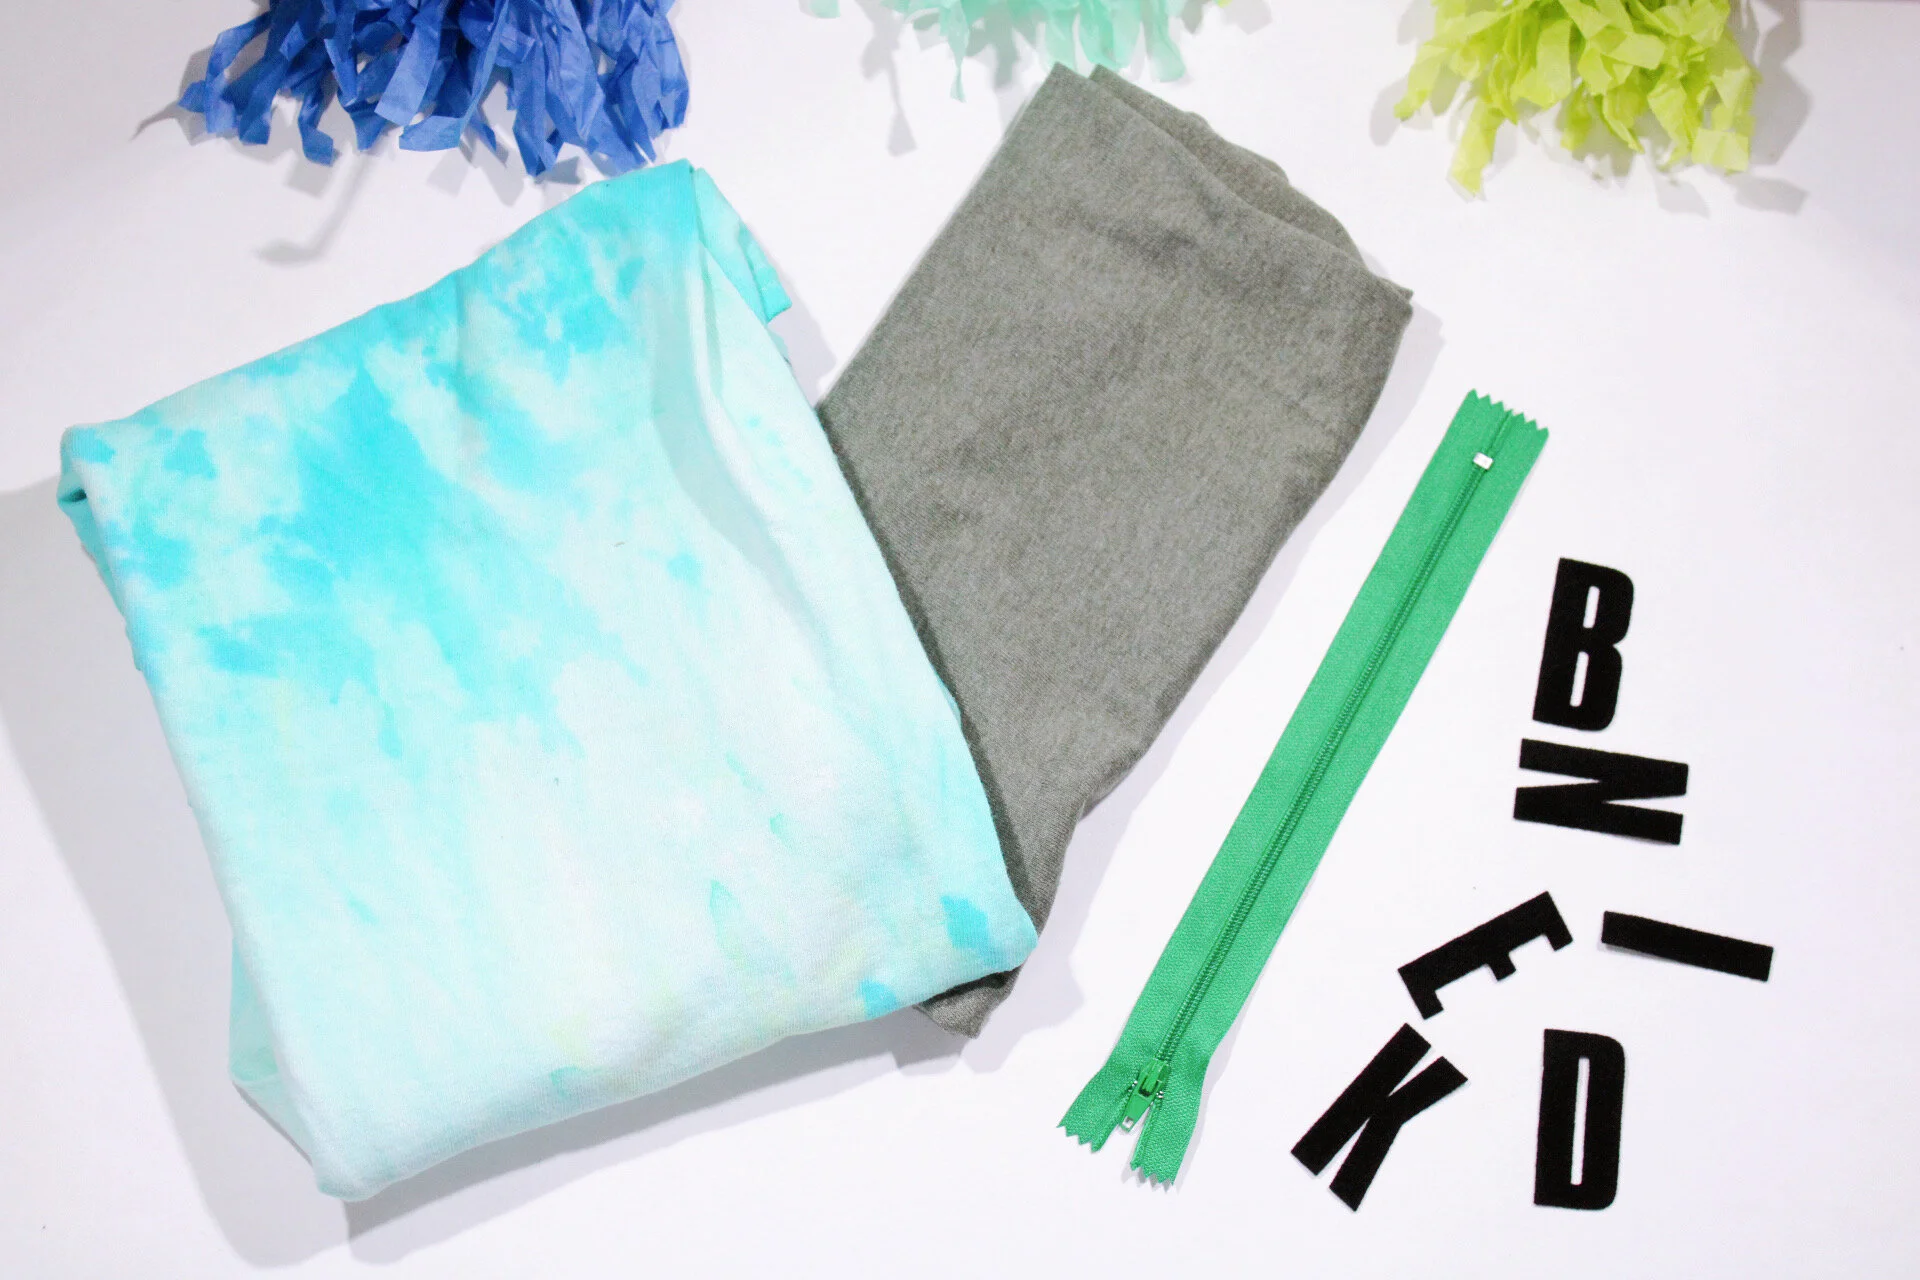
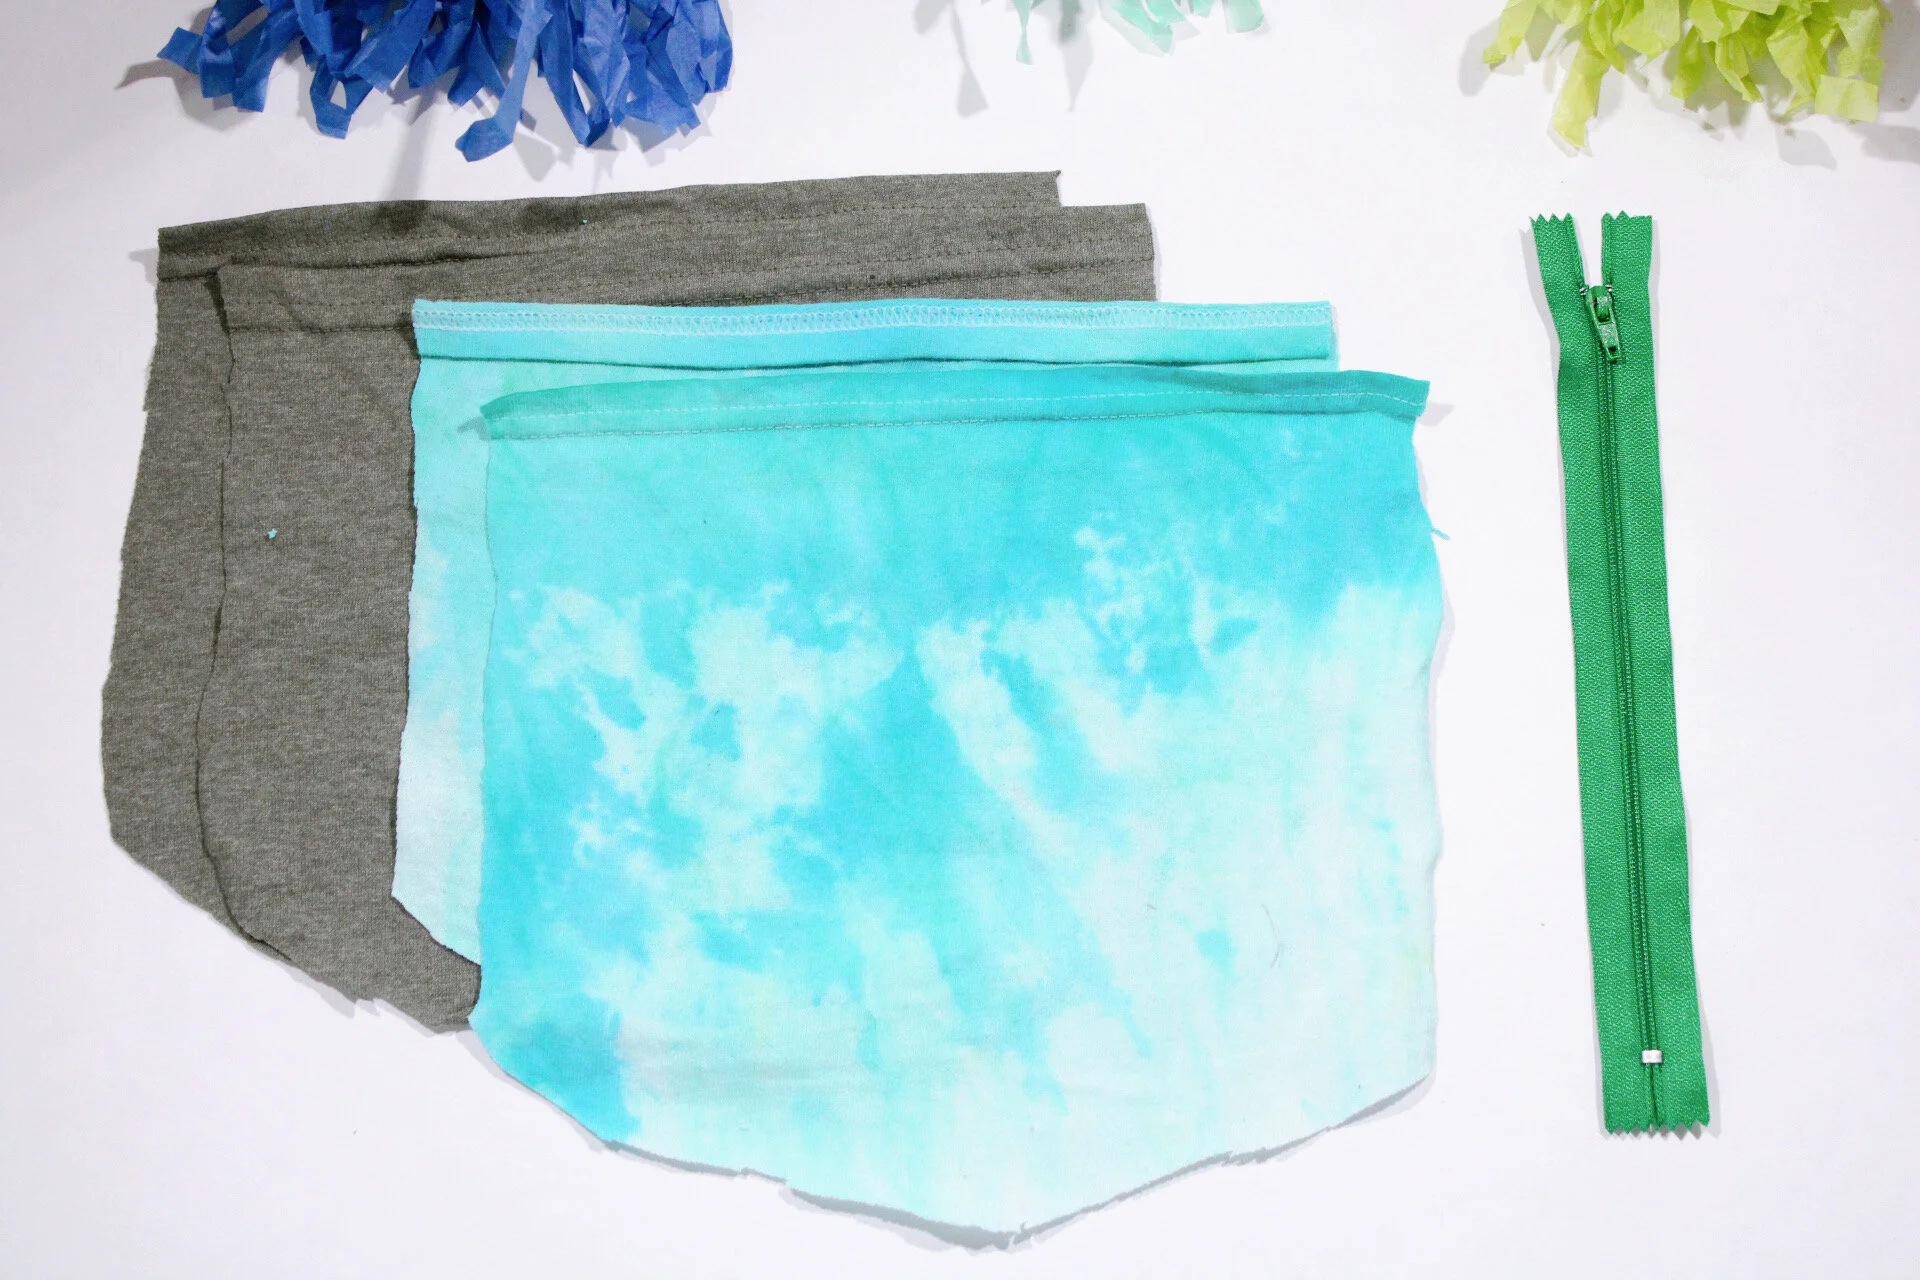
Step one: Choose what tee shirt you want to be the exterior and what tee shirt you want to be the interior. Start by cutting out the size of the pouch that you want. I used the zipper as a guide for how long across and I wanted the pouch to curve at the bottom so I just cut a square, folded it in half and cut a curve out so it would be even on both sides. I used this piece as a guide to cut out the rest of the pattern pieces.
Step Two: Line up the letters evenly on the exterior fabric. Make sure that they are straight and look how you want them too. Follow the directions on the letter package for how long to iron them on for.
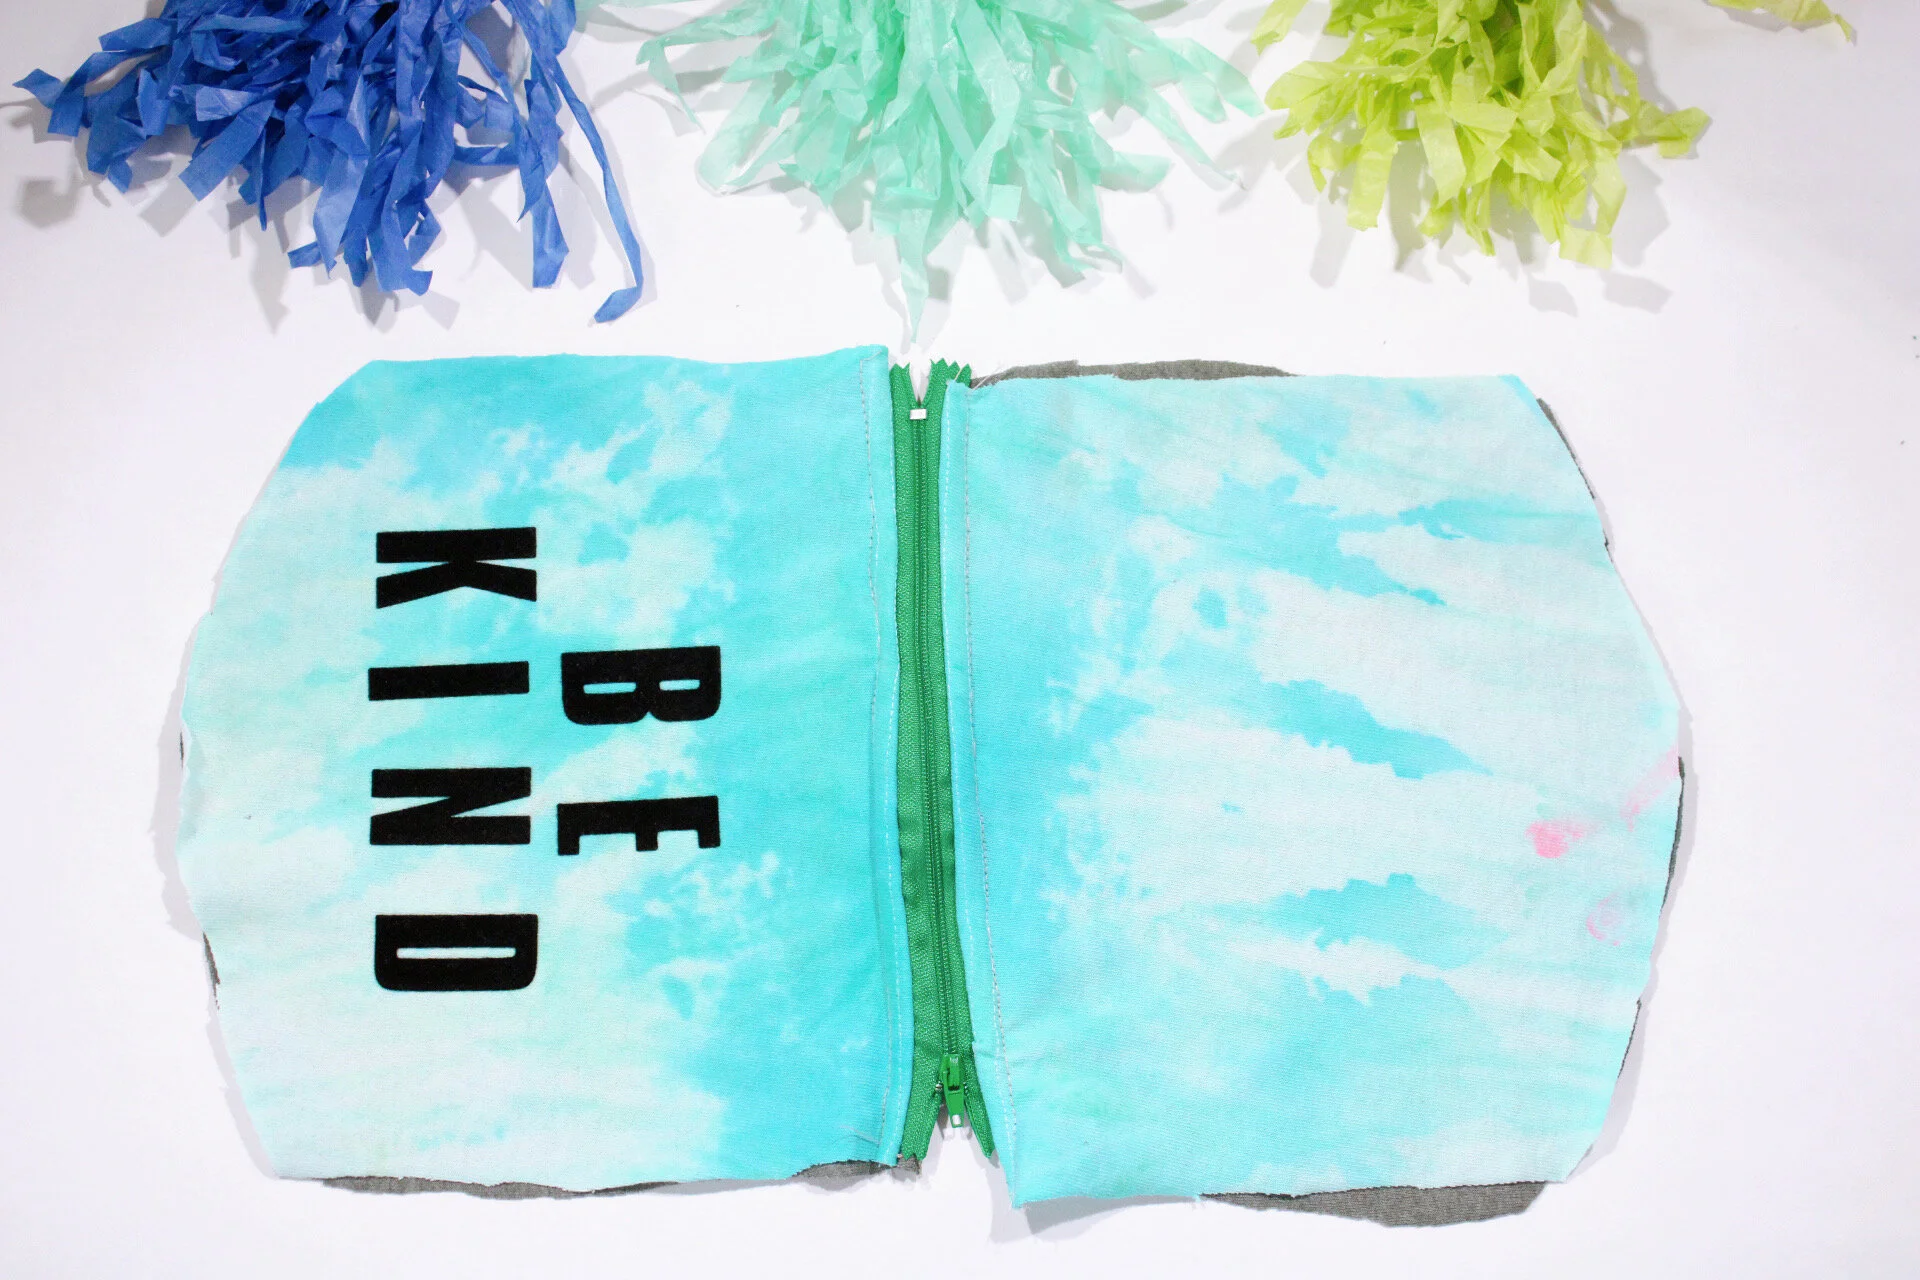
Step Three: Next you will attach the zipper. Starting with the exterior fabric face up, lay the zipper TEETH SIDE DOWN at the top of the fabric. Following that you will lay the interior fabric on top face down. Pin in place. Once it is pinned, open the zipper to the middle of the pouch, Using a zipper foot on your sewing machine, sew in place. When you are sewing you will sew to the center of the pouch where the zipper will be open. Keeping the needle down in the fabric, close the zipper and finish sewing. Once you are finished, fold over the fabric so the zipper is showing and both patterns are face out. Your letters should be on the outside with the zipper facing up.
Step Four: Step Six: Now you will sew the other side. This step is basically the same as above but the placement of the fabric is important. Starting with the exterior fabric face up, line the zipper TEETH SIDE DOWN, other half of pouch connected with the top of the fabric. Lay the interior fabric face down on top and pin into place. Follow step three for sewing.
Step Five: Step Seven: Now it is time to seam the zipper. Still using the zipper foot, sew across the top of the exterior fabric fusing it to the zipper and allowing the fabric to lay flat. Make sure the zipper is open half way.
Step Six: Next you will sew the sides of the pouch. With the zipper STILL OPEN HALF WAY. Pin to secure the exterior to exterior and interior to the interior. The patterns will be facing each other. If the fabrics to not perfectly match up, trim the excess fabric. Then sew around the outer edge seam, and leaving a 5-6” gap at the bottom of the interior fabrics. Double back over the seams where the zipper edges are. This gives the pouch more security.
Step Seven: Step Ten: Next turn the bag right side out through the opening in the interior fabric. Check to make sure all the seams are together and there are no holes. Now seam the hole in the interior fabric folding the edges internally and pinning together. Sew horizontally across. Push the interior fabric into the pouch, straighten everything out and close the zipper.
You have now created a graphic tee pouch! You can now make tons of them out of clothes you out grew or don’t want but still hold an emotional attachment too. With these iron on letters you can have these pouches say anything you want! The would be great as gifts, for bridal parties, and of course for you to keep! I can see these being so cute as a best friend gift, where one says best and the other says friend.
I have plans for what I will be doing in the future with these pouches as I make more. I am so excited to be able to make stuff that will turn into bigger projects! Keep your eyes peeled for more.


