DIY Screen Printing at Home
Screen Print at Home
When I was in college I really enjoyed my time screen printing. I liked the studios and the different rooms with big racks and giant machines. Going to art school and having the ability to have access to all of these amazing things, looking back is something I took for granted. Now post college and graduate school I wanted to be able to screen print. The only problem being that there was no studio for me to do this at. I began to think that I could not be that hard. Screen printing involves a silk screen so I figured that I could just make my own at home using basic materials!
The fun part about these silk screens that you will make at home is that you can purchase silk hoops that are often used for painting or you can make one yourself using pretty cheap and easy to come by materials.
Supplies for Making A Screen
Silk Organza
Supplies for Screen Printing
Fabric or regular paint
A Sharpie or Sharpie Pen
Paintbrush
Old credit card, gift card or piece of cardboard
Paper or fabric to print on
Large piece of cardboard
Step One: (If you plan to use a silk hoop, skip this step) Start by making your own screen, unscrew the top of the embroidery and separate the two hoops. Lay the larger hoop on the table, place the organza fabric on top and fit the smaller hoop into the inside of the larger one, catching the fabric. You will then tighten the hoop and make sure the fabric is pulled tight. The hoop can get as tight as possible to make sure the fabric does not move.
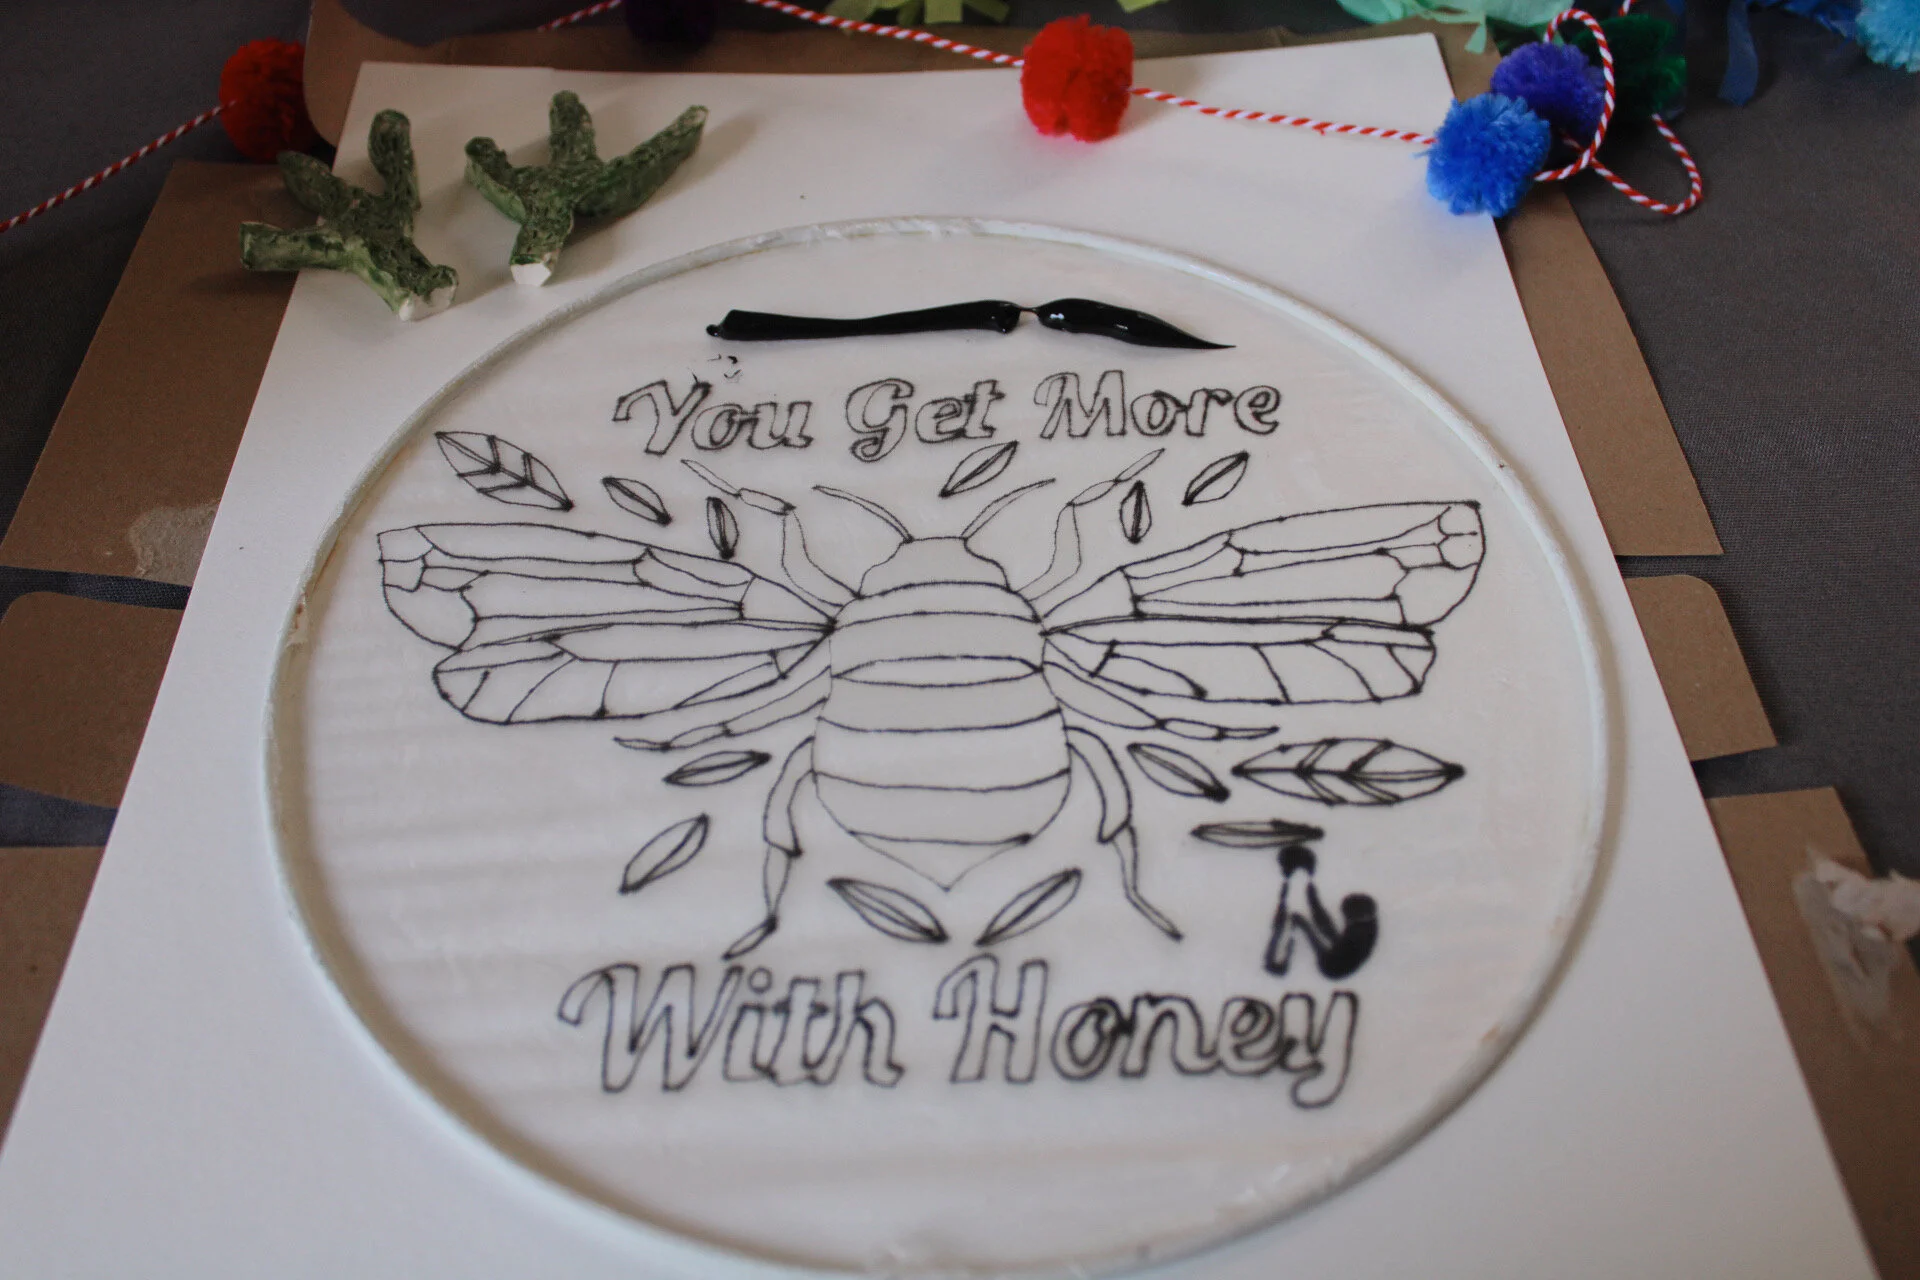
Step two: Next, draw your design onto a piece of tracing paper. I used the bee from a DMC embroidery template and then added my own design.
Step Three: Now, you will trace the image onto your screen using the sharpie or sharpie pen. Lay the tracing paper under the hoop (face up if there are words and tracing inside the hoop- if there are ridges around your hoop those should be face up) and tracing right onto the silk fabric of the hoop. If this is your first time ever screen printing I would suggest doing something very simple just to get the hang of how it works. When you trace it, it might look a bit scrappy and that is okay as you are just using it as a guide.
Step Four: Next, Take your large piece of cardboard and lay it down therefore you don’t have any mess. Flip the hoop around so that the design looks backwards. You will not be adding your Modge Podge glue. Look at your design and think about where you do not want your paint to go. Wherever you don’t paint the glue, the paint will go. Using your paintbrush carefully put the glue on any part of your design that you do not want the paint to go. You will do two coats of glue. The best part is that this glue creates a waterproof seal so the paint will not seep through. Let the glue dry clear before printing.
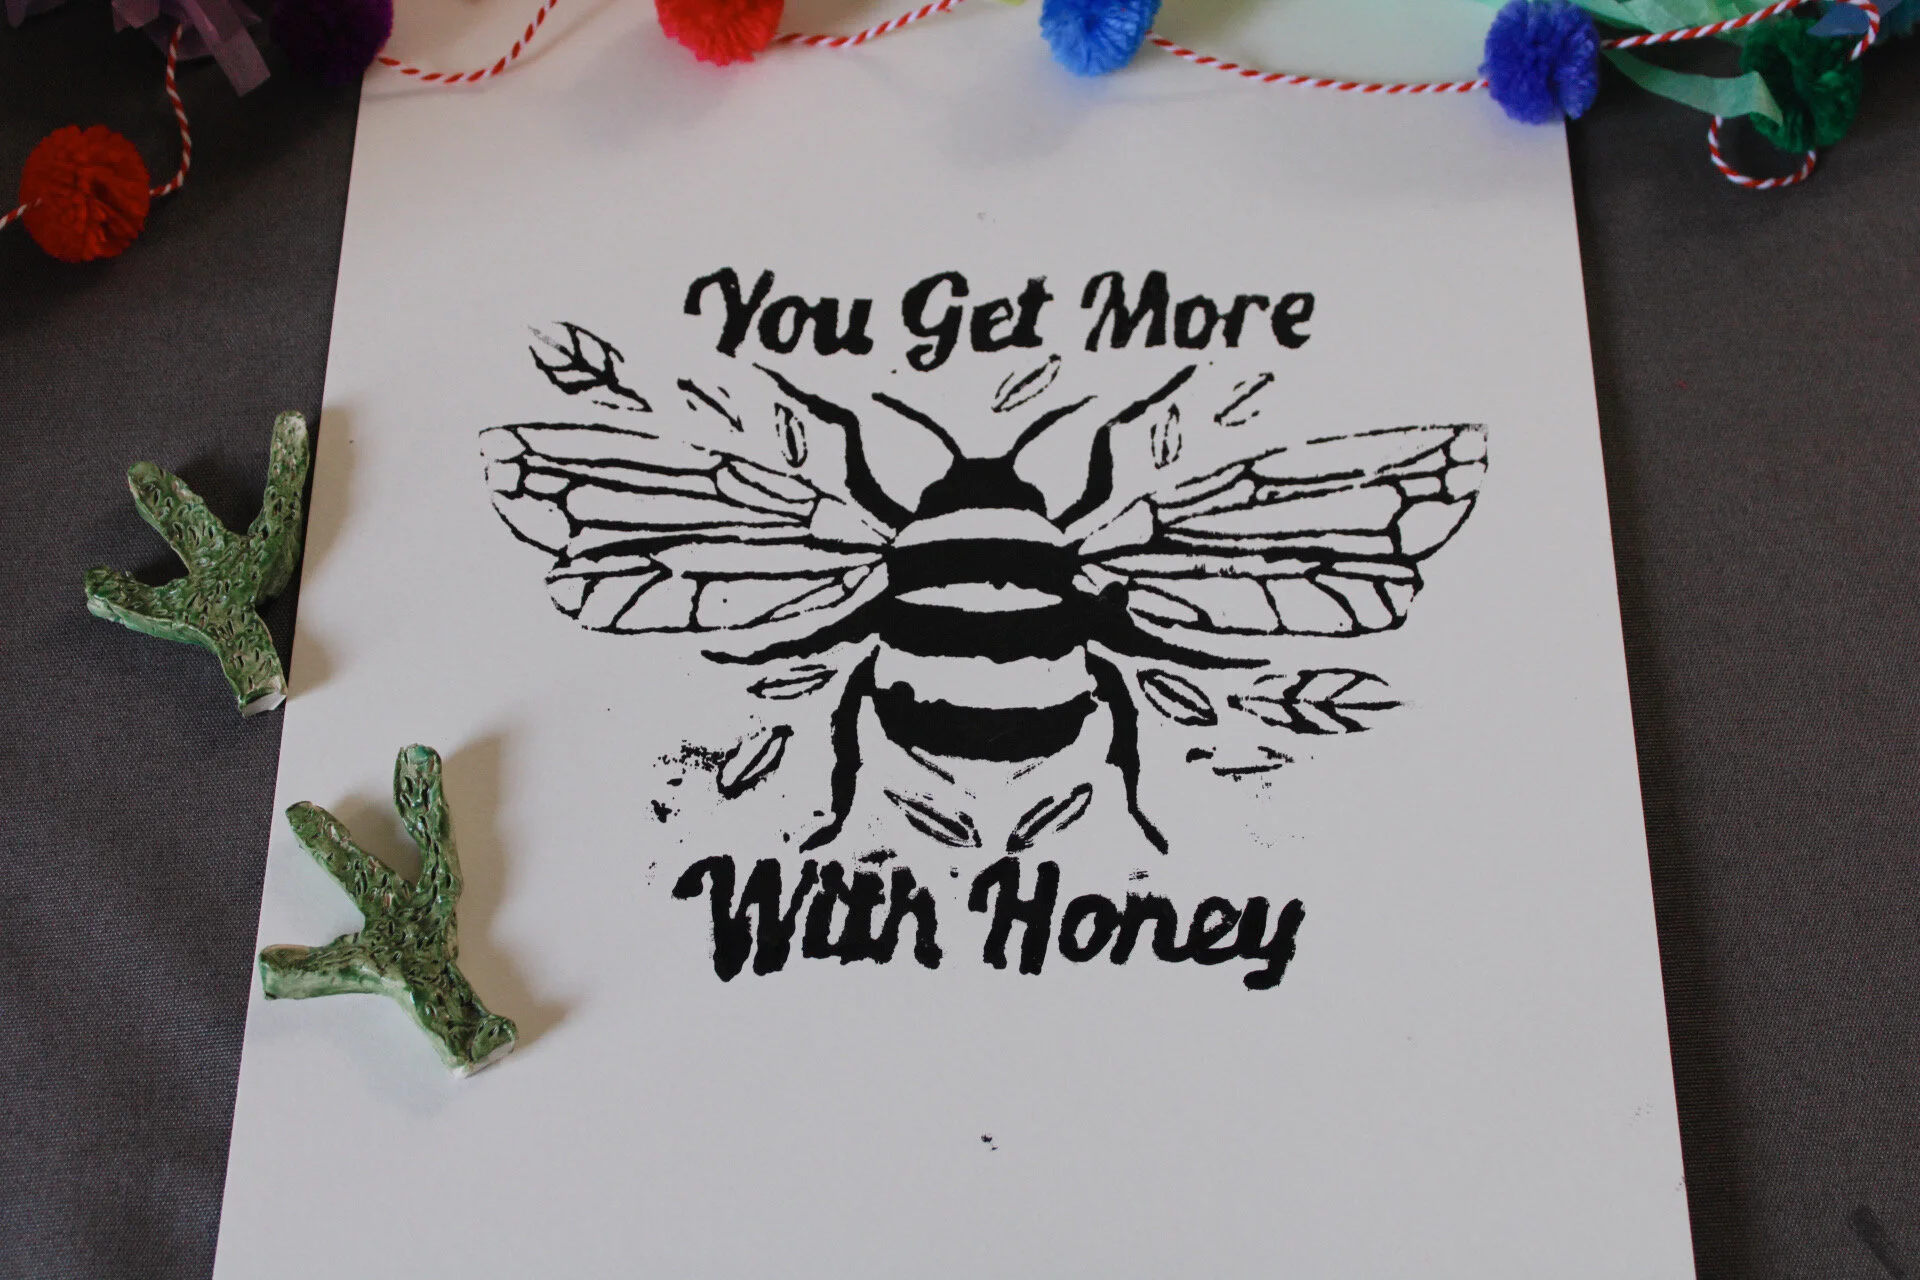
Step Five: Once your screen is dry and ready to go you will begin the printing process. Grab any material; fabric or paper, that you wish to use for this project and lay it down on the table. Place the screen glue side down (the image should be the right direction now). Add a thick layer of paint to the inside of the hoop and begin to scrape it down with the old credit or gift card in one smooth, straight movement. Make sure you press down very hard.
Step Six: Now, carefully remove the screen by grabbing the bottom of the hoop and slowly pulling apart the fabric and the hoop. Make sure not to place the hoop back down on the fabric. Instead place it on the cardboard you painted on.
Step 7: Clean off the hoop by running it under water and getting the paint off with your hand. No soap required. The hoop may change a different color but that is okay!
There you have it! A beautiful print made by you! What I created was not something I expected. I was able to get an incredibly intricate design and the process from start to finish took less than two hours. I was so excited about these prints I turned them into Christmas gifts and gave them to my family.
You can use these hoops over and over again. You can even switch out the design by drawing on new fabric and placing it into the hoop. When you reuse a screen, you may have to repaint some glue in some spots. Before each use hold up to the sun and see if there are any spots that need to be gone over.


