DIY Loom Knit Pom Pom Hat
DIY Loom Knit Pom Pom Hat
Recently at work we had a client who was obsessed with loom knitting hats. She was making them super fast and they looked like hats you would buy from the store. Quickly we all became very interested in making these hats. We all bought looms and were discussing yarns daily. Soon our office basically became a factor for hat making. Now that is is getting quite cold out I felt it necessary to make a DIY on how to make one of these hats!
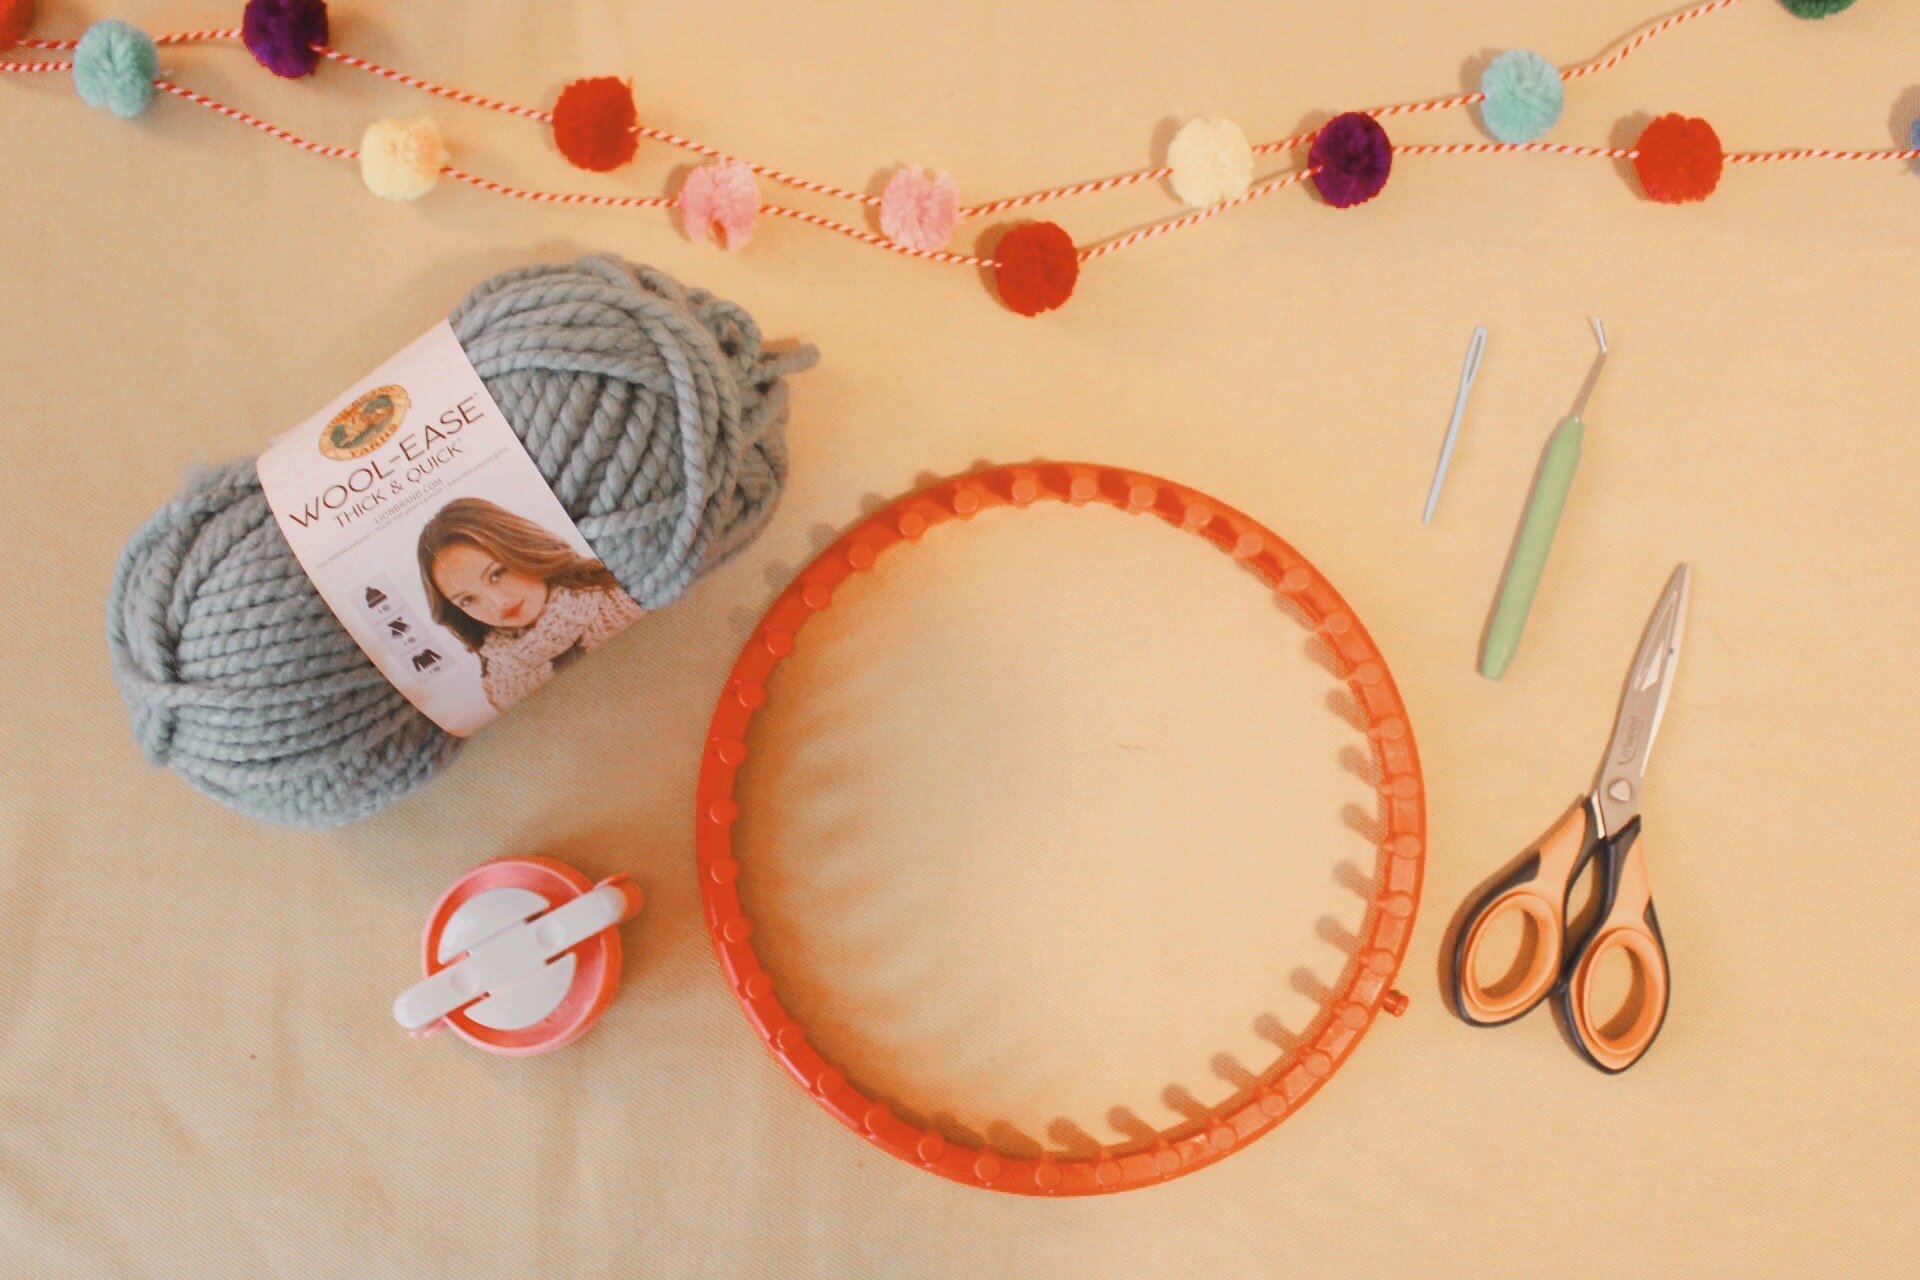
Materials:
- Lions Brand Wool- Ease Thick and Quick Yarn
-Green Hook that comes with Loom
- Scissor
-Pom pom maker (if you want a pom on top)
Step One: To start make a slip knot and fasten the yarn around the peg edge to keep the yarn in place. This will stay there the whole time and is the maker of where to start each new row.
Step Two: Next, hold the loom in front of you and pull the yarn over and inside the ring. You will now wrap the yarn loosely, counter clockwise around each peg. Keep in mind that there will need to be two rows of yarn on the pegs so push the yarn down to the bottom when you finish wrapping around each peg. Your first row is completed when you wrap all the way around.
Step Three: Now, in order to begin knitting you will need to wrap a second row. Continue to wrap the yarn around each peg again until you reach the end. You can leave this row closer to the top. When you get to the last peg use the hook to lift the bottom yarn over top of the peg. That will hold the yarn in place and prepare you for the next step.
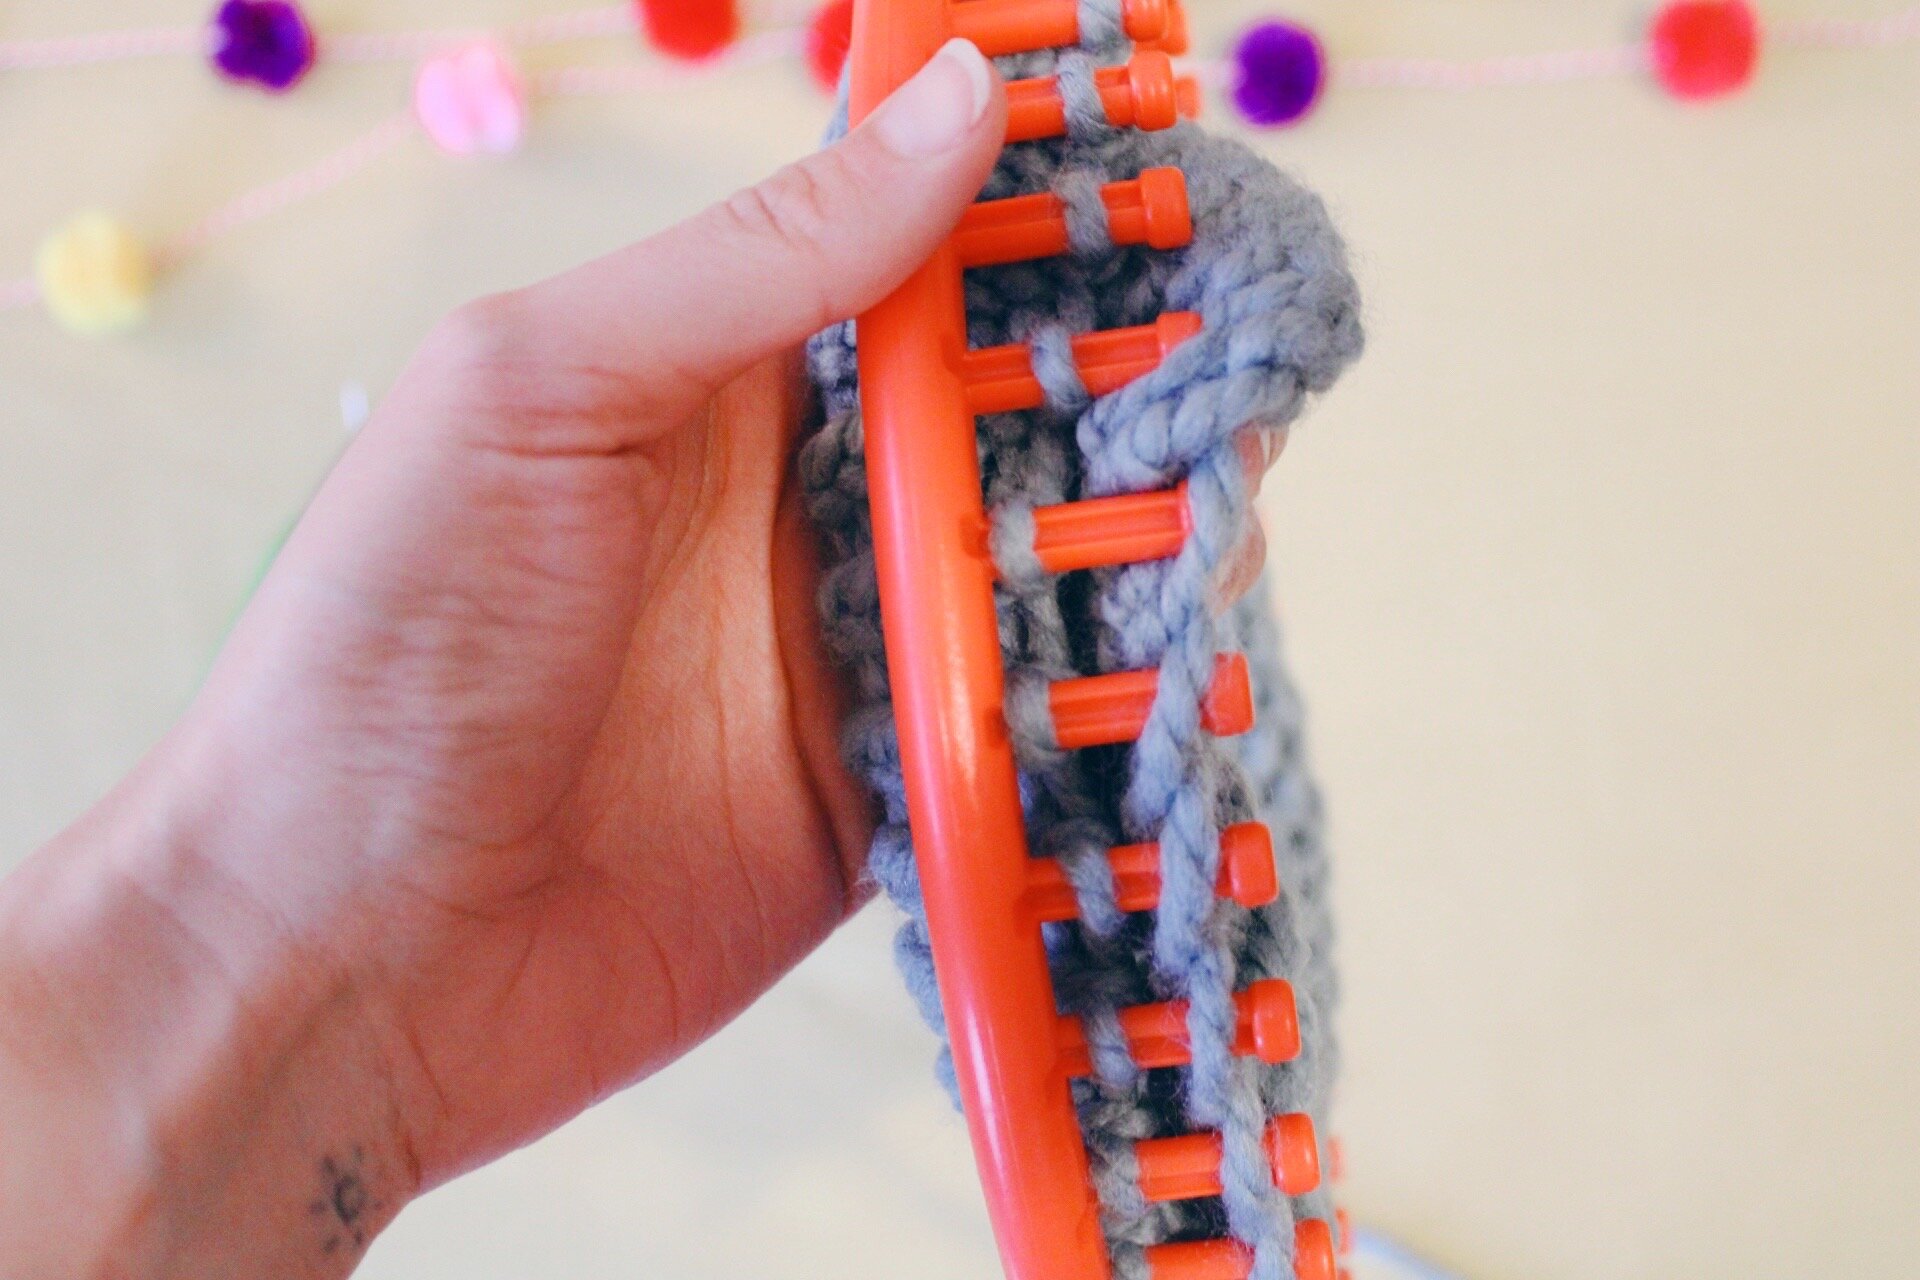
Step Four: Now, using the hook, start with the peg to the left and begin to lift the bottom row of yarn over top of the peg. Complete this all the way around. Your first knitted row is complete.
Step Five: Next, starting at the peg directly above the slip knot, wrap the yarn around all the pegs once more. Once that is completed, use the hook and lift the bottom row of yarn over the top of the peg.
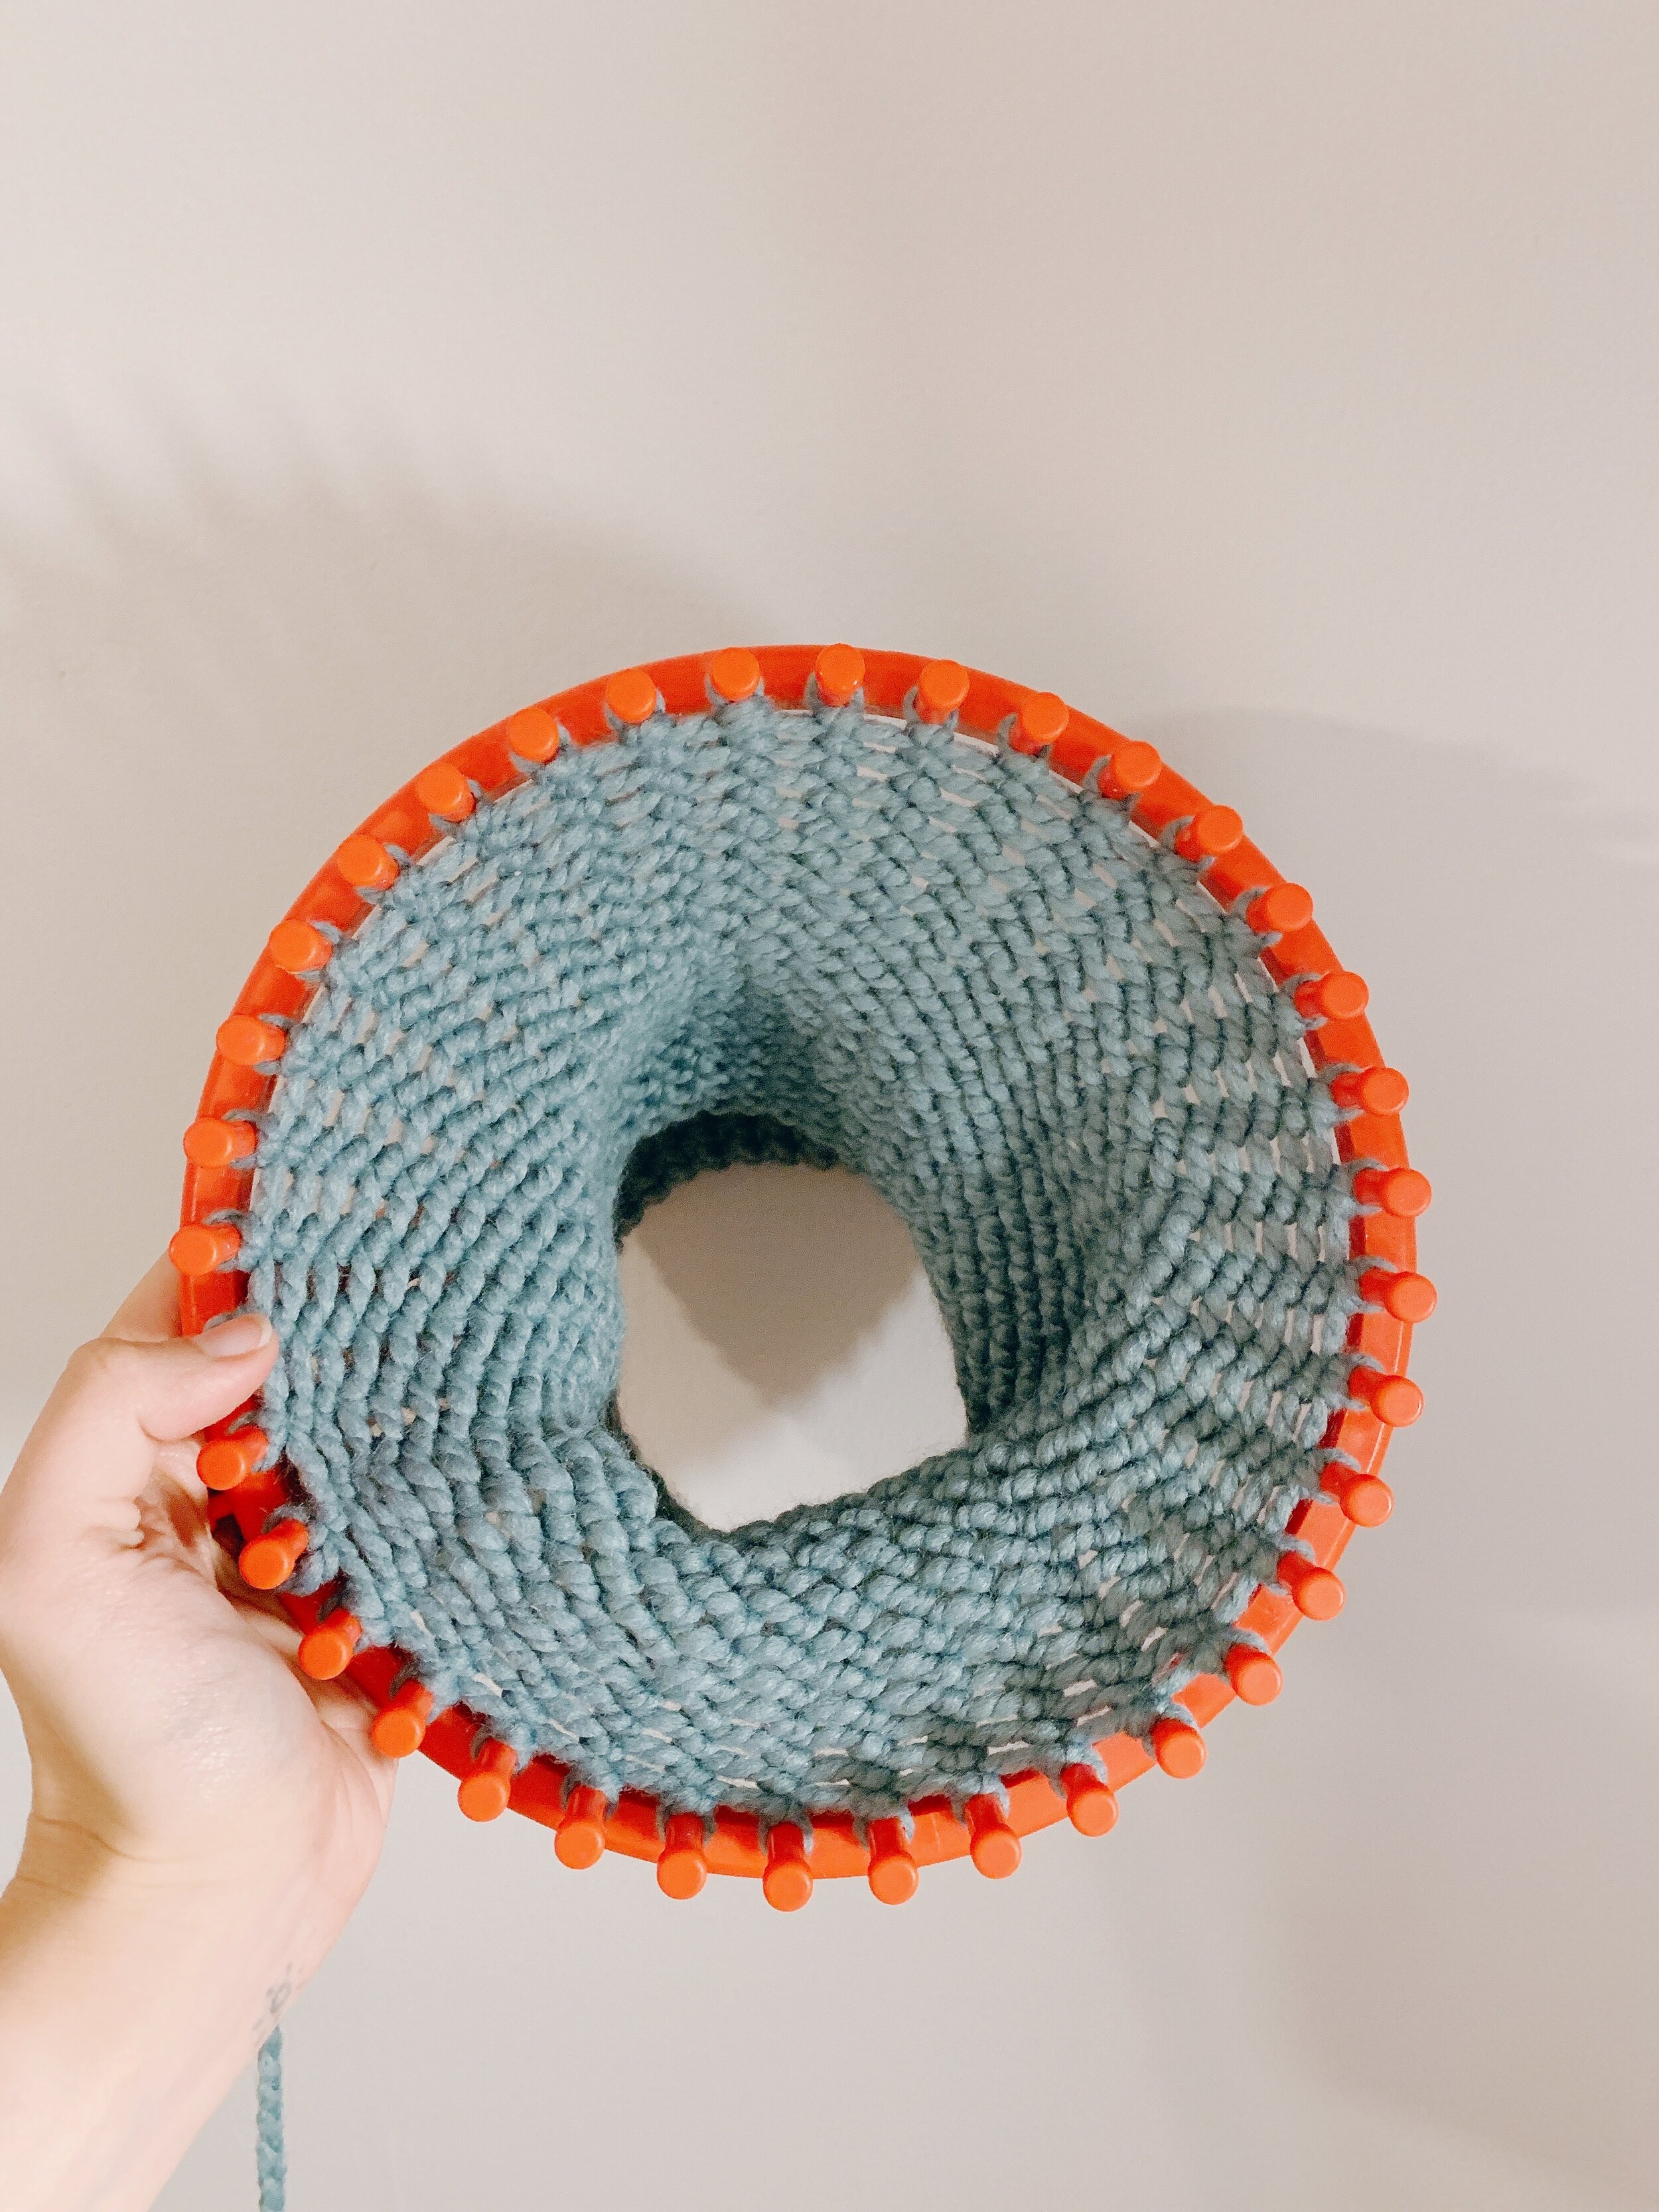
Step Six: Now, continue knitting following step four until your knitting measures about 5” (I figured that to be a little bit smaller than an Iphone XR.) You will not create the brim of the hat! Reach inside the center of the loom and grab the edge of the hat. Place the loops from that bottom row over each of their corresponding pegs all the way around. Once that is completed, knit the row by placing the bottom loop over each peg. This part can feel tight but that is okay!
Step Seven: Next, Continue to knit the hat following step 4 until your hat measures about 8”.
Step Eight: Now you will begin to finish the hat. Once you have finished knitting, you can take it off the loom and create the top of the hat. Still attached to the hat, measure approximately 18” of yarn and cut it. Using a darning needle, thread the needle and and begin with the first peg. Run the needle through the loop of the first peg and lift the loop off the peg Continue this around the loom lifting each loop off the pegs while threading. Pull tight.
Step Nine: Next, pull the yarn until it closes the hole of the hat. Sew the hole closed with a square knot. Make sure that when you are completed the yarn goes through the middle and inside the hat.
Step Ten: (Skip step ten and eleven if you do not want a pom pom) Now, make a pom pom of any size and any color to put on top. If you do not know how to make a pom pom, follow this DIY. Leave the pom pom as fluffy as you would like. Do not trim the yarn used to tie the pom pom together.
Step Eleven: Next, using the darning needle put the edges of the yarn from the pom pom pom through the needle to attach. Sew the strings into the center of the hat. Tie that yarn to the yarn that closed the hat in step eight.
There you have it, a wonderfully warm hat that takes minimal time to complete. My favorite thing to do is put on some television and knit away! They go so quickly. Before you know it you will be surrounded by hats and giving them to everyone you know. They make the perfect gift for any time of the year, but more specifically the winter time!


