DIY Pour Painting with Dish Soap
I have been seeing a lot on the internet and on social media that pour painting is the newest trend. There is a part of me that has been completely averse to it because there are people making a significant profit off of it and it “didn’t look that hard.” Now that I have tried it, I honestly feel that that is the best part!!! This process is so simple (though quite messy) and leaves you with an amazing project. I now want to pour paint on everything!
I think the most amazing part about this is that you could have all of these products that are needed for this DIY in your house. I know that it says most places that you need “pouring medium,” but as I discovered, you can also use DISH SOAP and get just as cool a design.
Supplies
-Canvas
-Any Type of Paint
-Dish Soap
-Plastic or Plastic Bag
-Cups (Dixi, Solo, reusable plastic)
Prepping the Area
Start by putting down plastic on the floor or table. I did not have any plastic so I cut up a reusable plastic bag from the grocery store. I cut the bag completely in half and layered them on top of each other. Having plastic down is important because this project is very, very messy and paint gets everywhere. In order to have the cleanest process, plastic is necessary.
You will need 2 cups face down on the plastic to put the canvas on top of. The paint needs to drip off so it needs to be elevated.
Mixing The Paint
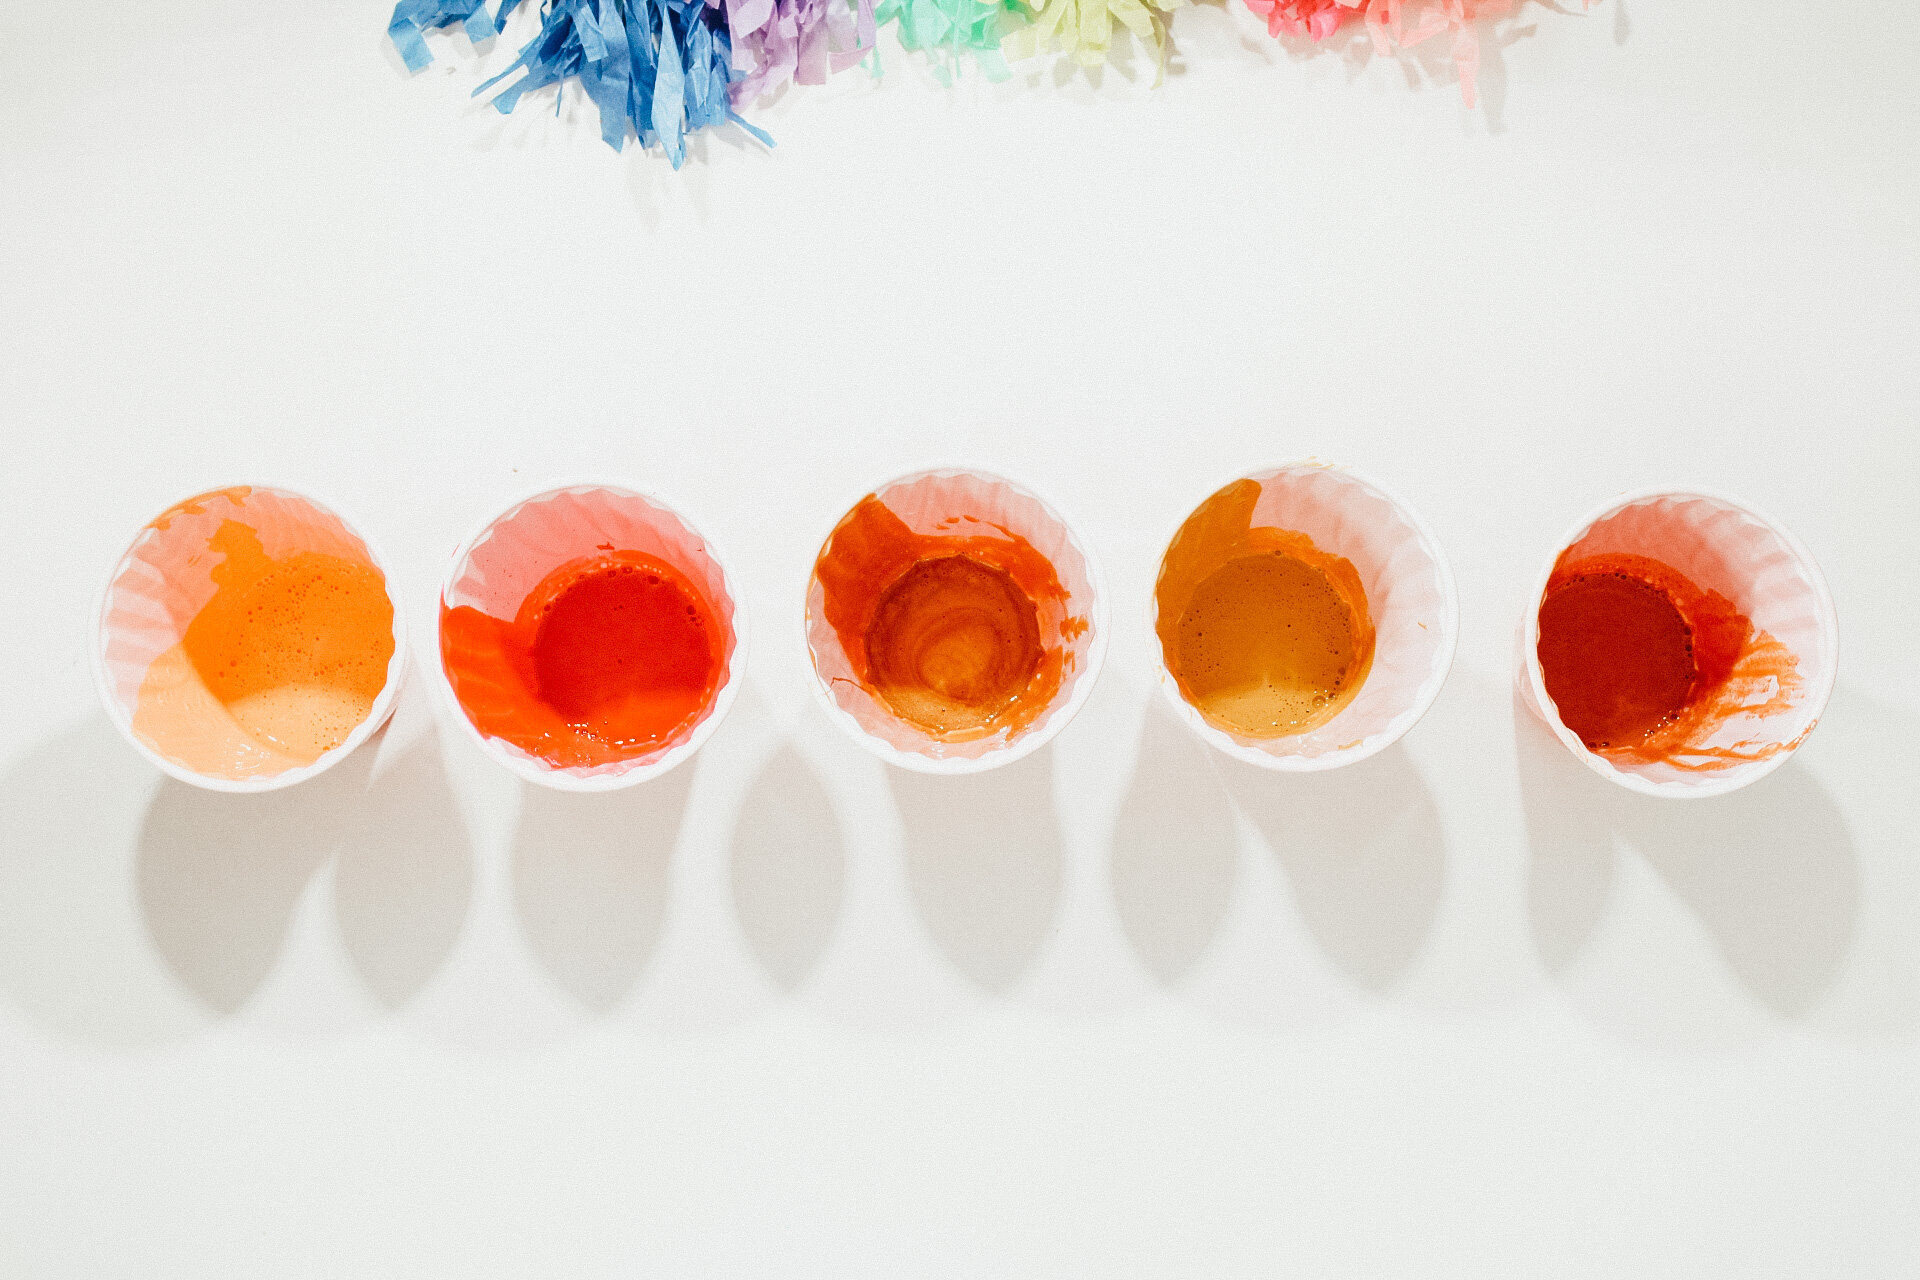
Before you pour, you have to mix each of the paints with dish soap to make it a more fluid consistency. Get the same number of cups that you have paints and squeeze the allotted amount, about a tablespoon into the cup. Add double the amount of dish soap and mix together. You should have a soupy paint mixture.
You will take another cup, you can use a Dixi cup, I used a medical waste cup that I got recently at the hospital. Having a cup with a smaller surface area is helpful for controlling the paint. In this cup you will begin to layer the paint with the lightest on the bottom and darkest on top. The colors will not mix due to the soap they will just layer. You will have to move pretty quickly from here.
Pouring Time
Take the cup with the layered paint on it and flip over completely onto the canvas. Pick up the cup and allow the paint to start moving around. Pick the canvas up and rock it back and forth, side to side allowing the paint to move in different directions and revealing the pattern. You will totally not have enough paint in 1 cup to fill a whole canvas so continue to mix colors, pour them onto the canvas and swirl the paint around. You may need to mix more soap and paint, so follow the above to mix more.
I first did all the same colors mixing them on the canvas, but I thought that it looked a little bit one dimensional, so I added some complimentary colors to add a bit. I waited a bit for the main colors to dry and then I added the complimentary colors that way it did not mix too much and could layer a bit more too.
Finishing Up
This bad boy is going to have a lot of paint on it so you will have to leave it in a safe place to let it dry because it will take about 24 hours to dry completely.
Once it is completely dry you can immediately hang it up on the wall. I was thinking it would be super cool to take the paint that is on the plastic and press some watercolor paper into it before it dries. That way you can have some cute little monoprints in addition to this amazing art piece!
Now this is probably one of the messiest art pieces I have ever made, but I swear it is the most fun and you can layer so many beautiful pieces. This can be done in the down time and you can make some for people in your life and send them to them or give them these art pieces when you see them again and are able to go to each other's homes. It also seems like something that could be so cool and fun to do with kiddos because it is perfectly simple!
If you make this, take a picture and post it on social media with the tag #coraronahomebody


